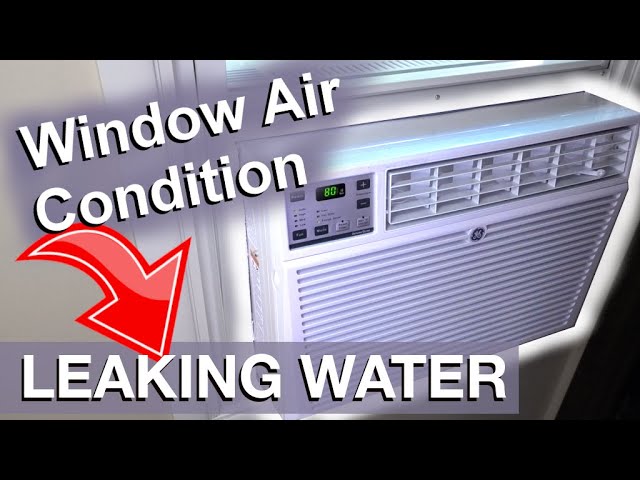
Introduction
Finding water dripping inside from your window air conditioner can be frustrating and concerning. Not only is it annoying, but it can also lead to water damage, mold growth, and potential electrical hazards. It’s a problem that commonly surfaces during hot and humid weather when your AC is working overtime. Addressing this issue promptly is crucial to protect your home and ensure your AC unit continues to function properly.
Common Causes of window ac dripping water inside
Here are some of the most frequent reasons why your window AC might be leaking indoors:
- Clogged Drain: The drain hole or drain line is blocked, preventing water from escaping outside.
- Incorrect Installation Angle: The AC unit isn’t properly tilted, causing water to pool inside instead of draining out.
- Dirty Air Filter: A clogged air filter restricts airflow, causing the evaporator coil to freeze up and then melt, resulting in excessive water.
- Freezing Coils: Icing on the evaporator coils prevents proper drainage.
- Damaged Drain Pan: The drain pan, which collects water, may be cracked or broken, leading to leaks.
- High Humidity: Extremely humid conditions can cause more condensation than the unit is designed to handle, leading to overflow.
- Dirty Coils: Dust and debris on the coils can impede airflow and proper drainage.
- Damaged Seal: A broken or deteriorated seal around the AC unit can let water in.
Symptoms Checklist
Use this checklist to help pinpoint the issue:
- Visible water dripping from the front or sides of the AC unit inside your home.
- Standing water accumulating around the base of the AC unit inside.
- Unusual sounds, such as gurgling or sloshing, coming from the AC unit.
- A musty or moldy smell emanating from the AC unit or the surrounding area.
- The AC unit is not cooling as efficiently as it used to.
- Ice formation visible on the cooling coils inside the unit (if you can see them).
How to Fix window ac dripping water inside Step-by-Step Guide
Follow these steps to troubleshoot and potentially fix the leaking issue:
- Turn off the AC Unit: For safety, unplug the unit from the power outlet before beginning any inspection or repair work.
- Inspect the Installation Angle: Ensure the AC unit is slightly tilted downwards towards the outside. Use a level to check and adjust if necessary. Ideally, it should be about inch lower on the outside than the inside.
- Clean or Replace the Air Filter: Remove the air filter (usually located at the front of the unit) and clean it thoroughly with soap and water, or replace it with a new one. Let it dry completely before reinstalling.
- Check the Drain Hole: Locate the drain hole (usually at the back or bottom of the unit, on the outside). Use a straightened paperclip, pipe cleaner, or small wire to carefully clear any blockage.
- Clean the Drain Line: If your AC has a drain line (a tube that carries water away), detach it and flush it with water to remove any debris. You can use a syringe or small hose to force water through the line.
- Inspect the Drain Pan: Carefully remove the AC unit’s outer casing (consult your owner’s manual for specific instructions). Check the drain pan for cracks or damage. If it’s cracked, it may need to be replaced (but try other solutions first).
- Clean the Coils: Use a vacuum cleaner with a brush attachment to gently remove dust and debris from the evaporator coils (the coils inside the unit). Be careful not to bend or damage the delicate fins. You can also use a fin comb tool.
- Melt Ice Buildup (if present): If you see ice on the coils, let the unit thaw completely by turning it off for several hours. You can speed up the process with a hairdryer on a low, cool setting, but be careful not to melt any plastic parts.
- Check the Seals: Inspect the seals around the AC unit where it meets the window frame. Replace any damaged or deteriorated weather stripping or caulking.
- Reassemble the AC Unit: Carefully reassemble the unit, ensuring all parts are properly in place.
- Test the AC Unit: Plug the AC unit back in and turn it on. Observe it for a while to see if the leaking has stopped.
- Monitor the Performance: Keep an eye on the AC unit over the next few days to ensure the problem doesn’t return.
Fix the Issue Without Buying Parts
Often, you can resolve the dripping issue without immediately replacing parts:
- Reset: Try unplugging the AC unit for 30 minutes and then plugging it back in. This can sometimes reset the system and resolve minor issues.
- Cleaning: Regularly clean the air filter and the coils. This prevents airflow restrictions and ice buildup.
- Inspection Tips: Regularly check the installation angle and drain hole for any issues.
- Maintenance Basics: Keep the area around the AC unit clean and free of obstructions.
When Replacement Might Be Necessary
If the drain pan is severely cracked, the coils are heavily damaged, or the unit is very old and inefficient, replacement might be necessary. Replacing a window AC unit can cost anywhere from $150 to $500 USD, depending on the size, features, and brand. Common parts that fail include the compressor, fan motor, and thermostat.
Safety Warning
- Always unplug the AC unit before performing any maintenance or repairs.
- Avoid working with electrical components if you are not comfortable.
- Be careful when handling sharp objects or tools.
- Keep the area around the AC unit dry to prevent slips and falls.
- If you are unsure about any step, consult a qualified technician.
Tools You May Need
- Screwdriver (Phillips and flathead)
- Level
- Paperclip or pipe cleaner
- Vacuum cleaner with brush attachment
- Fin comb (optional)
- Soap and water
- Clean cloths
- Flashlight
FAQ
Here are some frequently asked questions about window AC leaks:
- Why is my AC dripping more on humid days? High humidity causes more condensation, which can overwhelm the drainage system.
- How often should I clean my AC filter? At least once a month, or more frequently if you have pets or allergies.
- Can a dirty filter cause the AC to leak? Yes, a dirty filter can cause the coils to freeze and then melt, leading to leaks.
- What if I can’t find the drain hole? Consult your owner’s manual for the exact location of the drain hole.
Conclusion
Dealing with a leaking window AC unit can be a bit of a nuisance, but by following these steps, you can often diagnose and fix the problem yourself. Remember to prioritize safety and take your time. If you’ve tried these solutions and your AC is still leaking, it might be time to call in a qualified technician. However, attempting these DIY fixes first can save you time and money!
Youtube Video:
Looking for more useful options?
Check out recommended resources that others find helpful.