
Introduction
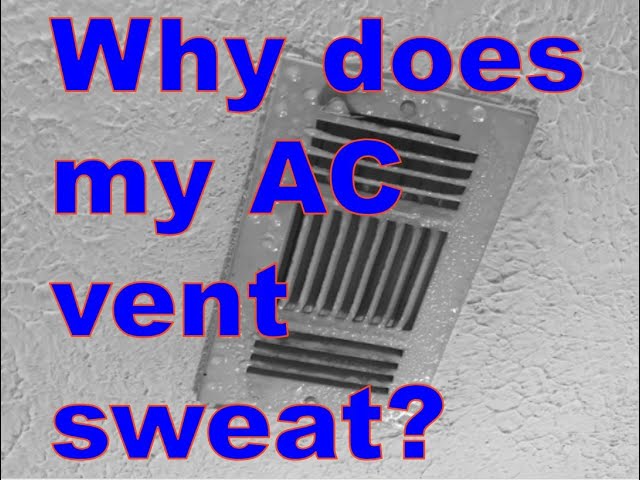
A leaking ceiling AC vent can be a real headache, and if left unchecked, it can lead to water damage, mold growth, and even damage to your ceiling. It’s usually caused by condensation forming on the cold vent and dripping down. This is especially common during humid weather when the temperature difference between the vent and the surrounding air is significant. Addressing this promptly can save you money and prevent more serious problems down the line. Don’t delay investigating the cause!. Explore more in our Air Conditioner Troubleshooting 4 collection.
💡 Technical Key Takeaways:
- Core Focus: Diagnostic schematic and terminal connection layout for Ceiling Ac Vent Leaking.
- Target Scope: Field technicians, automotive DIYers, and residential/commercial electricians.
- Safety Rule: Always disconnect the primary power source/battery terminal and verify zero voltage with a multimeter before touching wires.
Common Causes of Ceiling AC Vent Leaking
Here are some of the most frequent culprits:
- High Humidity: Humid air hitting the cold vent causes condensation, which then drips.
- Poor Insulation: Lack of insulation around the ductwork allows the cold air to cool the surrounding air, causing condensation on the outside of the duct.
- Restricted Airflow: Blocked vents or dirty air filters can reduce airflow, making the system work harder and creating more condensation.
- Improper Duct Sealing: Leaks in the ductwork allow warm, humid air to enter, leading to condensation.
- Oversized AC Unit: An AC that’s too large cools the air too quickly, leading to short cycles and less dehumidification, resulting in more moisture.
- Dirty Air Filter: A clogged filter restricts airflow, making the evaporator coil too cold and causing it to ice up. When the ice melts, it can overwhelm the drain pan and cause leaks.
- Drainage Issues: A blocked or clogged condensate drain line can cause water to back up and leak.
- Damaged Ductwork: Physical damage to the ducts (e.g., from rodents or construction) can create leaks.
- Supply Air Temperature Too Low: Setting the AC to an extremely low temperature can exacerbate condensation issues.
Symptoms Checklist
Look for these signs to confirm the problem:
- Water dripping from the ceiling AC vent.
- Wet spots or stains on the ceiling around the vent.
- Visible condensation on the outside of the vent.
- Musty odor or signs of mold growth near the vent.
- Increased humidity levels in your home.
- Unusually long AC run times or short cycles.
How to Fix Ceiling AC Vent Leaking Step-by-Step Guide
Follow these steps to troubleshoot and potentially fix the issue:
- Turn off the AC: Prevent further water damage and potential electrical hazards.
- Protect the Area: Place a bucket or towel under the leaking vent to catch any drips.
- Inspect the Air Filter: A dirty filter restricts airflow. Replace it if it’s clogged. This is often the first and easiest fix.
- Check the Vents: Ensure all vents are open and unobstructed. Closed vents can increase pressure and condensation.
- Inspect the Ductwork (Visually): Look for obvious signs of damage or disconnected sections in accessible areas (attic, crawl space).
- Check the Condensate Drain Line: Locate the drain line (usually a PVC pipe near the indoor unit) and check for clogs. You can try using a wet/dry vacuum to suck out any blockage or carefully pour a cup of white vinegar down the drain to dissolve buildup.
- Check the drain pan: The drain pan catches the water from the evaporator coils, if it’s rusted or cracked, this can cause leaking and needs to be replaced.
- Look For Ice Build-Up: If you can safely access the evaporator coils (often inside the indoor unit), check for ice buildup. This could indicate low refrigerant or airflow issues.
- Check for Proper Insulation: Examine the ductwork for adequate insulation. If the insulation is damaged or missing, replace or repair it with foil-backed insulation tape.
- Run AC with fan on Auto: Set the fan setting from “On” to “Auto”. The “On” setting keeps the fan constantly running and causes condensation to occur.
- Lower the Thermostat Gradually: Avoid setting the thermostat too low, as this can lead to excessive condensation. A comfortable setting of 72-75 degrees is usually ideal.
- Monitor the Vent: After making changes, monitor the vent to see if the leaking stops.
- Consider a Dehumidifier: In areas with high humidity, a dehumidifier can help reduce the moisture in the air and prevent condensation.
Fix the Issue Without Buying Parts
Often, you can address the issue without purchasing new components:
- Clean Air Filter: Regularly clean or replace your air filter to maintain proper airflow.
- Clear Vents: Ensure all vents are open and unobstructed.
- Improve Air Circulation: Use fans to circulate air and reduce humidity.
- Seal Air Leaks: Seal any air leaks around windows and doors to prevent warm, humid air from entering your home.
- Regularly Inspect: Conduct regular visual inspections of your AC unit and ductwork.
When Replacement Might Be Necessary
Sometimes, replacement is unavoidable:
- Severely Damaged Ductwork: If the ductwork is extensively damaged or corroded, replacement is necessary. Estimated cost: $500-$2000 depending on the extent of the damage.
- Failed Condensate Pump: If the condensate pump is no longer functioning, it needs to be replaced. Estimated cost: $100-$300.
- Cracked Drain Pan: if the drain pan is cracked, it needs to be replaced. Estimated cost: $50-$200.
Safety Warning
Take these precautions before working on your AC system:
- Turn off the Power: Disconnect the power to the AC unit at the breaker box.
- Avoid Water: Never work on electrical components with wet hands or while standing in water.
- Wear Gloves: Protect your hands with work gloves.
- Be Careful on Ladders: If you need to use a ladder, ensure it is stable and secure.
Tools You May Need
Here’s a list of helpful tools:
- Screwdriver (Phillips and flathead)
- Wet/dry vacuum
- Flashlight
- Insulation tape
- Gloves
- Bucket
- Ladder
FAQ
Here are some frequently asked questions:
- Q: Why is my AC vent leaking only when it’s humid? A: High humidity increases the amount of moisture in the air, which condenses on the cold vent.
- Q: How often should I change my air filter? A: Every 1-3 months, depending on usage and air quality.
- Q: Can a leaking AC vent cause mold? A: Yes, excessive moisture can lead to mold growth.
- Q: Is it safe to run my AC with a leaking vent? A: No, it’s best to turn off the AC until you identify and fix the problem.
Conclusion
Fixing a ceiling AC vent leak can often be accomplished with a few simple steps. By following this guide, you can troubleshoot the issue and potentially save yourself the cost of a professional repair. However, if you’re uncomfortable working with electrical or mechanical components, or if the problem persists, it’s best to call a qualified HVAC technician. Good luck!. For more related activities, check out our Car Ac Won T Turn On Sometimes.
Youtube Video:
Quick Wiring Specifications & Terminal Guide
| Component / Circuit | Standard Wire Gauge | Recommended Protection |
|---|---|---|
| Control & Trigger Signals | 18 – 20 AWG | 5A – 7.5A Inline Fuse |
| Standard Auxiliary Load | 14 – 16 AWG | 15A – 20A Circuit Breaker |
| Main Power Feed / Supply | 10 – 12 AWG | 30A – 40A Heavy-Duty Relay |
