Introduction
Discovering an “ac leak ceiling” is a homeowner’s nightmare. This issue involves water dripping from your ceiling due to a problem with your air conditioning system. Its crucial to address this promptly because it can lead to significant water damage, mold growth, and costly repairs. These leaks often occur during periods of high AC usage, like hot summer days, or when your system is old and hasn’t been properly maintained. Identifying and resolving the leak quickly can save you a lot of money and headache.
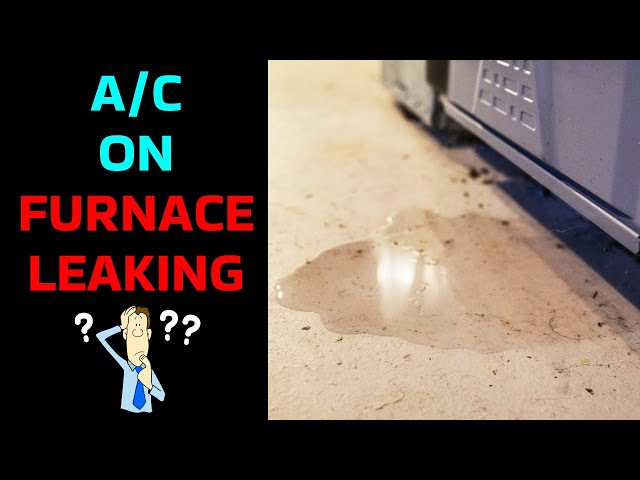
Common Causes of ac leak ceiling
Several factors can contribute to an “ac leak ceiling.” Here are some of the most common causes:
- Clogged Condensate Drain Line: This is the most frequent culprit. The drain line removes condensation from the AC unit. When it’s blocked by algae, dirt, or debris, water backs up and can leak into your ceiling.
- Cracked or Rusted Drain Pan: The drain pan collects condensation. Over time, it can corrode, crack, or rust, leading to leaks.
- Low Refrigerant: Low refrigerant can cause the evaporator coil to freeze. When the ice melts, it can overflow the drain pan.
- Improper Installation: If the AC unit wasn’t installed correctly, it may not be properly sloped for drainage.
- Dirty Air Filter: A dirty air filter restricts airflow, causing the evaporator coil to freeze. The melting ice can then overflow the drain pan.
- Damaged Insulation: Condensation can form on uninsulated or poorly insulated refrigerant lines, leading to dripping.
- Broken Condensate Pump: Some systems use a condensate pump to move water. If the pump fails, water can back up.
- Loose or Disconnected Drain Line: The drain line might become loose or disconnected from the AC unit or the drain opening, resulting in a leak.
Symptoms Checklist
If you suspect an “ac leak ceiling,” watch out for these telltale signs:
- Water stains on your ceiling.
- Dripping water from the ceiling.
- Mold or mildew growth on the ceiling or walls.
- A musty odor in the room.
- Increased humidity in the room.
- Visible water around the indoor AC unit.
- Water damage or discoloration on the walls.
- A sound of dripping water, even when the AC is off (can indicate melting ice).
How to Fix ac leak ceiling Step-by-Step Guide
Here’s a step-by-step guide to troubleshooting and fixing an “ac leak ceiling.”
- Turn off the AC: Immediately turn off your air conditioning system to prevent further water damage.
- Protect the Area: Place buckets or towels under the leak to catch dripping water.
- Locate the Indoor AC Unit: Identify where your indoor AC unit is located (usually in the attic, closet, or basement).
- Inspect the Condensate Drain Line: Find the PVC pipe that drains water away from the AC unit. It’s usually near the indoor unit.
- Check for Clogs: Disconnect the drain line (carefully!) and check for clogs. You can use a wet/dry vacuum to suck out any debris. Alternatively, gently insert a stiff wire or plumber’s snake to break up the blockage.
- Flush the Drain Line: Pour a cup of distilled vinegar down the drain line to kill algae and prevent future clogs. Let it sit for about 30 minutes, then flush with water.
- Inspect the Drain Pan: Check the drain pan under the indoor unit for cracks, rust, or standing water. If the pan is damaged, it might need replacement.
- Check the Air Filter: Replace your air filter if its dirty. A clean air filter improves airflow and prevents the evaporator coil from freezing.
- Look for Ice Buildup: Examine the evaporator coil (inside the indoor unit). If it’s covered in ice, let the ice melt completely. This can take several hours. Ensure you place towels beneath to catch the water.
- Refrigerant Inspection: If your coil freezes frequently and is not due to a dirty filter, this may indicate low refrigerant. This is better left to a professional.
- Reassemble and Test: Reconnect the drain line securely and turn on the AC. Observe for any leaks.
- Monitor Closely: Keep an eye on the area for the next few days to ensure the leak is resolved.
- Clean Up: Dry any standing water and clean up the area to prevent mold growth.
Fix the Issue Without Buying Parts
Before rushing to buy replacement parts, try these free methods:
- Reset the AC: Sometimes, simply turning off the AC and turning it back on after a few minutes can resolve minor issues.
- Clean the Area Around the Unit: Remove any dust, debris, or obstructions that might be affecting airflow.
- Ensure Proper Ventilation: Make sure vents are open and not blocked by furniture or curtains.
- Regular Maintenance: Regularly check and clean your air filter.
When Replacement Might Be Necessary
Sometimes, more serious issues require replacement of parts. Here’s when replacement might be necessary:
- Severely Cracked Drain Pan: If the drain pan is severely cracked or rusted, it will likely need replacement. Expect to pay between $50-$200 for the pan, plus labor if you hire a professional.
- Failed Condensate Pump: If the condensate pump is not working, you’ll need to replace it. These pumps typically cost $50-$150.
- Evaporator Coil Damage: If the evaporator coil is damaged, it might be more cost-effective to replace the entire indoor unit. This can cost $1,000-$3,000 depending on the system.
- Major Refrigerant Leaks: A professional AC technician will be needed to locate the leak and repair it, or potentially refill the refrigerant.
Safety Warning
Always prioritize safety when working with electrical appliances:
- Turn off the power to the AC unit at the circuit breaker before performing any maintenance or repairs.
- Avoid working on wet floors to prevent electrical shock.
- Be careful when using ladders or working in elevated areas.
- If you’re uncomfortable with any step, contact a qualified HVAC technician.
Tools You May Need
Here’s a list of tools that might come in handy:
- Screwdrivers (Phillips and flathead)
- Wet/dry vacuum
- Plumber’s snake or stiff wire
- Buckets and towels
- Flashlight
- Gloves
- Distilled vinegar
FAQ
Here are some frequently asked questions about “ac leak ceiling.”
- Q: Why is my AC leaking even when it’s not running? A: It’s likely due to melting ice from a frozen evaporator coil or residual water in the drain pan.
- Q: How often should I clean my AC’s drain line? A: Ideally, you should flush the drain line with vinegar every 3-6 months to prevent clogs.
- Q: Can a dirty air filter really cause a leak? A: Yes, a dirty air filter restricts airflow, causing the evaporator coil to freeze, leading to water overflow.
- Q: Is it safe to use bleach to clean the drain line? A: While some people use bleach, vinegar is a safer and often more effective option. Bleach can corrode certain materials.
- Q: How do I know if my refrigerant is low? A: Signs of low refrigerant include weak airflow, ice buildup on the evaporator coil, and the AC not cooling effectively. Contact a professional for refrigerant check and refill.
Conclusion
Discovering an “ac leak ceiling” can be alarming, but with a systematic approach, you can often diagnose and fix the problem yourself. Remember to prioritize safety, follow the steps carefully, and don’t hesitate to call a qualified HVAC technician if you’re uncomfortable with any part of the process. By taking proactive steps, you can prevent further damage and keep your AC running smoothly.
Youtube Video:
Looking for more useful options?
Check out recommended resources that others find helpful.