Introduction
Finding water leaking from your Whirlpool Conquest refrigerator can be frustrating and concerning. Not only can it damage your flooring, but it can also indicate a problem that, if left unchecked, could lead to more serious issues with your appliance. Water leaks often occur unexpectedly, typically noticed as a puddle on the floor near the refrigerator. Addressing the leak promptly is crucial to prevent mold growth, structural damage to your home, and potential food spoilage. This guide will help you troubleshoot common causes and provide step-by-step instructions to fix the problem yourself.
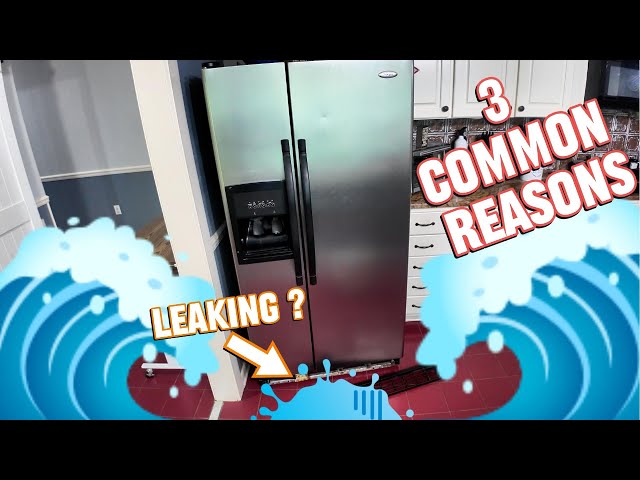
Common Causes of Whirlpool Conquest Refrigerator Leaking Water
Here are some of the most frequent reasons why your Whirlpool Conquest refrigerator might be leaking water:
- Clogged Defrost Drain: This is the most common culprit. The drain carries away water from the defrost cycle. If blocked, water overflows.
- Frozen Water Line: If your refrigerator has an ice maker or water dispenser, a frozen water line can cause leaks when it thaws.
- Faulty Water Inlet Valve: This valve controls the water supply to the ice maker and dispenser. A crack or loose connection can cause leaks.
- Cracked or Leaky Water Filter Housing: If your refrigerator has a water filter, the housing or the filter itself might be cracked or not properly sealed.
- Damaged Drain Pan: Located beneath the refrigerator, the drain pan collects defrost water. Cracks or holes will cause leaks.
- Loose or Damaged Door Seals: If the seals around the refrigerator doors are damaged, warm, moist air can enter, leading to condensation and eventual leaks.
- High Humidity: Excessive humidity in your kitchen can cause condensation to form on the inside of the refrigerator.
- Improper Leveling: If the refrigerator is not level, water might not drain properly and can leak.
Symptoms Checklist
Use this checklist to help identify the cause of your leak:
- Water pooling at the base of the refrigerator.
- Water leaking from inside the freezer.
- Water dripping from the water dispenser.
- Ice maker not working properly or producing ice slowly.
- Visible ice buildup inside the refrigerator or freezer.
- Dampness or mold growth near the refrigerator.
How to Fix Whirlpool Conquest Refrigerator Leaking Water Step-by-Step Guide
Follow these steps to troubleshoot and fix the leak:
- Unplug the Refrigerator: For safety, always disconnect the refrigerator from the power outlet before starting any repairs.
- Locate the Defrost Drain: Inside the freezer, typically at the back wall, you’ll find a small drain hole.
- Check for Ice Buildup: Inspect the drain hole for ice. If there’s ice, use a hair dryer (on a low setting) to melt it. Do not use sharp objects that could damage the drain.
- Clear the Defrost Drain: Use a turkey baster or a long, flexible object like a pipe cleaner or a thin, flexible plastic tube to clear any debris clogging the drain. Warm water can also help.
- Flush the Drain: Pour a cup of warm water down the drain to ensure it’s clear. Check underneath the refrigerator to see if the water is draining properly into the drain pan.
- Inspect the Water Line (if applicable): If you have an ice maker or water dispenser, carefully check the water line connection at the back of the refrigerator for leaks. Tighten connections if necessary.
- Check the Water Filter (if applicable): Remove and inspect the water filter and its housing for cracks or damage. Ensure the filter is properly seated and secured.
- Examine the Door Seals: Inspect the rubber seals around the refrigerator and freezer doors. Clean them with warm, soapy water to remove any debris. Replace damaged seals if necessary.
- Locate the Drain Pan: This is usually located at the bottom rear of the refrigerator. Carefully pull it out and inspect it for cracks or damage.
- Clean the Drain Pan: If the drain pan is intact, clean it thoroughly with warm, soapy water to remove any mildew or debris.
- Level the Refrigerator: Use a level to ensure the refrigerator is properly balanced. Adjust the leveling feet at the bottom of the refrigerator as needed.
- Check for Condensation: If the problem persists and the above steps don’t resolve the leak, monitor the refrigerator for excessive condensation, especially during humid periods.
- Plug the Refrigerator Back In: After completing the troubleshooting steps, plug the refrigerator back into the power outlet.
- Monitor for Leaks: Observe the refrigerator for a few days to ensure the leak has stopped.
Fix the Issue Without Buying Parts
Many leaks can be resolved with simple maintenance:
- Regular Cleaning: Clean the refrigerator’s interior and exterior regularly to prevent debris buildup.
- Defrosting: Manually defrost your refrigerator periodically to prevent ice buildup that can block the drain.
- Seal Inspection: Regularly inspect the door seals for damage and clean them to maintain a tight seal.
- Humidity Control: If your kitchen has high humidity, consider using a dehumidifier to reduce condensation.
When Replacement Might Be Necessary
In some cases, the leak might be due to a faulty water inlet valve or a severely damaged drain pan. Replacing these parts can be costly, ranging from $50 to $200 USD (depending on the part and model). If the main body of the refrigerator is cracked or corroded, or if multiple components are failing simultaneously, replacement might be the most practical option. Common parts that fail are the water inlet valve, defrost heater, or the drain pan itself.
Safety Warning
- Always unplug the refrigerator before performing any maintenance or repairs.
- Be careful when using electrical appliances like hair dryers near water.
- Clean up any spilled water immediately to prevent slips and falls.
- If you are uncomfortable performing these repairs yourself, consult a qualified appliance repair technician.
Tools You May Need
- Screwdrivers (Phillips and flathead)
- Turkey baster or flexible tubing
- Warm water
- Hair dryer (optional)
- Level
- Clean cloths or towels
- Bucket or container (to catch water)
FAQ
Here are some frequently asked questions:
- Q: Why is my refrigerator leaking even after I cleared the drain? A: There might be a secondary blockage further down the drain line or a cracked drain pan.
- Q: How often should I clean the defrost drain? A: It’s a good idea to clean it every 6 months, or more often if you notice ice buildup.
- Q: Can a faulty water filter cause a leak? A: Yes, if the filter is not properly installed or the housing is cracked, it can cause leaks.
- Q: My refrigerator is leaking from the bottom but the drain pan is empty. What could be the problem? A: The water line feeding the ice maker may be leaking. Check its connections.
Conclusion
Finding and fixing a water leak in your Whirlpool Conquest refrigerator can seem daunting, but with a little patience and this guide, you can often resolve the issue yourself. By systematically checking the common causes and following the troubleshooting steps, you can save money on repair costs and prevent further damage to your home. If you’ve tried these steps and the leak persists, don’t hesitate to contact a qualified appliance repair technician for professional assistance. Good luck!
Youtube Video:
Looking for more useful options?
Check out recommended resources that others find helpful.