Introduction
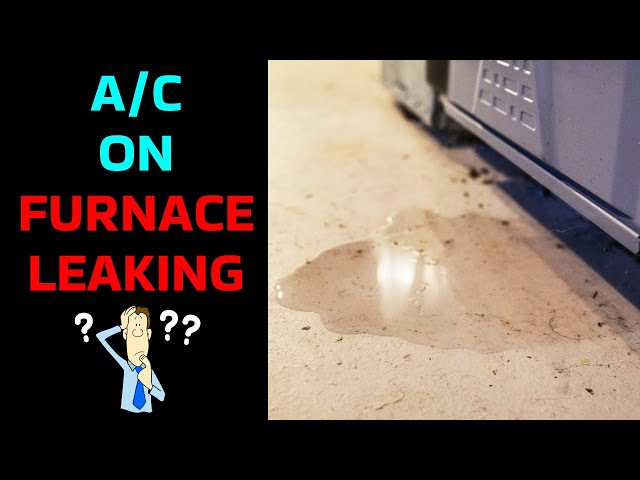
A leaking air conditioner can be a real headache, and more than just an annoyance. It can signal a problem within the system that, if left unchecked, could lead to bigger, more expensive repairs. You might notice water dripping inside your home, puddles forming around the outdoor unit, or even increased humidity in certain rooms. Addressing the reason for the aircon leaking promptly is essential to prevent water damage to your home and ensure your AC continues to cool efficiently. Don’t delay! A small leak can quickly turn into a major issue, so let’s get to the bottom of it.
Common Causes of Reason for Aircon Leaking
Here are some of the most frequent culprits behind a leaking air conditioner:
- Clogged Condensate Drain Line: This is the most common reason. The drain line carries away water that condenses as your AC cools the air. If it gets blocked with algae, dirt, or debris, the water backs up and leaks.
- Dirty Air Filter: A clogged air filter restricts airflow, causing the evaporator coil to freeze. When the ice melts, it overflows the drain pan.
- Low Refrigerant Levels: Low refrigerant can also cause the evaporator coil to freeze, leading to the same melting-overflow scenario as a dirty air filter.
- Broken Drain Pan: The drain pan collects the condensate. If it’s cracked, rusted, or damaged, water will leak out.
- Improper Installation: An improperly installed AC unit can have drainage issues from the start.
- Damaged or Disconnected Drain Line: The drain line itself can become damaged, cracked, or disconnected, resulting in leaks.
- Pump Failure (for units with condensate pumps): Some AC systems use a condensate pump to move water upwards. A pump failure prevents water from being drained.
- High Humidity: On extremely humid days, your AC might produce more condensation than the drain system can handle, leading to temporary overflows.
Symptoms Checklist
Here are signs that your air conditioner is leaking:
- Water dripping from the indoor unit.
- Puddles of water around the indoor or outdoor unit.
- Stains on the ceiling or walls near the indoor unit.
- A musty odor in the room.
- Increased humidity levels.
- The AC unit is running constantly but not cooling effectively.
- Visible ice buildup on the refrigerant lines or coils.
How to Fix Reason for Aircon Leaking Step-by-Step Guide
Follow these steps to troubleshoot your leaking air conditioner:
- Turn off the AC: Before you begin any troubleshooting, turn off the air conditioner at the thermostat and the breaker box. This ensures your safety.
- Inspect the Air Filter: Remove the air filter and check if it’s dirty. If it is, clean or replace it. A dirty filter is a common cause of freezing.
- Locate the Condensate Drain Line: The drain line is usually a PVC pipe located near the indoor unit. It typically runs outside or into a drain.
- Check the Drain Line for Clogs: Look for any visible blockage in the drain line.
- Clear the Drain Line: You can use a wet/dry vacuum to suck out any clogs from the drain line. Attach the vacuum hose to the end of the drain line and let it run for a few minutes. Alternatively, use a stiff wire or pipe cleaner to break up clogs.
- Flush the Drain Line: Pour a cup of white vinegar down the drain line. Vinegar can help dissolve algae and mold buildup. Let it sit for about 30 minutes, then flush with water.
- Inspect the Drain Pan: Locate the drain pan under the indoor unit. Check for cracks, rust, or any signs of damage.
- Clean the Drain Pan: If the drain pan is dirty, clean it with a mild detergent and water. Remove any standing water.
- Check for Ice Buildup: Look for ice on the refrigerant lines or evaporator coil. If you see ice, the problem might be low refrigerant or a frozen coil.
- Thaw the Ice: If there’s ice buildup, turn off the AC and let the ice melt completely. You can speed up the process with a fan.
- Restart the AC: After thawing, turn the AC back on and monitor it for a few hours to see if the leak persists.
- Check the Condensate Pump (if applicable): If your system has a condensate pump, ensure it’s working correctly. Listen for the pump running periodically. Check the pump’s reservoir and make sure it’s not overflowing.
- Check the Slope of the Drain Line: Make sure the drain line slopes downwards consistently to allow for proper drainage.
- Monitor for Continued Leaks: Keep an eye on the AC unit for a day or two after troubleshooting to ensure the leak is resolved.
Fix the Issue Without Buying Parts
Often, a simple cleaning or reset can resolve the issue without needing new parts:
- Regular Air Filter Cleaning: Cleaning or replacing your air filter every 1-3 months is crucial preventative maintenance.
- Drain Line Maintenance: Flushing the drain line with vinegar every few months helps prevent clogs.
- Visual Inspections: Regularly inspect the AC unit for signs of leaks, ice buildup, or other problems.
- Thermostat Reset: Sometimes, simply resetting your thermostat can help if the AC is malfunctioning.
When Replacement Might Be Necessary
If you’ve tried all the troubleshooting steps and the leak persists, you might need to consider replacing parts. A damaged drain pan typically requires replacement, costing around $50-$200 depending on the model. A failing condensate pump might need replacing, with prices ranging from $50-$300. However, if the leak is due to low refrigerant, it’s usually indicative of a larger problem, such as a refrigerant leak. Refrigerant leaks require professional repair and topping off the refrigerant; if the leak cannot be found and fixed, replacing the entire unit is likely the best option. Entire HVAC unit replacement can range from $3,000 to $7,000 or higher, depending on the size and efficiency of the unit.
Safety Warning
- Always turn off the power to the AC unit at the breaker box before starting any repairs.
- Avoid working with electrical components if you’re not comfortable. Call a professional.
- Be careful when handling tools to avoid injury.
- If you suspect a refrigerant leak, do not attempt to repair it yourself. Contact a licensed HVAC technician.
- Avoid standing in water while working with electrical appliances.
Tools You May Need
- Screwdrivers (Phillips and flathead)
- Wet/dry vacuum
- Stiff wire or pipe cleaner
- White vinegar
- Mild detergent
- Water
- Flashlight
- Gloves
FAQ
Here are some frequently asked questions about air conditioner leaks:
-
Q: Why is my AC leaking only on humid days?
A: On humid days, your AC works harder and produces more condensation, which can overwhelm the drain system. -
Q: How often should I clean my AC drain line?
A: It’s recommended to flush your drain line with vinegar every 3-6 months. -
Q: Is it safe to run my AC if it’s leaking?
A: It’s not recommended. A leak can damage your home and indicate a bigger problem with the AC unit. -
Q: Can I fix a refrigerant leak myself?
A: No. Refrigerant leaks should only be handled by licensed HVAC technicians due to environmental regulations and safety concerns. -
Q: What does it mean if my AC is leaking refrigerant?
A: It means that you have a puncture or slow leak in your copper lines running to/from the condenser.
Conclusion
Troubleshooting a leaking air conditioner can seem daunting, but with a little patience and the right steps, you can often resolve the issue yourself. Start with the simple fixes like cleaning the air filter and drain line. If you’ve exhausted all DIY options and the leak persists, don’t hesitate to call a qualified HVAC technician. Addressing the problem promptly will save you money and prevent further damage to your home. Good luck!
Youtube Video:
Looking for more useful options?
Check out recommended resources that others find helpful.