
Introduction
A Nest thermostat that isn’t cooling properly can be a frustrating problem, especially during hot weather. You might notice the thermostat set to a cool temperature, but your home remains warm and uncomfortable. This issue can lead to increased energy bills and a miserable living environment. Addressing this quickly is important to restore comfort and prevent further strain on your HVAC system. Explore more in our Air Conditioner Troubleshooting 5 collection.
💡 Technical Key Takeaways:
- Core Focus: Diagnostic schematic and terminal connection layout for Nest Thermostat Not Cooling Properly.
- Target Scope: Field technicians, automotive DIYers, and residential/commercial electricians.
- Safety Rule: Always disconnect the primary power source/battery terminal and verify zero voltage with a multimeter before touching wires.
Common Causes of Nest Thermostat Not Cooling Properly
Here are some common reasons why your Nest thermostat might not be cooling effectively:
- Incorrect Wiring: Improper wiring during installation is a common cause.
- Incorrect Settings: The thermostat might be set to “Heat” instead of “Cool,” or the temperature setting is too high.
- Filter Issues: A clogged air filter restricts airflow, reducing cooling efficiency.
- Airflow Obstruction: Blocked vents or registers prevent cool air from circulating.
- HVAC System Problems: The air conditioning unit itself could have mechanical issues.
- Nest Thermostat Error: In rare cases, the thermostat may be malfunctioning or need a reset.
- Nest Power Issues: Not enough power to the Nest Thermostat can cause cooling errors.
- Delayed Cooling: The thermostat has a built-in delay to protect the system.
- Eco Mode Active: Eco mode is set to a high temperature to save energy.
Symptoms Checklist
Check if you notice the following:
- The thermostat is set to “Cool,” but the air coming from vents is warm.
- The thermostat screen displays “Cooling,” but the AC unit isn’t running.
- The AC unit turns on, but only blows warm air.
- The AC unit cycles on and off frequently (short cycling).
- The house isn’t cooling evenly.
- Error messages on the Nest thermostat display.
- The Nest Thermostat has a low battery warning.
How to Fix Nest Thermostat Not Cooling Properly Step-by-Step Guide
Follow these steps to troubleshoot your Nest thermostat:
- Verify Cooling Mode: Ensure the thermostat is set to “Cool” mode, not “Heat” or “Off.”
- Lower the Target Temperature: Set the target temperature at least 5 degrees lower than the current room temperature.
- Check Air Filter: Inspect and replace the air filter if it’s dirty or clogged. A clean filter maximizes airflow.
- Inspect Air Vents and Registers: Make sure all vents and registers are open and not blocked by furniture or other objects.
- Check for Debris Around Outside AC Unit: Look at the outside unit and remove any leaves, branches, or debris that may be restricting airflow.
- Restart Nest Thermostat: Turn your Nest Thermostat off and on again. Go to Settings > Restart, on the thermostat.
- Check Wiring: Turn off the power to your HVAC system at the breaker. Carefully remove the Nest thermostat from the wall and check the wiring connections. Ensure all wires are securely connected to the correct terminals. Use the Nest app to double-check that the wiring configuration is correct. Be extra careful with this step.
- Check Power: Check your Nest’s power in the app. If it is low or fluctuating, this can cause issues with its functionality.
- Check the Delay Feature: Some Nest Thermostats delay cooling for a few minutes to protect the system.
- Deactivate Eco Mode: Eco mode can be restricting the thermostat to run at a higher temperature than needed.
- Test Basic Settings: Set the temperature way down to force cooling. Does the AC engage? If not, this can indicate a hardware failure.
- Check Breakers: Ensure the breaker for your HVAC system hasn’t tripped. Reset it if necessary.
- HVAC System Inspection: Listen to your outside AC unit. Is the fan spinning? Do you hear a buzzing noise? If it isn’t running and quiet, there may be a mechanical issue with the outside unit.
Fix the Issue Without Buying Parts
Before considering replacement parts, try these free methods:
- Reset the Nest Thermostat: Resetting the thermostat to its factory settings can resolve software glitches.
- Clean the Thermostat: Gently clean the thermostat screen and exterior with a soft, dry cloth.
- Recalibrate the Thermostat: Some Nest models allow for temperature calibration. Check the user manual for instructions.
- Inspect Wiring Connections: Double-check all wiring connections to ensure they are secure and properly connected.
- Schedule Regular Maintenance: Regularly clean or replace air filters, inspect vents, and clear debris from around the AC unit.
When Replacement Might Be Necessary
If none of the troubleshooting steps work, you might need to consider replacing a component of your system. The Nest thermostat itself could be faulty. An HVAC technician can further diagnose the system. Common components that may need to be replaced (by a professional) include the compressor, fan motor, or control board of your AC unit. Estimated costs can range from $200 for a simple repair to over $1000 for a major component replacement.
Safety Warning
- Always turn off the power to your HVAC system at the breaker before working with electrical components.
- Be cautious when working with wiring. If you’re unsure about any wiring connections, consult a qualified electrician.
- Avoid touching any internal components of the AC unit while it’s running.
- Keep your hands and tools dry when working with electrical components.
Tools You May Need
- Screwdriver (Phillips and flathead)
- Wire strippers (optional)
- Pliers (optional)
- New Air Filter
- Soft cloth for cleaning
FAQ
Here are some common questions and answers:
-
Q: My Nest thermostat says “Delayed for X minutes.” What does this mean?
A: This means the thermostat is intentionally delaying cooling to protect your AC compressor from damage due to short cycling. This is a normal function. -
Q: My AC unit is making a loud buzzing noise. What should I do?
A: Turn off the AC unit and contact a qualified HVAC technician immediately. This could indicate a serious mechanical problem. -
Q: How often should I replace my air filter?
A: It’s generally recommended to replace your air filter every 1-3 months, depending on usage and air quality. -
Q: My Nest thermostat keeps disconnecting from Wi-Fi. Is this related to the cooling problem?
A: While not directly related, a weak Wi-Fi connection can prevent the thermostat from communicating properly, potentially affecting its performance. Try troubleshooting your Wi-Fi connection.
Conclusion
Troubleshooting a Nest thermostat that’s not cooling properly can seem daunting, but following these steps can help you identify and resolve the issue. Try these fixes before contacting a technician. A technician can pinpoint the issue and prevent you from wasting money on unnecessary parts or services. With a little effort, you can restore comfort to your home. Discover more free resources across our collection library.
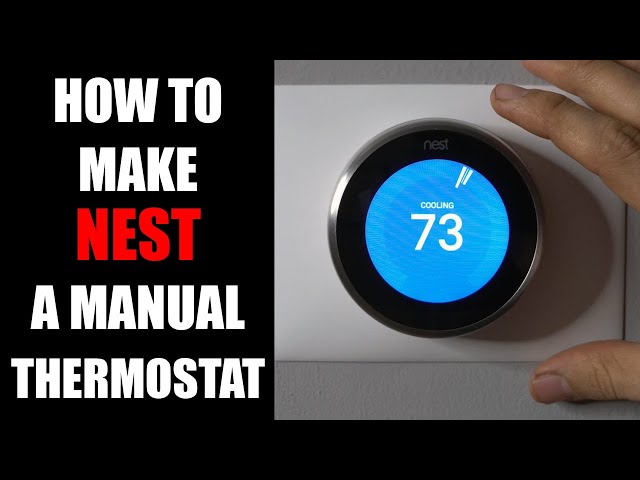
Youtube Video:
Quick Wiring Specifications & Terminal Guide
| Component / Circuit | Standard Wire Gauge | Recommended Protection |
|---|---|---|
| Control & Trigger Signals | 18 – 20 AWG | 5A – 7.5A Inline Fuse |
| Standard Auxiliary Load | 14 – 16 AWG | 15A – 20A Circuit Breaker |
| Main Power Feed / Supply | 10 – 12 AWG | 30A – 40A Heavy-Duty Relay |
