Introduction
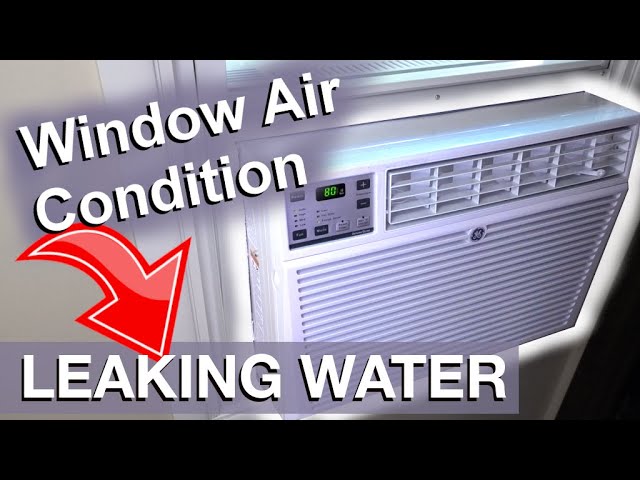
Discovering that your window AC is leaking water from the front can be concerning. Its not only messy but also indicates a problem that could damage your unit or even your home. This usually happens during periods of high humidity or when the AC is working extra hard. Addressing the issue promptly is crucial to prevent further damage and ensure your AC continues to cool efficiently.
Common Causes of My Window AC is Leaking Water From the Front
Several factors can contribute to your window AC leaking water from the front:
- Clogged Drain: The most common cause. Dust, debris, and mold can block the drain, preventing water from escaping properly.
- Incorrect Installation Angle: If the AC isn’t tilted slightly outwards, water can accumulate inside and leak from the front.
- Dirty Air Filter: A clogged air filter restricts airflow, causing the evaporator coil to freeze up. When the ice melts, the excess water can leak from the front.
- Damaged or Cracked Drain Pan: The drain pan collects condensation. If it’s damaged, it cannot hold the water effectively.
- Frozen Evaporator Coil: Low refrigerant levels or restricted airflow can cause the evaporator coil to freeze. Melting ice results in excessive water.
- High Humidity: Extremely humid conditions can overwhelm the AC’s drainage capacity, leading to leaks.
- Missing or Damaged Seal: The seal between the AC unit and the window frame might be damaged, allowing water to enter and leak from the front.
- Kinked or Blocked Drain Hose: If your unit has a drain hose connected to the back, it may be kinked, pinched, or blocked.
Symptoms Checklist
Confirm the problem with these indicators:
- Water dripping or running from the front of the AC unit.
- Visible ice formation on the evaporator coils (behind the air filter).
- Musty or moldy odor coming from the AC unit.
- Reduced cooling efficiency.
- Standing water around the base of the AC unit, inside or outside.
How to Fix My Window AC is Leaking Water From the Front Step-by-Step Guide
Follow these steps to troubleshoot and fix the leak:
- Unplug the AC Unit: Always disconnect the power before starting any repairs.
- Inspect the Installation Angle: Use a level to ensure the AC unit is tilted slightly downwards towards the outside. Adjust if needed.
- Clean the Air Filter: Remove the air filter and wash it with mild soap and water. Let it dry completely before reinstalling.
- Check and Clear the Drain Hole: Locate the drain hole (usually at the back of the unit, inside the base). Use a straightened paper clip, pipe cleaner, or small wire to gently clear any blockages.
- Inspect the Drain Pan: Carefully remove the AC’s outer casing (refer to your owner’s manual if needed). Check the drain pan for cracks or damage. If it’s accessible, clean it with a mild bleach solution (1 part bleach to 10 parts water) to remove mold.
- Melt Any Ice Buildup: If you see ice on the coils, unplug the AC and let it thaw completely. You can speed up the process with a hairdryer on a low setting, but keep it moving to avoid overheating.
- Check the Drain Hose (if applicable): If your unit has a drain hose, make sure it’s not kinked, pinched, or blocked. Disconnect it and flush it out with water.
- Clean the Evaporator Coils: Use a fin comb or a soft brush to gently clean the evaporator coils. You can also use a vacuum with a brush attachment.
- Reassemble the AC Unit: Carefully put the AC unit back together, ensuring all components are properly aligned.
- Test the Unit: Plug the AC unit back in and turn it on. Observe it for any leaks.
- Monitor Humidity Levels: If the leak occurs only during periods of high humidity, consider using a dehumidifier in the room.
- Check the Window Seal: Inspect the seal between the AC unit and the window frame. Apply weather stripping or caulk to seal any gaps.
Fix the Issue Without Buying Parts
Many leaks can be resolved without purchasing new parts:
- Reset the AC: Unplug the unit for 15 minutes, then plug it back in. This can sometimes resolve minor issues.
- Routine Cleaning: Regularly clean the air filter and inspect the drain hole to prevent blockages.
- Proper Installation: Ensure the AC unit is properly installed with a slight downward tilt.
- Maintenance: Clean the coils periodically to ensure efficient operation.
When Replacement Might Be Necessary
If the drain pan is severely damaged or cracked and cannot be repaired, or if the evaporator coil is extensively damaged, replacement might be necessary. Also, if you suspect a refrigerant leak, it’s best to consult a professional. Replacement costs can range from $150 to $500+ USD, depending on the size and features of the unit. Commonly failing parts include the drain pan, fan motor, and compressor (though compressor failure is usually a sign it’s time to replace the entire unit).
Safety Warning
- Always unplug the AC unit before performing any maintenance or repairs.
- Avoid working on the AC unit with wet hands or while standing on a wet floor.
- Be careful when handling sharp objects like fin combs to avoid injury.
- If you are uncomfortable performing any of these steps, consult a qualified technician.
Tools You May Need
- Screwdriver (Phillips and flathead)
- Level
- Paper clip or pipe cleaner
- Fin comb or soft brush
- Mild soap and water
- Bleach (for cleaning mold)
- Weather stripping or caulk
- Vacuum with brush attachment
FAQ
Here are some frequently asked questions:
- Q: Why is my AC leaking even after I cleaned the drain hole? A: There might be a deeper blockage or a crack in the drain pan. Double-check the drain pan and consider using a wet/dry vacuum to clear any stubborn debris.
- Q: How often should I clean my AC’s air filter? A: Ideally, you should clean the air filter every 2-4 weeks, depending on usage and air quality.
- Q: Can I use compressed air to clean the evaporator coils? A: Yes, but use it carefully and from a distance to avoid damaging the fins. A fin comb is a better option for thorough cleaning.
- Q: My AC is leaking and making a loud noise. What could it be? A: The leak and noise could indicate a frozen evaporator coil or a problem with the fan motor. Thaw the coil and check the fan for obstructions. If the noise persists, consult a technician.
Conclusion
Dealing with a leaky window AC can be frustrating, but with a systematic approach, you can often resolve the issue yourself. Start with the simple steps like cleaning the air filter and drain hole. If the problem persists, carefully inspect the internal components. Don’t hesitate to call a qualified technician if you’re unsure or uncomfortable performing any of the repairs. By taking a proactive approach, you can keep your AC running smoothly and avoid costly repairs down the road.
Youtube Video:
Looking for more useful options?
Check out recommended resources that others find helpful.