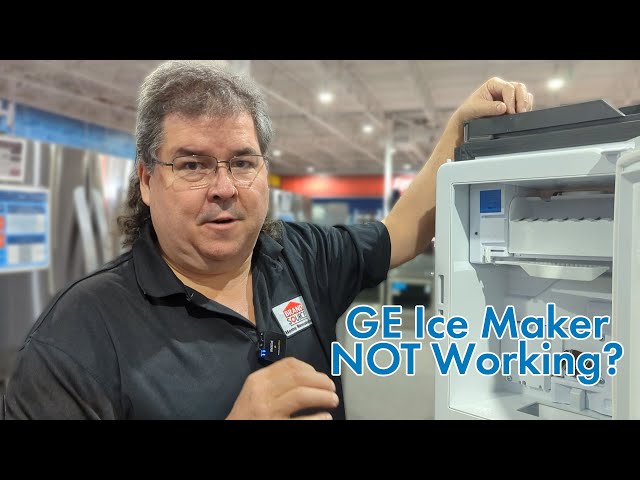
Introduction
A GE refrigerator’s water and ice maker are invaluable conveniences. When they stop working, it can be a major headache, especially during hot weather or when entertaining. You might find yourself suddenly needing to buy ice or bottled water. Before you panic, this guide will walk you through common issues and how to troubleshoot them. Addressing the problem quickly can prevent food spoilage and the inconvenience of manually making ice.
Common Causes of GE Refrigerator Water and Ice Maker Not Working
Here are some frequent culprits behind a malfunctioning ice maker and water dispenser:
- Frozen Water Line: Ice can block the water line, preventing water from reaching the dispenser and ice maker.
- Clogged Water Filter: A dirty filter restricts water flow.
- Ice Maker Arm is Off: The ice maker might be switched off accidentally.
- Low Freezer Temperature: If the freezer isn’t cold enough, ice won’t freeze.
- Faulty Water Inlet Valve: This valve controls the water supply to the dispenser and ice maker.
- Defective Ice Maker Module: The module controls the ice-making cycle.
- Door Switch Problems: If the door switch is faulty, it might think the door is open, preventing the dispenser from working.
- Kinked or Damaged Water Line: The line that supplies water to the refrigerator can become pinched.
- Low Water Pressure: Insufficient water pressure can prevent the ice maker from functioning.
Symptoms Checklist
Use this checklist to pinpoint the problem:
- No water dispenses when you press the dispenser lever.
- The ice maker is not producing any ice.
- Ice cubes are small or hollow.
- The water dispenser makes unusual noises.
- The water filter indicator light is on.
- The freezer temperature is too warm.
- Water is leaking from the dispenser or ice maker area.
How to Fix GE Refrigerator Water and Ice Maker Not Working Step-by-Step Guide
Follow these steps to troubleshoot and potentially fix the issue yourself:
- Check the Water Supply: Ensure the refrigerator is properly connected to the water line. Make sure the water supply valve (usually under the sink or in the basement) is fully open.
- Inspect the Water Line: Look for any kinks, bends, or damage in the water line running to the refrigerator. Straighten any kinks or replace the line if damaged.
- Check Water Pressure: If your house has low water pressure, it can affect the ice maker. Contact a plumber if you suspect low water pressure.
- Replace the Water Filter: A clogged filter is a common cause. Locate the water filter (usually inside the refrigerator or behind the bottom grille) and replace it with a new one. Refer to your refrigerator’s manual for the correct filter type and replacement instructions.
- Check the Freezer Temperature: The freezer should be set to around 0F (-18C). Use a thermometer to verify the temperature. Adjust the temperature settings if necessary.
- Check the Ice Maker Arm: Make sure the ice maker arm is in the “on” or “down” position. If it’s raised, the ice maker is switched off.
- Listen for the Ice Maker: After adjusting the temperature and filter, listen to see if the ice maker starts a cycle. It may take several hours for it to begin producing ice.
- Thaw a Frozen Water Line: If you suspect a frozen water line, unplug the refrigerator and leave the doors open for a few hours to allow it to thaw. You can also use a hairdryer (on a low setting) to gently warm the water line, but avoid overheating any components.
- Check the Water Inlet Valve: The water inlet valve is located behind the refrigerator. Access to this valve usually requires removing a back panel. Visually inspect the valve for any cracks or damage. A multimeter is needed to properly test the valve for continuity but that is beyond a beginner level.
- Check the Door Switch: Press and release the door switch (located on the refrigerator frame) to see if the dispenser activates momentarily. If the dispenser doesn’t activate when the switch is pressed, the switch may be faulty.
- Restart the Refrigerator: Sometimes, simply unplugging the refrigerator for 5-10 minutes and then plugging it back in can reset the system and resolve the issue.
- Inspect the Ice Maker Mold: Look for any ice buildup or mineral deposits in the ice maker mold. Clean the mold with warm water and a soft cloth.
- Clean the Condenser Coils: Dust and debris on the condenser coils can reduce the refrigerator’s efficiency, affecting the ice maker. Locate the coils (usually on the back or bottom of the refrigerator) and vacuum them carefully.
Fix the Issue Without Buying Parts
Here are some free methods to try before considering replacements:
- Reset: Unplug the fridge for 10 minutes to reset.
- Cleaning: Clean the ice maker mold and water dispenser nozzle.
- Inspection Tips: Check for kinks in the water line and ensure the ice maker arm is down.
- Maintenance Basics: Regularly replace the water filter every 6 months. Clean condenser coils twice a year.
When Replacement Might Be Necessary
If the above steps don’t work, you may need to replace a faulty part. Common parts that fail include:
- Water Inlet Valve: $30 – $70
- Ice Maker Module: $80 – $150
- Water Filter Housing: $40 – $80
Consider contacting a qualified appliance repair technician for diagnosis and replacement if you’re not comfortable with electrical work.
Safety Warning
- Always unplug the refrigerator before performing any repairs.
- Avoid working on electrical components with wet hands or on wet floors.
- Be careful when handling sharp tools or components.
- If you’re unsure about any step, consult a qualified appliance repair technician.
Tools You May Need
- Screwdrivers (Phillips and flathead)
- Pliers
- Adjustable wrench
- Multimeter (optional, for testing electrical components)
- Bucket or towels
- New water filter
FAQ
Here are some frequently asked questions:
- Q: Why is my ice maker making small or hollow cubes? A: This is often caused by low water pressure or a partially clogged water filter.
- Q: How often should I replace my water filter? A: GE recommends replacing your water filter every 6 months.
- Q: My ice maker is making ice, but it’s not dispensing. What could be wrong? A: Check for a frozen ice chute or a jammed ice dispenser mechanism.
- Q: How long does it take for a new ice maker to start producing ice? A: It typically takes 24-48 hours for a new ice maker to start producing ice.
- Q: Can I use any water filter in my GE refrigerator? A: No, you should use a filter that is specifically designed for your GE refrigerator model.
- Q: What is the proper freezer temperature? A: Set your freezer between 0 and 5 degrees Fahrenheit (-18 to -15 degrees Celsius).
Conclusion
Troubleshooting a GE refrigerator water and ice maker can seem daunting, but by following these steps, you can often diagnose and fix the problem yourself. Remember to prioritize safety and consult a professional if you’re uncomfortable with any of the procedures. Hopefully, you can get your ice and water flowing again without needing to call a technician!
Youtube Video:
Looking for more useful options?
Check out recommended resources that others find helpful.