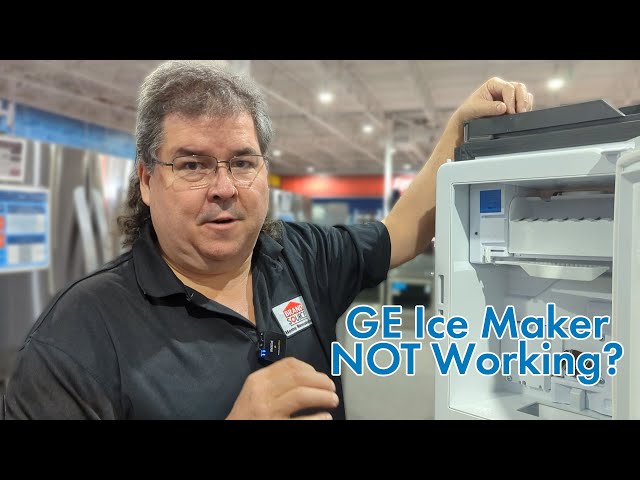
Introduction
Is your GE side-by-side refrigerator not making ice? This is a common problem, and a frustrating one, especially during hot weather. A working ice maker is a convenience many of us rely on, and when it stops producing ice, it can be a real inconvenience. Before you call a repair technician, there are several simple things you can check and try yourself. This guide will walk you through troubleshooting steps to help you get your ice maker running again quickly.
Common Causes of GE Refrigerator Side by Side Not Making Ice
Here are some of the most common reasons why your GE refrigerator’s ice maker might not be producing ice:
- Freezer Temperature Too High: The freezer needs to be cold enough for ice to form.
- Water Supply Issue: No water reaching the ice maker means no ice.
- Ice Maker is Turned Off: It sounds simple, but it’s easily overlooked!
- Clogged Water Filter: A dirty filter restricts water flow.
- Frozen Water Line: A frozen line prevents water from reaching the ice maker.
- Ice Jam in the Ejector Arm: Ice clumps can block the ice maker mechanism.
- Faulty Water Inlet Valve: This valve controls the water flow to the ice maker.
- Defective Ice Maker Module: The module controls the ice-making process.
Symptoms Checklist
Use this checklist to identify the issue accurately:
- The freezer is cold, but no ice is produced.
- The ice maker is not making any noise.
- The ice dispenser is not working either.
- Ice cubes are small or hollow.
- Water is leaking inside the refrigerator or around the ice maker.
- The “Ice Off” light is illuminated.
How to Fix GE Refrigerator Side by Side Not Making Ice Step-by-Step Guide
- Check the Freezer Temperature: Ensure the freezer is set to 0F (-18C) or slightly below.
- Locate the Ice Maker On/Off Switch: Many GE models have a wire arm or a switch. Make sure it’s in the “On” position.
- Inspect the Water Line: Look for any kinks or damage to the water line running to the refrigerator.
- Check the Water Supply Valve: Make sure the valve behind the refrigerator that supplies water is fully open.
- Replace the Water Filter: A clogged water filter is a common culprit. Replace it every 6 months or as recommended by the manufacturer.
- Thaw a Frozen Water Line: If you suspect a frozen water line, try using a hairdryer (on low heat) to gently thaw it. Be careful not to overheat any components.
- Clear Ice Jams: Remove the ice bin and check for any ice clumps blocking the ice maker’s ejector arm. Break up the ice jam carefully.
- Test the Water Inlet Valve: (Advanced proceed with caution). The water inlet valve may require testing with a multimeter for continuity when the ice maker calls for water. Consult your refrigerator’s repair manual or search online for specific testing instructions.
- Perform a Manual Ice Maker Cycle: On some models, you can manually start an ice-making cycle by pressing and holding a test button (usually located on the bottom of the ice maker) for a few seconds. See your owner’s manual.
- Listen for the Water Fill: After initiating a cycle, listen for the sound of water filling the ice maker tray. If you don’t hear it, it could indicate a water supply problem or a faulty inlet valve.
- Check the Ice Maker Arm: Sometimes the ice maker arm gets stuck. Ensure it can move freely.
- Unplug and Reset: As a last resort before further troubleshooting, unplug the refrigerator for 5-10 minutes to reset the system.
Fix the Issue Without Buying Parts
Before spending money on replacement parts, try these free methods:
- Reset: Unplugging the refrigerator for 5-10 minutes often resolves minor issues.
- Cleaning: Thoroughly clean the ice maker compartment and remove any ice buildup.
- Inspection: Check all connections for looseness or damage.
- Maintenance: Regularly replace the water filter and clean the condenser coils (usually located at the back of the refrigerator) to maintain optimal performance.
When Replacement Might Be Necessary
If you’ve tried all the troubleshooting steps and your ice maker still isn’t working, a replacement part might be necessary. Common parts that fail include:
- Water Inlet Valve: Controls the flow of water to the ice maker (Estimated cost: $30-$70).
- Ice Maker Module: The brain of the ice maker (Estimated cost: $80-$150).
Consider calling a qualified appliance repair technician for diagnosis and repair, especially if you’re not comfortable working with electrical components. A service call can cost around $75-$150.
Safety Warning
- Always unplug the refrigerator before performing any repairs.
- Be careful when working with electrical components.
- Avoid getting water on electrical parts.
- If you’re uncomfortable with any of these steps, call a qualified appliance repair technician.
- Do not use excessive force when thawing frozen water lines.
Tools You May Need
- Screwdriver (Phillips and flathead)
- Pliers
- Hairdryer (for thawing frozen lines)
- Multimeter (for advanced testing)
- Towels (to clean up any spills)
FAQ
Here are some frequently asked questions:
- Q: How often should I replace my water filter? A: Every 6 months, or as recommended by the manufacturer.
- Q: Why are my ice cubes small and hollow? A: This usually indicates a water supply problem, such as a clogged filter or low water pressure.
- Q: How do I know if my water inlet valve is bad? A: You can test it with a multimeter to see if it has continuity when the ice maker calls for water. If not, it’s likely faulty.
- Q: My ice maker makes a grinding noise, but no ice. What’s wrong? A: This could indicate a problem with the ice maker motor or ejector mechanism.
Conclusion
Troubleshooting a GE side-by-side refrigerator that’s not making ice can seem daunting, but by following these steps, you can often identify and fix the problem yourself. Remember to start with the simplest solutions, like checking the temperature and water supply. If you’ve exhausted these options and are still having trouble, don’t hesitate to call a qualified appliance repair technician. Good luck!
Youtube Video:
Looking for more useful options?
Check out recommended resources that others find helpful.