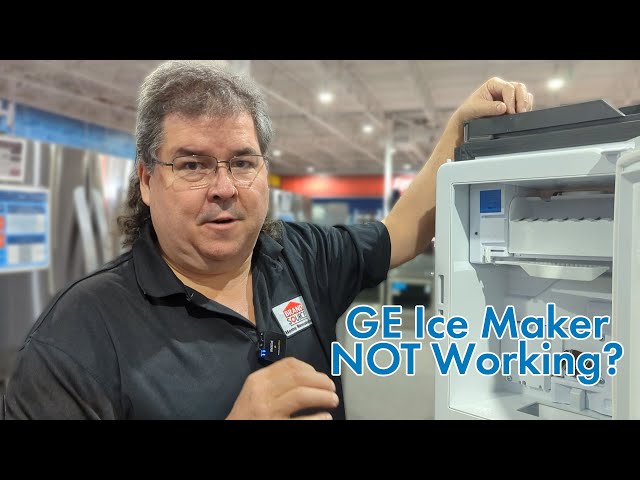
Introduction
Having a GE ice maker that refuses to dump ice can be frustrating. Imagine wanting a cold drink on a hot day, only to find the ice maker tray full of ice that won’t come out! This issue often arises from a variety of causes, from simple blockages to more complex mechanical problems. Addressing this promptly is important to avoid inconvenience and prevent potential damage to your ice maker or refrigerator.
Common Causes of GE Ice Maker Not Dumping Ice
Here are several reasons why your GE ice maker might not be dumping ice:
- Ice Buildup: Ice chunks can freeze together, creating a large mass that’s too big to eject.
- Frozen Water Line: A frozen water line restricts water flow, preventing ice formation and causing the existing ice to freeze together.
- Faulty Ice Maker Module: The ice maker module controls the entire ice-making process. If it’s defective, it might not initiate the dumping cycle.
- Stuck Ejector Arm: The ejector arm pushes the ice out of the tray. If it’s stuck or broken, the ice won’t be dispensed.
- Full Ice Bin Sensor Issues: If the sensor thinks the bin is full when it isn’t, it won’t start the ice-making process.
- Low Freezer Temperature: If the freezer is too cold, the ice can freeze together excessively.
- Clogged Water Filter: A clogged filter restricts water flow, impacting ice production and potentially causing frozen ice clumps.
- Damaged Ice Mold: Cracks or damage to the ice mold itself can prevent ice from releasing properly.
Symptoms Checklist
Confirm if your GE ice maker has these symptoms:
- Ice maker is full of ice, but not dispensing.
- Ice is frozen together in a large block.
- No ice is being produced at all.
- You hear the ice maker running but no ice is being ejected.
- The ice maker’s ejector arm is not moving.
- The ice bin is empty, but the ice maker is not refilling.
How to Fix GE Ice Maker Not Dumping Ice Step-by-Step Guide
Follow these steps to troubleshoot and fix your ice maker:
- Unplug the Refrigerator: For safety, unplug your refrigerator before starting any repairs.
- Check the Freezer Temperature: Ensure the freezer temperature is set between 0F and 5F (-18C to -15C).
- Inspect for Ice Buildup: Look for ice buildup in the ice maker tray and around the ejector arm.
- Manually Melt Ice Buildup: Use a hairdryer on a low setting to gently melt any ice buildup. Avoid prolonged heat exposure.
- Remove the Ice Bin: Take out the ice bin and inspect it for large chunks of ice. Break them up if necessary.
- Check the Water Filter: Replace the water filter if it hasn’t been changed in the last 6 months. A clogged filter can significantly reduce water flow.
- Inspect the Water Line: Check the water line behind the refrigerator for kinks or freezing. If frozen, try thawing it with a hairdryer.
- Reset the Ice Maker: Most GE ice makers have a reset button (often red) on the bottom or side of the ice maker unit. Press and hold it for 5-10 seconds.
- Check the Ejector Arm: Ensure the ejector arm moves freely. If it’s stuck, gently try to dislodge it.
- Test the Ice Maker’s Operation: After resetting, wait a few hours for the ice maker to cycle. Listen for the sound of water filling the tray.
- Check the Full Ice Bin Sensor: Locate the sensor (usually a wire arm or light sensor) and make sure it’s not obstructed.
- Clean the Ice Maker: Use a solution of baking soda and water to clean the ice maker components.
- Plug in the Refrigerator: After completing the above steps, plug the refrigerator back in.
- Monitor Ice Production: Give the ice maker 24 hours to produce ice.
Fix the Issue Without Buying Parts
Before considering replacement parts, try these free solutions:
- Resetting the Ice Maker: As mentioned, a simple reset can sometimes resolve minor issues.
- Cleaning the Ice Maker: Removing ice buildup and debris can improve performance.
- Checking Temperature Settings: Ensure the freezer is at the correct temperature.
- Inspecting Water Lines: Look for kinks or obstructions in the water supply line.
- Regular Maintenance: Replace the water filter every 6 months.
When Replacement Might Be Necessary
If the above steps don’t resolve the issue, you may need to replace a part. Common failing parts include:
- Ice Maker Module: (Estimated cost: $80-$200 USD)
- Water Inlet Valve: (Estimated cost: $50-$100 USD)
- Ice Mold: (Estimated cost: $60-$150 USD)
Consider consulting a qualified appliance repair technician for diagnosis and part replacement.
Safety Warning
- Always unplug the refrigerator before performing any repairs.
- Avoid pouring water directly into the ice maker to melt ice, as this can damage electrical components.
- Be careful when using tools to avoid injury.
- Ensure the floor is dry to prevent electric shock.
Tools You May Need
- Screwdrivers (Phillips and flathead)
- Hairdryer
- Baking soda
- Warm water
- Clean cloths
- Pliers (optional)
FAQ
Here are some frequently asked questions:
- Q: Why is my ice maker making small or hollow ice cubes? A: This often indicates low water pressure or a clogged water filter.
- Q: How do I know if the ice maker module is bad? A: If the ice maker is not cycling at all, even after resetting, the module may be defective.
- Q: How long should I wait after resetting the ice maker to see if it works? A: Allow 24 hours for the ice maker to produce ice after resetting.
- Q: Can I manually fill the ice maker tray with water? A: No, do not manually fill the ice maker tray, as this can damage the unit.
Conclusion
Troubleshooting a GE ice maker that’s not dumping ice can seem daunting, but by following these steps, you can often resolve the issue yourself. Remember to prioritize safety and take your time. If you’ve exhausted all these troubleshooting steps and your ice maker still isn’t working, it’s best to call a qualified appliance repair technician for professional assistance. Good luck!
Youtube Video:
Looking for more useful options?
Check out recommended resources that others find helpful.