Introduction
A Daikin mini split AC system is a great way to cool your home efficiently, but it can be frustrating when it stops working. Whether it’s blowing warm air, not turning on at all, or showing error codes, a malfunctioning AC can make your home uncomfortable, especially during hot weather. Addressing the problem quickly can prevent further damage and save you money on costly repairs. This guide provides simple steps you can take to diagnose and potentially fix the issue yourself.
Common Causes of Daikin Mini Split AC Not Working
Here are some common reasons why your Daikin mini split AC might not be working:
- Dirty Air Filters: Clogged filters restrict airflow, causing the unit to overheat and reduce cooling efficiency.
- Blocked Outdoor Unit: Debris like leaves, dirt, or snow can obstruct the outdoor unit, hindering its ability to release heat.
- Refrigerant Leaks: Low refrigerant levels can significantly reduce cooling capacity.
- Frozen Evaporator Coil: Restricted airflow due to dirty filters or fan problems can cause the evaporator coil to freeze.
- Electrical Issues: Problems with the power supply, wiring, or circuit breaker can prevent the unit from turning on.
- Remote Control Problems: The remote might have dead batteries, be set to the wrong mode, or be malfunctioning.
- Condensate Drain Blockage: A clogged drain line can cause the unit to shut down or leak water.
- Faulty Capacitor: The capacitor helps start the motor. If it fails, the unit might not turn on.
- Thermostat Settings: Incorrect thermostat settings or a malfunctioning thermostat can prevent the unit from cooling properly.
- Compressor Failure: The compressor is the heart of the system. If it fails, the unit won’t cool.
Symptoms Checklist
Use this checklist to help pinpoint the problem:
- The unit doesn’t turn on at all.
- The unit turns on, but blows warm air.
- The unit makes unusual noises (e.g., banging, hissing, buzzing).
- The unit is leaking water.
- The remote control isn’t working.
- The unit displays an error code.
- The airflow is weak or nonexistent.
- The outdoor unit isn’t running.
- Ice is forming on the indoor or outdoor unit.
How to Fix Daikin Mini Split AC Not Working Step-by-Step Guide
Follow these steps to troubleshoot your Daikin mini split AC:
- Check the Power Supply: Make sure the unit is plugged in and the circuit breaker hasn’t tripped. Reset the breaker if necessary.
- Replace the Remote Control Batteries: Ensure the remote has fresh batteries and is set to the correct mode (cool).
- Clean the Air Filters: Remove the air filters from the indoor unit and wash them with mild soap and water. Let them dry completely before reinstalling.
- Inspect the Outdoor Unit: Clear away any debris (leaves, dirt, snow) that might be blocking the outdoor unit. Ensure proper airflow.
- Check the Thermostat Settings: Make sure the thermostat is set to “cool” and the temperature is lower than the current room temperature.
- Reset the Unit: Turn off the unit and unplug it from the power outlet for a few minutes. Then, plug it back in and turn it on. This can sometimes reset the system.
- Inspect the Condensate Drain Line: Locate the condensate drain line (usually a PVC pipe) and check for any clogs. You can try using a wet/dry vacuum to clear any blockages.
- Look for Ice Formation: If you see ice forming on the indoor or outdoor unit, turn off the unit and let it thaw completely before troubleshooting further.
- Listen for Unusual Noises: Note any unusual noises (banging, hissing, buzzing) as they can indicate specific problems.
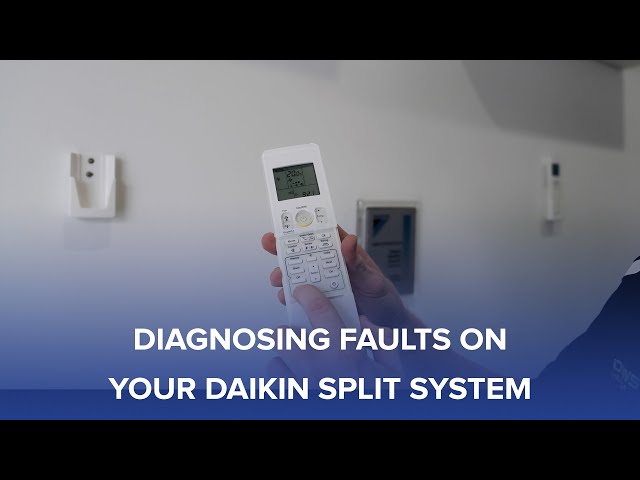
- Check for Error Codes: Consult your Daikin owner’s manual to identify the meaning of any error codes displayed on the unit. These codes can help pinpoint the problem.
- Check the Fan: Ensure both the indoor and outdoor unit fans are spinning freely. If a fan is stuck, it might need cleaning or professional repair.
- Inspect Wiring Connections: Visually inspect the wiring connections inside the unit (after turning off the power!). Look for loose or damaged wires. This is best left to a professional if you’re not comfortable.
- Test the Capacitor: (This step requires basic electrical knowledge and a multimeter.) Carefully discharge the capacitor and test it with a multimeter. A faulty capacitor might need replacement by a qualified technician.
Fix the Issue Without Buying Parts
Many common issues can be resolved without replacing any parts:
- Regular Cleaning: Clean air filters every 1-3 months. Clean the outdoor unit regularly to remove debris.
- Resetting the System: Unplugging the unit for a few minutes can often resolve minor issues.
- Checking Settings: Ensure the thermostat and remote control are set correctly.
- Inspect for Obvious Obstructions: Regularly check for and remove any blockages around the indoor and outdoor units.
- Basic Maintenance: Keep the area around the units clean and free of obstructions.
When Replacement Might Be Necessary
While many issues can be resolved with simple troubleshooting, some problems might require professional repair or replacement:
- Compressor Failure: Replacing a compressor can be expensive, often ranging from $800 to $2000.
- Refrigerant Leaks: If you suspect a refrigerant leak, a professional technician will need to locate and repair the leak and recharge the system. This can cost $300-$800. Repeated leaks suggest a serious underlying problem.
- Major Electrical Issues: Significant electrical damage might make replacing the entire unit more cost-effective than extensive repairs.
- Age: If your unit is over 10-15 years old, replacement might be a better option than repairing it.
- Common failing parts: Capacitors, fan motors, and control boards are parts that commonly fail in mini split systems.
Safety Warning
- Always turn off the power to the unit at the circuit breaker before performing any maintenance or troubleshooting.
- Avoid touching any electrical components with wet hands.
- If you’re not comfortable working with electrical wiring, contact a qualified HVAC technician.
- Be careful when handling sharp objects or tools.
- Do not attempt to repair refrigerant leaks yourself. This requires specialized equipment and knowledge.
Tools You May Need
- Screwdriver (Phillips and flathead)
- Wrench set
- Multimeter (for testing electrical components – use with caution!)
- Wet/dry vacuum
- Air filter cleaner
- Flashlight
FAQ
Here are some frequently asked questions:
-
Q: My Daikin mini split is blowing warm air. What could be the problem?
A: Common causes include dirty air filters, low refrigerant levels, or a blocked outdoor unit. -
Q: The unit isn’t turning on at all. What should I check?
A: Check the power supply, circuit breaker, and remote control batteries. -
Q: How often should I clean the air filters?
A: Clean the air filters every 1-3 months, depending on usage and air quality. -
Q: What does it mean when my Daikin mini split displays an error code?
A: Consult your owner’s manual to identify the meaning of the error code. This can help pinpoint the specific problem.
Conclusion
Troubleshooting a Daikin mini split AC that isn’t working can seem daunting, but by following these steps, you can often diagnose and fix the problem yourself. Remember to prioritize safety and consult a qualified technician if you’re uncomfortable with any aspect of the troubleshooting process. Before calling a technician, try these simple fixes first you might be surprised at how much you can resolve on your own!
Youtube Video:
Looking for more useful options?
Check out recommended resources that others find helpful.