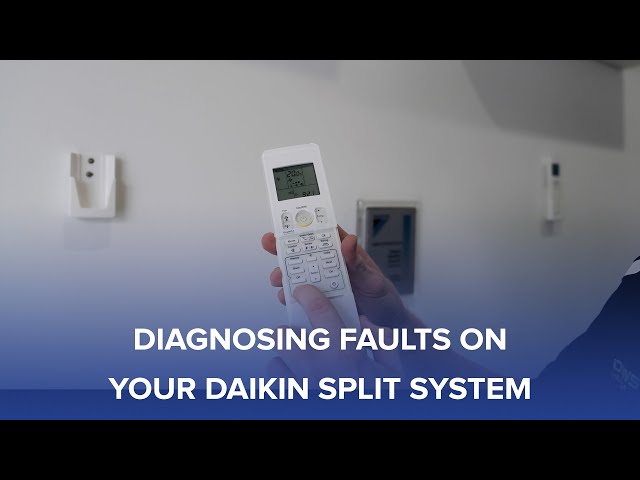
Introduction
It’s frustrating when your Daikin air conditioner turns on, but doesn’t actually cool your home. You hear the fan running, maybe see the lights, but the air remains warm. This is a common problem, especially during peak summer months, and it can cause discomfort and even health issues if your home becomes too hot. Addressing this quickly is important to maintain a comfortable and safe living environment. Fortunately, many of the causes can be diagnosed and potentially resolved by you before calling in a professional.
Common Causes of daikin air conditioner turns on but not working
Several factors can cause your Daikin air conditioner to turn on but not work effectively:
- Dirty Air Filter: A clogged filter restricts airflow, making the unit work harder and less efficiently.
- Frozen Evaporator Coil: Restricted airflow or low refrigerant can cause the evaporator coil to freeze.
- Dirty Condenser Coil: Dirt and debris on the outdoor unit’s coil hinder heat exchange.
- Refrigerant Leaks: Low refrigerant levels reduce cooling capacity.
- Faulty Compressor: The compressor is the heart of the system, and a failure here means no cooling.
- Capacitor Issues: Capacitors help start and run the motor. A weak capacitor can prevent the compressor or fan from operating correctly.
- Blocked Vents: Obstructed vents restrict airflow throughout your home.
- Thermostat Settings: Incorrect thermostat settings, like being set to “fan only” or too high a temperature, can prevent cooling.
- Electrical Problems: Tripped circuit breakers or loose wiring can disrupt power to the unit.
Symptoms Checklist
These indicators can help pinpoint the cause:
- The unit turns on, but the air is not cold.
- The fan is running, but the compressor is not.
- Ice buildup on the indoor or outdoor unit.
- Unusual noises coming from the unit.
- Higher than usual energy bills.
- Blowing warm air
- Thermostat displays an error message
How to Fix daikin air conditioner turns on but not working Step-by-Step Guide
- Check the Thermostat: Ensure the thermostat is set to “cool” and the temperature is lower than the current room temperature.
- Inspect the Air Filter: Remove the air filter and check if it’s dirty. If so, clean or replace it.
- Check Circuit Breaker: Go to your home’s electrical panel and ensure the breaker for the air conditioner hasn’t tripped. Reset it if necessary.
- Examine the Outdoor Unit: Look for any visible debris blocking the condenser coil.
- Clean the Condenser Coil: Gently spray the condenser coil with a garden hose to remove dirt and debris. Be careful not to damage the fins. Turn the power OFF first.
- Check for Ice Buildup: If you see ice on the indoor or outdoor unit, turn off the AC and let it thaw for several hours. A frozen coil indicates airflow or refrigerant issues.
- Inspect Vents and Registers: Make sure all vents and registers in your home are open and unobstructed.
- Listen for Unusual Noises: Pay attention to any unusual noises coming from the unit, such as grinding, squealing, or buzzing. These noises can indicate mechanical problems.
- Check the Condensate Drain: Ensure the condensate drain line is not clogged. A clogged drain can cause water to back up and shut down the unit.
- Inspect the Capacitor (If Comfortable and Safe): WARNING: Capacitors can hold an electrical charge even when the unit is off. If you’re comfortable and knowledgeable, carefully discharge the capacitor using an insulated screwdriver before inspecting it. Look for bulging or leaking. DO NOT TOUCH the terminals without discharging first.
- Restart the Unit: After completing the above steps, turn the air conditioner back on and see if it’s working properly.
- Check the Fan Blade: Ensure the fan blade spins freely. If it’s stuck, it could indicate a motor problem.
- Monitor the Cooling Performance: Give the unit some time to cool the room. Monitor the temperature and airflow to see if the issue has been resolved.
Fix the Issue Without Buying Parts
Here are some methods that don’t require replacing parts:
- Reset the System: Turn off the AC and breaker for 30 minutes before restarting.
- Clean the Air Filter Regularly: At least once a month, especially during heavy use.
- Clear Debris Around the Outdoor Unit: Keep the area around the outdoor unit free of plants, leaves, and other obstructions.
- Inspect for Leaks: Check for signs of refrigerant leaks, such as oily residue around connections. Call a technician if you suspect a leak.
- Basic Maintenance: Schedule regular maintenance checks to prevent future issues.
When Replacement Might Be Necessary
If you’ve tried all the troubleshooting steps and your air conditioner still isn’t working, a replacement might be necessary. Here are some situations where replacement is likely:
- Compressor Failure: A faulty compressor is a major repair and often more cost-effective to replace the entire unit.
- Refrigerant Leaks: Extensive refrigerant leaks that are difficult or impossible to repair.
- Age of the Unit: If your unit is over 10-15 years old, it may be nearing the end of its lifespan.
Replacement costs can range from $3,000 to $7,000 USD depending on the size and efficiency of the unit. Common failing parts include the compressor, fan motor, and circuit board.
Safety Warning
- Always turn off the power to the air conditioner at the circuit breaker before performing any maintenance or repairs.
- Avoid touching electrical components with wet hands.
- Be cautious when working around the outdoor unit, as the fan blades can be sharp.
- If you’re not comfortable working with electrical components, contact a qualified technician.
Tools You May Need
- Screwdrivers (Phillips and flathead)
- Wrench set
- Garden hose
- Vacuum cleaner (for cleaning)
- Multimeter (for testing electrical components – advanced users)
FAQ
Here are some frequently asked questions:
- Q: Why is my AC blowing warm air? A: This could be due to a dirty air filter, frozen evaporator coil, or low refrigerant levels.
- Q: How often should I clean my air filter? A: At least once a month, or more often if you have pets or allergies.
- Q: Can I add refrigerant to my AC myself? A: No, refrigerant handling requires specialized equipment and training. Contact a qualified technician.
- Q: Why is my AC unit making a loud noise? A: This could indicate a problem with the compressor, fan motor, or other mechanical components. Contact a technician.
- Q: How do I know if my AC unit needs to be replaced? A: If your unit is old, inefficient, or requires frequent repairs, it may be time for a replacement.
Conclusion
Don’t let a malfunctioning Daikin air conditioner ruin your comfort. By following this troubleshooting guide, you can potentially diagnose and fix the issue yourself. Start with the simple solutions like checking the thermostat and cleaning the air filter. If the problem persists after trying these steps, it’s best to consult with a qualified HVAC technician for a professional diagnosis and repair. Take pride in knowing you tried to resolve the issue yourself before calling for professional assistance!
Youtube Video:
Looking for more useful options?
Check out recommended resources that others find helpful.