Introduction
Is your air conditioner running constantly but not reaching the temperature you set on the thermostat? This is a common and frustrating problem. When your AC isn’t cooling properly, your home becomes uncomfortable, your energy bills skyrocket, and the AC unit itself can be overworked, potentially leading to more serious issues. Addressing this problem promptly is important for both your comfort and the longevity of your cooling system.
Common Causes of AC Not Going to Set Temperature
Here are some potential reasons why your AC might not be cooling as expected:
- Dirty Air Filter: A clogged air filter restricts airflow, making the AC work harder and reducing its cooling efficiency.
- Dirty Condenser Coils: Located outside, these coils release heat. If they’re covered in dirt and debris, they can’t effectively dissipate heat.
- Frozen Evaporator Coil: Ice buildup on the indoor coil hinders its ability to absorb heat.
- Refrigerant Leak: Low refrigerant levels reduce the AC’s cooling capacity.
- Blocked Vents: Obstructed vents prevent proper airflow throughout your home.
- Leaky Ductwork: Leaks in the ductwork can cause conditioned air to escape before it reaches its intended destination.
- Thermostat Problems: A malfunctioning or incorrectly calibrated thermostat can misread the room temperature or send incorrect signals to the AC unit.
- Oversized or Undersized AC Unit: If the AC unit is not properly sized for the area it needs to cool, it may not be able to reach the set temperature.
- Poor Insulation: Inadequate insulation in your home can cause heat to leak in, making it difficult for the AC to keep up.
- Closed or Blocked Return Vents: Restricting airflow to the return vents can reduce efficiency.
Symptoms Checklist
Look for these signs to confirm if your AC is struggling to reach the set temperature:
- AC runs constantly without shutting off.
- The air coming from the vents isn’t as cold as usual.
- The thermostat displays a temperature higher than the setpoint, even after the AC has been running for a long time.
- Increased energy bills.
- Ice buildup on the indoor unit or copper lines.
- Unusual noises coming from the AC unit.
How to Fix AC Not Going to Set Temperature Step-by-Step Guide
Follow these steps to troubleshoot your AC:
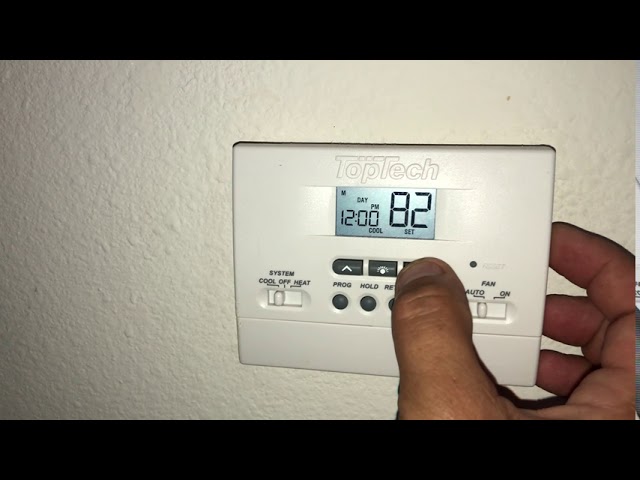
- Check the Thermostat: Ensure the thermostat is set to “Cool” mode and the temperature is set lower than the current room temperature. Verify the batteries are fresh if it’s battery-powered.
- Replace the Air Filter: A dirty air filter is the most common cause of cooling problems. Replace it with a clean filter of the correct size.
- Check for Blocked Vents: Make sure all supply and return vents are open and unobstructed by furniture, rugs, or curtains.
- Inspect the Outdoor Unit: Clear away any leaves, grass, or debris that may be blocking the condenser coils.
- Check the Indoor Coil for Ice: If you see ice buildup, turn off the AC and let it thaw for several hours. Once thawed, try running the AC again. If the coil freezes again, there may be a more serious problem.
- Inspect Ductwork (Visually): Look for obvious disconnections or damage to visible ductwork. Seal any minor leaks you find with duct tape (not regular tape).
- Check Return Vents: Make sure return vents are clear and free of obstructions. Avoid placing furniture in front of them.
- Check for Air Leaks Around Windows and Doors: Seal any gaps around windows and doors with weather stripping or caulk to prevent heat from entering your home.
- Clean the Condenser Coils (Outdoor Unit): Use a garden hose with a gentle spray nozzle to clean the condenser coils from the inside out. Be careful not to damage the fins. You can also use a fin comb to straighten bent fins.
- Ensure Proper Insulation: Consider adding insulation to your attic or walls to improve your home’s energy efficiency.
- Check for Refrigerant Leaks: While you can’t easily detect leaks yourself, listen for a hissing sound near the AC unit or copper lines. If you suspect a leak, it’s best to call a professional.
- Monitor AC Performance: After completing these steps, monitor the AC’s performance to see if it reaches the set temperature. Allow several hours for the system to stabilize.
- Reset the AC Unit: Turn off the AC at the breaker for about 30 minutes and then turn it back on. This can sometimes reset the system and resolve minor issues.
Fix the Issue Without Buying Parts
Many common AC problems can be resolved without spending money on replacement parts:
- Resetting the AC: As mentioned above, simply turning off the breaker for a period and then turning it back on can sometimes resolve minor issues.
- Cleaning: Regularly cleaning the air filter, condenser coils, and vents can significantly improve AC performance.
- Recalibrating Thermostat (If Applicable): Some thermostats allow you to recalibrate the temperature reading. Consult your thermostat’s manual for instructions.
- Visual Inspection: Regularly inspecting the AC unit and ductwork for signs of damage or leaks can help you identify potential problems early on.
- Basic Maintenance: Keeping the area around the outdoor unit clear of debris and ensuring proper airflow throughout your home are essential maintenance tasks.
When Replacement Might Be Necessary
If you’ve tried all the troubleshooting steps and your AC still isn’t cooling properly, it might be time to consider a replacement. Some parts that commonly fail and may require replacement include:
- Compressor: The heart of the AC unit. Replacement can cost $800-$2000.
- Condenser Fan Motor: Helps dissipate heat. Replacement can cost $200-$500.
- Evaporator Coil: Absorbs heat from the air. Replacement can cost $500-$1500.
- Refrigerant Leaks (Extensive): Depending on the leak location and severity, a recharge might not be effective, and the entire unit might need replacement.
A new AC unit replacement can range from $3,000 to $7,000+, depending on the size and efficiency.
Safety Warning
- Always turn off the power to the AC unit at the breaker before performing any maintenance or repairs.
- Avoid touching any electrical components with wet hands.
- If you’re uncomfortable working with electrical components, it’s best to call a qualified HVAC technician.
- Be careful when working around the outdoor unit, as it may have sharp edges.
- When cleaning the condenser coils, avoid using high-pressure water, as this can damage the fins.
Tools You May Need
- Screwdrivers (Phillips and flathead)
- Wrench set
- Garden hose with a gentle spray nozzle
- Fin comb
- Duct tape
- Weather stripping or caulk
- Air filter
FAQ
Q: Why is my AC running constantly but not cooling?
A: Common causes include a dirty air filter, blocked vents, dirty condenser coils, or a refrigerant leak.
Q: How often should I replace my air filter?
A: It’s generally recommended to replace your air filter every 1-3 months, depending on usage and air quality.
Q: Can I recharge my AC unit with refrigerant myself?
A: No, refrigerant handling requires specialized equipment and training. It’s best to call a qualified HVAC technician.
Q: What does it mean if my AC unit is freezing up?
A: A frozen evaporator coil can be caused by restricted airflow, low refrigerant, or a malfunctioning blower motor. Try thawing the coil and checking the air filter first. If the problem persists, call a professional.
Q: My AC is old; should I just replace it?
A: AC units typically last 10-15 years. If your unit is approaching this age, consider replacement, especially if repairs are frequent. A newer, more efficient model can save you money on energy bills.
Q: How do I know if my AC unit is the right size for my home?
A: The size of your AC unit depends on the square footage of your home, the climate you live in, and other factors. An HVAC professional can perform a load calculation to determine the appropriate size.
Conclusion
Troubleshooting an AC that isn’t reaching the set temperature can seem daunting, but by following these steps, you can often identify and resolve common issues yourself. Remember to start with the simple fixes, such as cleaning the air filter and checking for blocked vents. If you’re uncomfortable performing any of these tasks or if the problem persists, don’t hesitate to call a qualified HVAC technician for assistance. Taking a proactive approach to AC maintenance can save you money on energy bills and prevent costly repairs down the road.
Youtube Video:
Looking for more useful options?
Check out recommended resources that others find helpful.