Introduction
Discovering water leaking from your AC unit, especially when it’s raining, can be quite alarming. It’s important to address this issue quickly because prolonged leaks can lead to mold growth, damage to your ceilings and walls, and even electrical hazards. This guide will help you understand why your AC is leaking during rain and provide simple steps to troubleshoot and potentially fix the problem yourself. Identifying the source of the leak early can save you from costly repairs later.
Common Causes of AC Leaking When Raining
Here are some common reasons why your AC might be leaking when it’s raining:
- Clogged Drain Line: This is the most frequent culprit. Condensation from your AC needs to drain somewhere. If the drain line is blocked with dirt, algae, or debris, the water backs up and leaks inside.
- Cracked Drain Pan: The drain pan collects the condensation. Over time, it can crack due to age or temperature changes, leading to leaks.
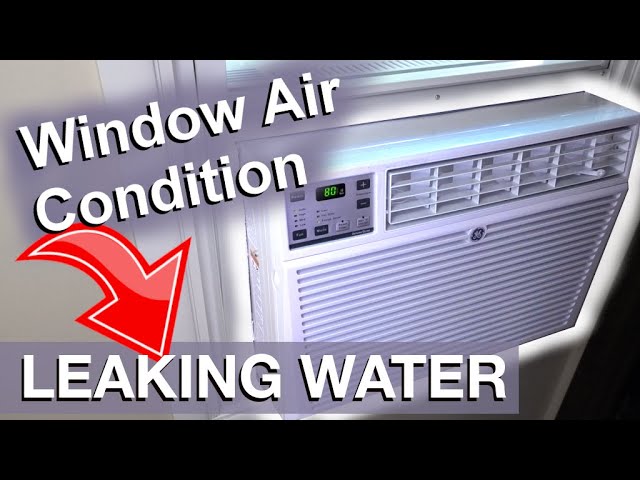
- Improperly Sealed Window AC Unit: Gaps between the AC unit and the window frame can allow rainwater to seep in.
- Damaged Window Seals: For central AC systems, if the windows near the indoor unit aren’t properly sealed, rainwater can enter the house and drip near the AC, mimicking a leak.
- Roof Leaks Near Ductwork: If you have ductwork in your attic, a roof leak during rain can cause water to drip onto the ductwork and subsequently leak inside.
- Refrigerant Leak (Less Common): While less likely to be directly related to rain, a refrigerant leak can cause the evaporator coil to freeze. When the ice melts, it can overwhelm the drain pan. The increased moisture might be more noticeable during or after rain.
- Incorrect AC Unit Angle: Window AC units need a slight downward tilt away from the house to allow condensation to drain properly. If tilted inwards, water will flow inside.
- Saturated Air Filter: An extremely dirty air filter restricts airflow, causing the evaporator coil to freeze. When the ice melts, the drain pan might overflow. Rain may indirectly contribute by increasing humidity levels, exacerbating the freezing issue.
Symptoms Checklist
Here’s what to look for to accurately identify the issue:
- Water dripping from the indoor AC unit, especially during or after rainfall.
- Water stains on the ceiling or walls near the AC unit.
- Damp or moldy odors coming from the AC unit.
- Visible ice buildup on the evaporator coils inside the AC unit.
- Standing water in the drain pan.
- Clogged or overflowing drain line (you might see water near the drain line exit point outside).
How to Fix AC Leaking When Raining Step-by-Step Guide
Follow these steps to troubleshoot and fix your leaking AC:
- Turn off the AC: For safety, turn off the AC unit at the thermostat and the breaker.
- Inspect the Drain Pan: Locate the drain pan (usually under the indoor unit). Check for cracks, rust, or overflow. If it’s overflowing, carefully empty it with a wet/dry vacuum or towels.
- Clear the Drain Line: Find the drain line exit (usually a PVC pipe outside the house near the AC unit). Use a wet/dry vacuum to suck out any clogs. Alternatively, use a stiff wire or pipe cleaner to dislodge debris. You can also try flushing the line with a mixture of warm water and vinegar.
- Check the Air Filter: Remove the air filter and inspect it. If it’s dirty, replace it with a new one. A clogged filter restricts airflow and can cause ice buildup.
- Inspect Window Seals (For Window AC Units): Check the seals around the window unit for gaps or damage. Use weather stripping or caulk to seal any openings. Ensure the unit is properly tilted.
- Inspect Window Seals (Near Central AC Units): If you have a central AC system, check the window seals near the indoor unit and ductwork for any gaps that are letting rainwater in.
- Check for Roof Leaks: If you have ductwork in your attic, inspect the area above the indoor unit for any signs of roof leaks. Call a roofing professional to repair any leaks.
- Melt Ice Buildup (If Present): If you see ice buildup on the evaporator coils, turn off the AC and let the ice melt completely. You can speed up the process with a hairdryer (on a low setting and keep a safe distance).
- Clean the Evaporator Coils (If Accessible): Carefully clean the evaporator coils with a soft brush and coil cleaner. Be gentle to avoid damaging the fins.
- Reassemble and Test: Once everything is clean and dry, reassemble the AC unit and turn it back on. Monitor it closely to see if the leak persists.
- Run a Test Cycle: Allow the AC to run for at least 30 minutes and check again for leaks.
- Monitor the Humidity: If the unit runs a long time, then turn it off, there’s a chance the unit’s moisture management is failing and needs a check up.
Fix the Issue Without Buying Parts
Before considering replacements, try these free methods:
- Reset the AC: Turn off the AC at the breaker for 30 minutes and then turn it back on. This can sometimes reset the system and resolve minor issues.
- Deep Cleaning: Thoroughly clean all accessible parts of the AC unit, including the drain pan, coils, and surrounding areas.
- Adjust the Angle: Make sure the window AC unit is tilted slightly downward away from the house to allow for proper drainage.
- Regular Maintenance: Clean or replace the air filter regularly (every 1-3 months). Periodically inspect and clear the drain line.
When Replacement Might Be Necessary
If the drain pan is severely cracked, or the coil is damaged, or after trying all troubleshooting steps, replacement may be necessary. A drain pan replacement can cost between $50 and $200 (USD), while a new evaporator coil replacement can range from $500 to $2000 (USD). In severe case of mold or water damage to the components, total system replacements range from $4,000 to $12,000. Parts that commonly fail include the drain pan, evaporator coil, and compressor.
Safety Warning
- Always turn off the power to the AC unit before performing any maintenance or repairs.
- Avoid working with electrical components while standing on wet floors.
- Be careful when handling sharp objects or tools to prevent injury.
- If you’re uncomfortable working with electrical components, call a qualified HVAC technician.
Tools You May Need
Here’s a list of tools that may be helpful for fixing your leaking AC:
- Wet/Dry Vacuum
- Screwdrivers (Phillips and flathead)
- Adjustable Wrench
- Pliers
- Flashlight
- Soft Brush
- Coil Cleaner
- Weather Stripping or Caulk (for window AC units)
FAQ
Here are some frequently asked questions about AC leaks:
- Q: Why is my AC leaking even when it’s not raining? A: The drain line may still be clogged, or the drain pan could be cracked. Even without rain, condensation will continue to build up.
- Q: How often should I clean my AC drain line? A: It’s a good idea to clean your AC drain line at least twice a year, or more frequently if you notice signs of clogging.
- Q: Can I use bleach to clean my AC drain line? A: While bleach can be effective, it can also damage certain types of drain lines. A mixture of warm water and vinegar is a safer alternative.
- Q: How do I know if my AC needs refrigerant? A: If you suspect a refrigerant leak, it’s best to call a qualified HVAC technician to diagnose and repair the issue. Adding refrigerant requires specialized equipment and knowledge.
Conclusion
Don’t let a leaking AC ruin your day! By following these troubleshooting steps, you can often identify and fix the problem yourself, saving you time and money. Remember to prioritize safety and consult with a professional if you’re uncomfortable performing any of these tasks. Start with the simple fixes, like cleaning the drain line and filter, and work your way up. With a little effort, you can keep your AC running smoothly and your home dry and comfortable. If you’ve tried everything and the problem persists, it’s time to call a qualified HVAC technician for assistance.
Youtube Video:
Looking for more useful options?
Check out recommended resources that others find helpful.