
Introduction
A washer that won’t fill with water is a frustrating problem. Your laundry piles up, and you’re left wondering what’s wrong. This issue often happens when the water supply is cut off, a part malfunctions, or there’s a blockage somewhere in the water path. Addressing this quickly is essential to avoid further inconvenience and potential damage to your washing machine.
💡 Technical Key Takeaways:
- Core Focus: Diagnostic schematic and terminal connection layout for Whirlpool Top Load Washer Not Filling With Water.
- Target Scope: Field technicians, automotive DIYers, and residential/commercial electricians.
- Safety Rule: Always disconnect the primary power source/battery terminal and verify zero voltage with a multimeter before touching wires.
Common Causes of Whirlpool Top Load Washer Not Filling With Water
Here are some reasons why your Whirlpool top load washer might not be filling:
- Closed Water Supply Valves: The hot and cold water valves behind the washer need to be fully open.
- Kinked or Blocked Water Hoses: The hoses connecting the valves to the washer can become kinked, restricting water flow, or blocked with sediment.
- Clogged Inlet Valve Filters: Small filters located where the water hoses connect to the washer can get clogged with debris.
- Faulty Water Inlet Valve: This valve controls the flow of water into the washer. If it fails, it might not open, even when it’s supposed to.
- Defective Lid Switch: The washer won’t fill if it thinks the lid is open. A faulty lid switch can cause this.
- Low Water Pressure: If the water pressure in your home is too low, the washer may not be able to fill properly.
- Problem with the Water Level Switch/Sensor: This sensor tells the washer when to stop filling. If it’s faulty, it might think the washer is already full.
- Blocked Air Dome/Pressure Hose: The air dome and hose system senses water pressure, which can be blocked by debris or kinks.
- Control Board Malfunction: (Less Common) In some cases, the control board that manages all the washer’s functions can malfunction and prevent filling.
Symptoms Checklist
Check these indicators to pinpoint the problem:
- Washer starts the cycle, but no water enters.
- Washer fills very slowly.
- You hear a humming sound, but no water flows.
- Error code is displayed on the washer’s control panel related to water fill.
- Washer works fine sometimes, then stops filling other times.
How to Fix Whirlpool Top Load Washer Not Filling With Water Step-by-Step Guide
- Check the Water Supply Valves: Make sure both the hot and cold water supply valves behind the washer are fully open. Turn them counterclockwise.
- Inspect the Water Hoses: Check for kinks, bends, or crushing in the water hoses. Straighten any kinks and ensure the hoses aren’t blocked.
- Clean Inlet Valve Filters: Turn off the water supply to the washer. Disconnect the water hoses from the back of the washer. Inside the hose connections, you’ll find small filters. Remove these filters and clean them thoroughly under running water with a small brush. Reinstall the filters and reconnect the hoses.
- Check Water Pressure: Connect a hose to the water valve outlet. Turn on the valve and see if water comes out with good pressure. If not, you might have a home plumbing issue.
- Listen to the Inlet Valve: Start a wash cycle and listen for the inlet valve (where the hoses connect) to click or hum. If you don’t hear anything, the valve might not be receiving power.
- Inspect the Lid Switch: Open and close the lid firmly a few times. Sometimes, a loose lid switch can cause this issue. Some models have a visible switch; others are internal.
- Check the Air Dome/Pressure Hose: Locate the air dome (usually a small chamber at the bottom of the tub) and the hose connecting it to the pressure switch. Check for kinks, blockages, or disconnections in the hose. Clean the air dome if it’s dirty.
- Run a Diagnostic Cycle: Many Whirlpool washers have a built-in diagnostic cycle. Consult your owner’s manual to find out how to initiate it. This can help identify error codes and pinpoint the problem.
- Check the Drain Hose: Make sure the drain hose isn’t pushed too far into the drain pipe. This can cause siphoning, where water drains out as it fills.
- Reset the Washer: Unplug the washer from the power outlet for 1-2 minutes, then plug it back in. This can sometimes reset the control board and resolve the issue.
- Check for Error Codes: Consult your owner’s manual. Look for common error codes that relate to a water filling issue and follow the recommended troubleshooting steps.
Fix the Issue Without Buying Parts
Here are some things you can try that don’t require buying new parts:
- Reset: Unplugging the washer is the simplest reset.
- Cleaning: Cleaning the inlet valve filters is crucial.
- Inspection: Carefully inspect hoses for kinks or damage.
- Water Pressure Test: Connect a hose directly to a water valve to verify pressure.
When Replacement Might Be Necessary
If you’ve tried all the troubleshooting steps and your washer still isn’t filling, you might need to replace a part. The most common parts to fail are:
- Water Inlet Valve: ($25 – $75)
- Lid Switch: ($15 – $50)
- Water Level Sensor: ($20 – $60)
- Control Board: (Price varies greatly depending on the model, $100+)
Before replacing any parts, make sure you’ve correctly diagnosed the problem. When in doubt, call a qualified appliance repair technician.
Safety Warning
- Always unplug the washer from the power outlet before attempting any repairs.
- Turn off the water supply to the washer before disconnecting any water hoses.
- Be careful when working with water near electrical components. Avoid getting water on electrical parts.
- If you’re not comfortable performing any of these repairs, contact a qualified appliance repair technician.
- Ensure the floor is dry to prevent slipping hazards.
Tools You May Need
- Screwdrivers (Phillips and flathead)
- Pliers
- Adjustable wrench
- Bucket or towels
- Small brush for cleaning filters
FAQ
Q: My washer fills slowly, not just not filling at all. What could that be?
A: A slow fill is often caused by low water pressure, partially blocked inlet valve filters, or a partially closed water supply valve.
Q: The washer hums, but no water comes in. What does that mean?
A: This usually indicates a problem with the water inlet valve. The valve is receiving power but is unable to open and allow water to flow. Check if there is blockage first.
Q: How do I know if the lid switch is bad?
A: Sometimes you can visually inspect the switch for damage. Also, some washers will display an error code related to the lid switch if it’s malfunctioning.
Q: My washer is brand new. Why isn’t it filling?
A: Double-check that the water supply valves are fully open and that the hoses aren’t kinked. Also, make sure the drain hose is properly positioned.
Conclusion
Troubleshooting a washer that won’t fill can seem daunting, but by following these steps, you can often diagnose and fix the problem yourself. Start with the simple checks, like water supply valves and hoses, and then move on to more complex components. If you’re uncomfortable with any of these steps, or if you’ve tried everything and the washer still isn’t working, don’t hesitate to call a qualified appliance repair technician. You’ve got this!
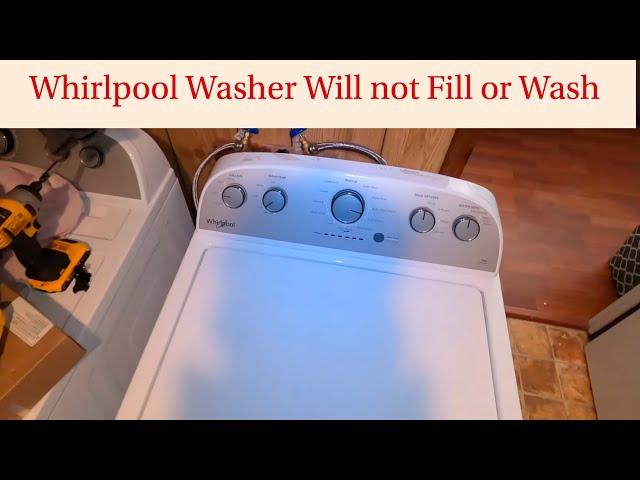
Youtube Video:
Quick Wiring Specifications & Terminal Guide
| Component / Circuit | Standard Wire Gauge | Recommended Protection |
|---|---|---|
| Control & Trigger Signals | 18 – 20 AWG | 5A – 7.5A Inline Fuse |
| Standard Auxiliary Load | 14 – 16 AWG | 15A – 20A Circuit Breaker |
| Main Power Feed / Supply | 10 – 12 AWG | 30A – 40A Heavy-Duty Relay |
Images References
Looking for more diagnostic guides? Explore our complete Washing Machine Problems 1 section for step-by-step troubleshooting solutions.
