
Introduction
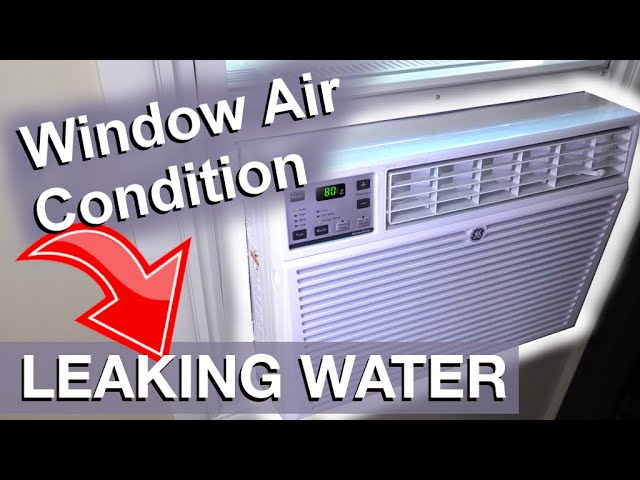
A window air conditioner dripping water can be frustrating and potentially damaging to your home. It means something isn’t working as it should inside the unit. While some dripping is normal, excessive dripping is a sign of a problem. This problem often occurs during periods of high humidity, or when the AC is running constantly. Ignoring the problem can lead to water damage on your walls, floors, or even encourage mold growth. It’s best to address this issue promptly to prevent further damage and maintain the efficiency of your AC unit.
💡 Technical Key Takeaways:
- Core Focus: Diagnostic schematic and terminal connection layout for Window Unit Dripping Water.
- Target Scope: Field technicians, automotive DIYers, and residential/commercial electricians.
- Safety Rule: Always disconnect the primary power source/battery terminal and verify zero voltage with a multimeter before touching wires.
Common Causes of Window Unit Dripping Water
Here are some common reasons why your window AC might be dripping excessively:
- Clogged Drain: The most frequent cause. Dirt, dust, and debris block the drain opening, preventing water from escaping properly.
- Incorrect Installation Angle: AC units need a slight tilt outwards to allow condensation to drain outside. If it’s level or tilted inward, water will drip inside.
- Dirty Air Filter: A clogged filter restricts airflow, causing the evaporator coil to freeze. When it melts, the excess water can overwhelm the drain.
- Frozen Evaporator Coil: Similar to a dirty filter, low refrigerant or a malfunctioning fan can cause the coil to freeze, leading to excessive dripping upon melting.
- Damaged Drain Pan: The pan that collects condensation might be cracked or damaged, causing leaks.
- High Humidity: In very humid conditions, your AC unit may produce more condensation than it can easily drain.
- Refrigerant Leak: While less common, a refrigerant leak can cause the evaporator coil to freeze, leading to dripping.
- Old Age and Wear: Over time, seals and components can degrade, leading to leaks.
Symptoms Checklist
Use this checklist to help identify the source of your dripping problem:
- Water dripping inside the room.
- Excessive water dripping outside the window.
- Ice forming on the cooling fins (evaporator coil).
- Musty or moldy smell coming from the unit.
- AC unit not cooling as effectively as usual.
- Loud or unusual noises coming from the unit.
- Water stains on the wall beneath the unit.
How to Fix Window Unit Dripping Water Step-by-Step Guide
Follow these steps to troubleshoot and fix your dripping window AC unit:
- Unplug the AC unit: Safety first! Always disconnect the power before inspecting or working on your AC.
- Inspect the Installation Angle: Use a level to check if the unit is tilted slightly outwards. Adjust the mounting brackets if necessary. Aim for a slight downward slope towards the outside.
- Clean the Air Filter: Remove the air filter (usually located at the front of the unit) and wash it with mild soap and water. Let it dry completely before reinserting.
- Check the Drain Hole: Locate the drain hole (usually at the back of the unit, near the bottom). Use a thin wire, pipe cleaner, or small brush to clear any blockages. Be gentle to avoid damaging the drain.
- Clean the Drain Pan: If possible, remove the drain pan (usually accessible from the back of the unit). Clean it thoroughly with soap and water to remove any mold or debris.
- Thaw a Frozen Coil: If you suspect a frozen coil, turn off the AC and let it thaw completely. You can use a fan to speed up the process.
- Inspect the Evaporator Coil: Once thawed, visually inspect the evaporator coil for ice buildup. Clean it gently with a soft brush if necessary.
- Check for Leaks: Look for any signs of water leaking from the drain pan, around the unit’s seams, or from the refrigerant lines.
- Reassemble the Unit: Carefully reassemble all components, ensuring everything is securely in place.
- Plug in the AC unit: Once everything is reassembled, plug the unit back in and turn it on.
- Monitor for Dripping: Observe the unit for any signs of dripping. It may take some time for the condensation to start draining properly.
- Run the AC on Fan Only: After clearing the drain, run the AC on “Fan Only” for an hour or two to help dry out any remaining moisture.
- Check Drainage Outside: Ensure water is draining outside the window unit.
- Repeat Cleaning if Necessary: If the dripping persists, repeat the cleaning process, paying close attention to the drain hole and drain pan.
Fix the Issue Without Buying Parts
Often, you can resolve window AC dripping problems without needing to buy any new parts:
- Reset the Unit: Unplug the AC for 30 minutes to reset the system.
- Regular Cleaning: Clean the air filter every month to prevent clogs.
- Inspect Regularly: Check the drain hole and drain pan periodically for debris buildup.
- Proper Installation: Ensure the unit is installed with a slight outward tilt for proper drainage.
- Avoid Overuse: Limit continuous use during extremely humid days.
When Replacement Might Be Necessary
In some cases, the problem may be beyond simple fixes and replacement of the unit may be the best option. These situations includes:. For more related activities, check out our Water Is Leaking From Split Ac.
- A cracked or damaged internal drain pan.
- The compressor is failing (indicated by poor cooling).
- There is a refrigerant leak
Replacement costs typically range from $150 to $500 USD, depending on the size and features of the unit.
Safety Warning
- Always unplug the AC unit before performing any maintenance or repairs.
- Avoid working on the unit while standing in water.
- Be careful when handling sharp objects or tools.
- If you are not comfortable working with electrical appliances, consult a qualified technician.
- Wear gloves during the cleaning process to prevent skin irritation.
Tools You May Need
Here’s a list of tools that can be helpful for troubleshooting:
- Screwdriver (Phillips and flathead)
- Level
- Thin wire or pipe cleaner
- Soft brush
- Mild soap and water
- Gloves
- Flashlight
FAQ
Here are some frequently asked questions about window AC unit dripping:
- Q: Why is my AC dripping more on humid days?
- A: Humid air contains more moisture, which condenses on the cooling coils and increases the amount of water produced.
- Q: How often should I clean the air filter?
- A: Ideally, clean the air filter every month, or more often if you have pets or allergies.
- Q: What if I can’t find the drain hole?
- A: Consult your AC unit’s manual or search online for a diagram of your specific model. The drain hole is usually located at the back of the unit, near the bottom.
- Q: Is it normal for some water to drip outside?
- A: Yes, it is normal for some condensation to drip outside the unit. Excessive dripping, however, indicates a problem.
Conclusion
Don’t panic if your window AC unit is dripping water! Most of the time, it’s a simple fix you can handle yourself. Start with these troubleshooting steps, and you can likely get your AC unit running smoothly again. If you’ve tried these steps and the dripping persists, it might be time to consult a qualified HVAC technician. Good luck!
Youtube Video:
Quick Wiring Specifications & Terminal Guide
| Component / Circuit | Standard Wire Gauge | Recommended Protection |
|---|---|---|
| Control & Trigger Signals | 18 – 20 AWG | 5A – 7.5A Inline Fuse |
| Standard Auxiliary Load | 14 – 16 AWG | 15A – 20A Circuit Breaker |
| Main Power Feed / Supply | 10 – 12 AWG | 30A – 40A Heavy-Duty Relay |
Images References
Looking for more diagnostic guides? Explore our complete Air Conditioner Troubleshooting 6 section for step-by-step troubleshooting solutions.
