
Introduction
Is your Whirlpool washer filling up with water but refusing to start the wash cycle? This is a common problem that can be frustrating and inconvenient. It means your clothes are soaking, but not getting cleaned! Addressing this issue quickly is important to prevent standing water from becoming a health hazard and to avoid potential damage to your washing machine or your home. This guide will walk you through troubleshooting steps to identify the cause and hopefully get your washer working again.
💡 Technical Key Takeaways:
- Core Focus: Diagnostic schematic and terminal connection layout for Whirlpool Washer Fills Up But Won T Wash.
- Target Scope: Field technicians, automotive DIYers, and residential/commercial electricians.
- Safety Rule: Always disconnect the primary power source/battery terminal and verify zero voltage with a multimeter before touching wires.
Common Causes of Whirlpool Washer Fills Up But Won’t Wash
Several factors can contribute to your Whirlpool washer filling but not washing. Here are some common culprits:
- Lid Switch Problems: The lid switch ensures the washer only operates when the lid is closed. If it’s faulty, the washer won’t start the wash cycle, even if it fills with water.
- Motor Issues: The motor is responsible for spinning the drum. A defective motor or its related components (like the motor coupler) can prevent the drum from spinning.
- Belt Problems: Some Whirlpool washers use a belt to connect the motor to the drum. A broken or worn belt will prevent the drum from spinning.
- Faulty Timer or Control Board: The timer or control board manages the washing machine’s cycles. A malfunctioning timer or control board can prevent the washer from starting the wash cycle.
- Blocked Drain Pump: Although the washer fills, if the drain pump is blocked or malfunctioning, the system might detect a problem and prevent washing.
- Overloaded Washer: Overloading the washer can strain the motor and prevent the drum from spinning properly. The washer might fill, but the motor can’t turn the heavy load.
- Loose Wiring: Loose or damaged wiring can interrupt the flow of electricity to essential components, preventing the washer from starting the wash cycle.
- Stuck or Jammed Items: Small items like socks or coins can sometimes get lodged between the inner and outer tubs, jamming the drum and preventing it from spinning.
Symptoms Checklist
Use this checklist to accurately identify the problem:
- The washer fills with water normally.
- The drum doesn’t spin when it should be washing.
- You may hear a humming sound from the motor, but no drum movement.
- The timer or control panel lights up and seems to be functioning.
- There are no unusual noises or smells coming from the washer (besides perhaps a slight humming).
- The washer may or may not drain the water after the fill cycle.
How to Fix Whirlpool Washer Fills Up But Won’t Wash Step-by-Step Guide
Follow these steps to troubleshoot your Whirlpool washer:
- Unplug the Washer: Safety first! Always unplug the washer from the power outlet before starting any troubleshooting.
- Check the Lid Switch: Locate the lid switch (usually near the lid hinge). Manually depress the switch (with a screwdriver, for example) while someone starts the wash cycle to see if the washer starts. Be very careful not to touch any electrical components. If the washer starts, the lid switch is faulty.
- Inspect the Drive Belt (if applicable): On some models, you can access the drive belt by removing the back panel. Check if the belt is broken, loose, or worn. A broken or very loose belt needs replacement.
- Check for Obstructions: Manually try to turn the inner drum. If it’s difficult to turn, something might be stuck. Remove the agitator (the center piece in the tub) and check for obstructions like socks, coins, or other small items.
- Listen to the Motor: When the washer should be washing, listen closely to the motor. If you hear a humming sound but no drum movement, the motor coupler (if applicable) may be broken. This is a common issue on many Whirlpool washers.
- Check the Motor Coupler (if applicable): The motor coupler connects the motor to the transmission. It’s usually made of rubber and can break down over time. Access the motor (usually from the back of the washer) and inspect the coupler. If it’s cracked or broken, it needs replacement.
- Examine the Wiring: Look for any loose or damaged wires connected to the motor, lid switch, and timer/control board. Reconnect any loose wires.
- Check the Drain Pump: Ensure the drain pump is not clogged. Most washers have a drain pump access panel. Remove the panel and clean out any debris (lint, hair, buttons, etc.).
- Reduce the Load Size: Try running a smaller load of laundry. An overloaded washer can prevent the drum from spinning.
- Check the Water Level Pressure Switch: This switch senses the water level. Sometimes the hose connected to it can become loose or blocked. Locate the switch (refer to your washer’s manual), check the hose, and ensure it’s securely connected.
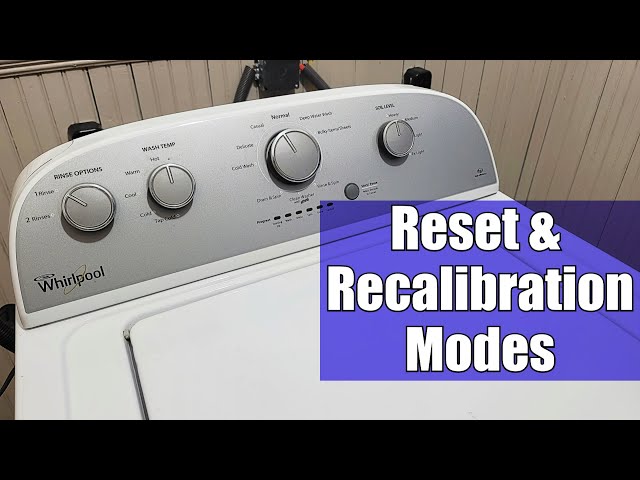
- Try Resetting the Washer: Unplug the washer for 1-2 minutes, then plug it back in. This can sometimes reset the control board and resolve minor issues.
- Run a Calibration Cycle (if available): Some Whirlpool washers have a calibration cycle. Consult your washer’s manual to see if this is an option and how to perform it. This can help the washer relearn its settings.
Fix the Issue Without Buying Parts
Before rushing to buy replacement parts, try these free methods:
- Reset the Washer: As mentioned, unplugging for a few minutes can sometimes clear the error.
- Clean the Drain Pump Filter: Regularly cleaning the drain pump filter prevents clogs that can affect washing performance.
- Check and Tighten Wiring Connections: Loose connections can cause various problems.
- Run an Empty Washer Cycle with Washing Machine Cleaner: This can help remove buildup and improve overall performance.
- Refer to your Washer’s Manual: Your manual may have specific troubleshooting steps for this issue.
When Replacement Might Be Necessary
If you’ve tried all the troubleshooting steps and your washer still isn’t working, a part replacement might be necessary. Common parts that fail in this scenario include the lid switch (estimated cost: $15-$30), the motor coupler (estimated cost: $10-$20), the drive belt (estimated cost: $10-$25), and the motor (estimated cost: $100-$250). If the control board is faulty, it can be more expensive to replace (estimated cost: $150-$400), and it may be more cost-effective to replace the entire washer.
Safety Warning
- Always unplug the washer from the power outlet before attempting any repairs.
- Be careful when working with electrical components. If you’re not comfortable, call a qualified technician.
- Avoid working on the washer while standing on a wet floor.
- Do not overload the washer, as this can strain the motor and other components.
Tools You May Need
- Screwdrivers (Phillips and flathead)
- Pliers
- Multimeter (for testing electrical components – if you know how to use one)
- Gloves
- Flashlight
- Shop towel or rag
FAQ
Here are some frequently asked questions about washers that fill but don’t wash:
- Q: Why is my washer humming but not spinning? A: This often indicates a problem with the motor coupler or a jammed drum.
- Q: How do I know if my lid switch is bad? A: You can manually depress the lid switch while attempting to start the washer. If it starts, the switch is faulty.
- Q: Can overloading my washer cause this problem? A: Yes, overloading can strain the motor and prevent the drum from spinning.
- Q: How often should I clean my drain pump filter? A: It’s recommended to clean the drain pump filter every 1-3 months, depending on usage.
Conclusion
Troubleshooting a washing machine that fills but doesn’t wash can seem daunting, but by following these steps, you can often identify and resolve the issue yourself. Remember to always prioritize safety and consult your washer’s manual for specific instructions. If you’re uncomfortable performing any of these repairs, or if the problem persists, don’t hesitate to call a qualified appliance technician for assistance. Often, the problem has a DIY-able fix!
Youtube Video:
Quick Wiring Specifications & Terminal Guide
| Component / Circuit | Standard Wire Gauge | Recommended Protection |
|---|---|---|
| Control & Trigger Signals | 18 – 20 AWG | 5A – 7.5A Inline Fuse |
| Standard Auxiliary Load | 14 – 16 AWG | 15A – 20A Circuit Breaker |
| Main Power Feed / Supply | 10 – 12 AWG | 30A – 40A Heavy-Duty Relay |
Images References
Looking for more diagnostic guides? Explore our complete Washing Machine Problems 6 section for step-by-step troubleshooting solutions.
