
Introduction
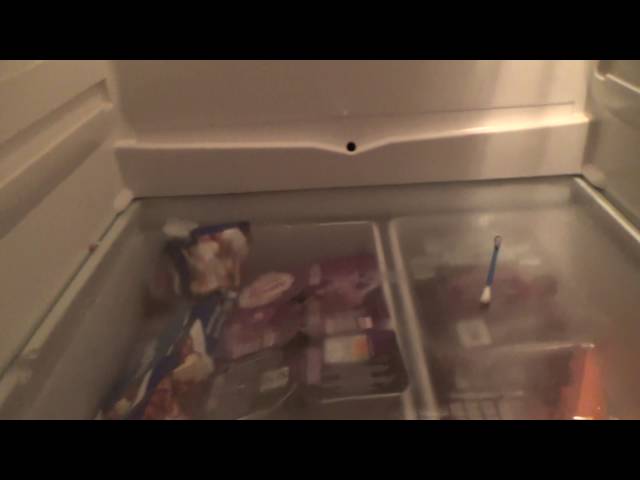
Discovering water pooling at the bottom of your refrigerator can be alarming. This isn’t just a minor inconvenience; it signals a problem that, if ignored, can lead to spoiled food, damaged flooring, and even mold growth. The good news is that many causes of this issue are easily addressed with a little troubleshooting. Addressing the issue promptly will prevent further damage and maintain your fridge’s optimal performance.
💡 Technical Key Takeaways:
- Core Focus: Diagnostic schematic and terminal connection layout for Water Pooling Bottom Of Fridge.
- Target Scope: Field technicians, automotive DIYers, and residential/commercial electricians.
- Safety Rule: Always disconnect the primary power source/battery terminal and verify zero voltage with a multimeter before touching wires.
Common Causes of water pooling bottom of fridge
Several factors can contribute to water accumulating in the bottom of your fridge:
- Clogged Defrost Drain: The most common culprit. This drain carries water from the defrost cycle to a pan under the fridge for evaporation. When blocked, water backs up and overflows.
- Iced-Over Evaporator Coils: If the defrost system isn’t working correctly, ice can build up on the evaporator coils, eventually melting and causing water buildup.
- Faulty Defrost Timer or Heater: These components control the defrost cycle. If they fail, the defrost cycle may not occur, leading to ice buildup.
- Damaged or Cracked Drain Pan: The drain pan under the refrigerator can crack or become damaged, leaking water onto the floor.
- Loose or Damaged Water Line (for fridges with ice/water dispensers): A leaking water line can cause significant water accumulation.
- Door Seal Issues: A worn or damaged door seal allows warm, moist air into the fridge, leading to excessive condensation.
- Overfilling the Refrigerator: Overpacking the fridge can block air vents and disrupt airflow, leading to condensation.
- High Humidity Levels: High humidity in your home can increase condensation inside the refrigerator.
Symptoms Checklist
Confirm if you’re dealing with the right problem by checking these symptoms:
- Visible water pooling at the bottom of the fridge.
- Ice buildup on the back wall of the freezer.
- Water leaking onto the floor in front of the fridge.
- Unusual frost patterns inside the freezer or refrigerator.
- A musty or moldy smell emanating from the refrigerator.
- Refrigerator temperature fluctuations.
How to Fix water pooling bottom of fridge Step-by-Step Guide
Follow these steps to troubleshoot and fix the water pooling issue:
- Unplug the Refrigerator: This is a crucial safety step. Always disconnect power before working on appliances.
- Locate the Defrost Drain: It’s usually located on the back wall of the freezer compartment, often behind a panel.
- Clear the Defrost Drain: Use a turkey baster filled with hot water to flush the drain. You can also use a flexible wire or pipe cleaner to gently dislodge any blockage.
- Inspect the Drain Pan: Locate the drain pan under the refrigerator (usually at the bottom, accessible from the front or back). Check for cracks or damage.
- Clean the Drain Pan: Even if the pan isn’t cracked, clean it to remove any mold or mildew buildup that could contribute to odors.
- Check the Door Seals: Inspect the door seals for tears, cracks, or gaps. Clean them with a damp cloth to remove any debris.
- Test the Door Seal: Place a piece of paper between the door and the fridge frame. Close the door. If you can easily pull the paper out, the seal is likely compromised.
- Adjust Refrigerator Temperature: Ensure the refrigerator temperature is set correctly (typically between 37F and 40F). Colder temperatures can lead to excessive condensation.
- Check the Water Line (if applicable): If your fridge has an ice maker or water dispenser, inspect the water line for leaks. Tighten any loose connections.
- Defrost the Refrigerator: If ice buildup is significant, manually defrost the refrigerator. Turn it off and leave the doors open for several hours, allowing the ice to melt completely. Place towels to absorb water.
- Reassemble and Plug In: Once everything is clean and dry, reassemble any parts you removed and plug the refrigerator back in.
- Monitor for Leaks: Keep an eye on the bottom of the fridge for the next few days to ensure the problem is resolved.
- Ensure Proper Airflow: Avoid overpacking the fridge. Leave space between items to allow for proper air circulation.
Fix the Issue Without Buying Parts
Before considering part replacements, try these free and simple solutions:
- Reset the Refrigerator: Unplug the fridge for 30 minutes, then plug it back in. This can sometimes reset the defrost timer.
- Deep Cleaning: Thoroughly clean the interior of the fridge, paying attention to shelves, drawers, and vents.
- Regular Maintenance: Clean the defrost drain and drain pan every 6 months to prevent future clogs.
- Inspect Coils: Clean condenser coils (usually located at the back or bottom) with a vacuum cleaner to improve efficiency.
When Replacement Might Be Necessary
If the above steps don’t resolve the issue, a faulty component might be to blame. Common parts that can fail include the defrost heater ($30-$80), defrost timer ($20-$50), or the water inlet valve ($40-$100) for models with ice makers. Consider replacing parts only if you are comfortable with appliance repair, otherwise, consult a professional. For more related activities, check out our Refrigerator Not Cooling Hear Clicking Sound.
Safety Warning
Keep these safety tips in mind:
- Always unplug the refrigerator before performing any maintenance or repairs.
- Be cautious when working with water and electricity. Avoid creating a wet environment around electrical outlets.
- If you are uncomfortable with any step of the troubleshooting process, consult a qualified appliance repair technician.
- Be careful lifting and moving the refrigerator. Get help if necessary.
Tools You May Need
Here are some common tools that might be helpful:
- Screwdrivers (Phillips and flathead)
- Turkey baster or syringe
- Flexible wire or pipe cleaner
- Wrench (for water line connections)
- Vacuum cleaner with hose attachment
- Towels
FAQ
Here are some frequently asked questions:
-
Q: How often should I clean the defrost drain?
A: It’s recommended to clean the defrost drain every 6 months to prevent clogs. -
Q: What if the defrost drain keeps clogging?
A: Ensure you’re using hot water to flush the drain and thoroughly dislodging any debris. If the problem persists, there might be a more significant issue with the defrost system. -
Q: Is it safe to use bleach to clean the drain pan?
A: A mild solution of soap and water is generally sufficient. Avoid using harsh chemicals like bleach, as they can damage the pan or release harmful fumes. -
Q: Why is my freezer so cold if there’s water in the fridge?
A: Iced evaporator coils can prevent proper airflow from the freezer to the fridge compartment.
Conclusion
Water pooling at the bottom of your refrigerator is a common problem that can often be resolved with a few simple troubleshooting steps. By following this guide, you can likely identify the cause of the issue and fix it yourself, saving time and money. If you’ve exhausted these DIY steps and the problem persists, don’t hesitate to contact a qualified appliance repair technician.
Youtube Video:
Quick Wiring Specifications & Terminal Guide
| Component / Circuit | Standard Wire Gauge | Recommended Protection |
|---|---|---|
| Control & Trigger Signals | 18 – 20 AWG | 5A – 7.5A Inline Fuse |
| Standard Auxiliary Load | 14 – 16 AWG | 15A – 20A Circuit Breaker |
| Main Power Feed / Supply | 10 – 12 AWG | 30A – 40A Heavy-Duty Relay |
Images References
Looking for more diagnostic guides? Explore our complete Refrigerator Problems 5 section for step-by-step troubleshooting solutions.
