
Introduction
A Nest thermostat is designed to make home heating and cooling effortless. However, sometimes things go wrong, and your Nest might fail to heat your home. This is a common issue that can be frustrating, especially during cold weather. Ignoring the problem can lead to discomfort, potential damage to your pipes from freezing, and higher energy bills as your system struggles to compensate. Let’s walk through the steps to diagnose and fix the problem.
💡 Technical Key Takeaways:
- Core Focus: Diagnostic schematic and terminal connection layout for Nest Thermostat Troubleshooting Not Heating.
- Target Scope: Field technicians, automotive DIYers, and residential/commercial electricians.
- Safety Rule: Always disconnect the primary power source/battery terminal and verify zero voltage with a multimeter before touching wires.
Common Causes of Nest Thermostat Not Heating
Here are some of the most frequent reasons why your Nest thermostat isn’t heating your home:
- Incorrect Wiring: A loose or wrongly connected wire can prevent the Nest from communicating properly with your heating system.
- Low Battery: The Nest relies on a charged battery. If it’s too low, it might not be able to power the system.
- Nest Software Glitch: Like any electronic device, the Nest can experience software glitches that disrupt its operation.
- Heating System Issues: The problem might not be the Nest itself, but rather a problem with your furnace, boiler, or heat pump.
- Incorrect Settings: A simple error like the thermostat being set to “cool” or the target temperature being too low.
- Faulty Heat Link (for some models): The Heat Link communicates wirelessly with the Nest. If it’s malfunctioning, communication is lost.
- Drafts or Poor Insulation: While not directly a thermostat issue, drafts can cause the temperature to plummet, leading you to believe the heating isn’t working.
- Air Filter Clog: A dirty air filter restricts airflow and can cause your heating system to overheat and shut down.
Symptoms Checklist
Check these indicators to pinpoint the problem:
- The Nest display shows the correct temperature, but the house is cold.
- The Nest display shows an error message related to heating.
- The Nest screen is dim or unresponsive.
- You hear clicking sounds from the Nest but the furnace doesn’t turn on.
- The furnace turns on, but it shuts off quickly.
- The Nest app shows the thermostat is “heating” but the temperature doesn’t rise.
How to Fix Nest Thermostat Not Heating Step-by-Step Guide
Follow these steps to troubleshoot your Nest thermostat:
- Check the Thermostat Settings: Ensure the thermostat is set to “Heat” mode and the target temperature is higher than the current room temperature.
- Restart the Nest Thermostat: Go to Settings > Reset > Restart. This can resolve minor software glitches.
- Check the Batteries: Remove the Nest from the wall plate and check the battery level in the settings menu. If it’s low, charge it using a USB cable. Let it charge for at least 30 minutes before reattaching it.
- Inspect the Wiring: Turn off the power to your heating system at the circuit breaker. Carefully remove the Nest from the wall plate. Check that all wires are securely connected to their terminals. If a wire is loose, gently reinsert it. Refer to your Nest wiring diagram (usually found on the back of the old thermostat or online).
- Check the Air Filter: Locate your furnace and inspect the air filter. If it’s clogged with dust and debris, replace it with a new one.
- Check the Emergency Heat: Some thermostats have an “Emergency Heat” setting. While this is for emergencies, make sure it’s not accidentally turned on. If it is, turn it off and try the regular heat setting.
- Reconfigure the Nest Thermostat: Sometimes, deleting and re-adding the thermostat to your Nest account can resolve connectivity issues.
- Check the Heat Link (if applicable): If you have a Heat Link, ensure it has power and is communicating with the Nest. Consult your Nest documentation for instructions on how to troubleshoot the Heat Link.
- Check the Furnace Pilot Light (if applicable): If you have an older furnace with a pilot light, make sure it’s lit. If not, follow the manufacturer’s instructions to relight it.
- Check the Circuit Breaker: Make sure the circuit breaker for your furnace hasn’t tripped. If it has, reset it. If it trips again immediately, there may be a more serious electrical problem.
- Consult Nest Support: If you’ve tried all the above steps and your Nest still isn’t heating, contact Nest support for further assistance. They may be able to diagnose the problem remotely or offer more specific troubleshooting steps.
- Check External Sensors (if applicable): If you have external sensors connected to your Nest, make sure they’re functioning correctly and properly communicating.
Fix the Issue Without Buying Parts
Often, you can resolve the issue without buying any new parts:
- Reset: A simple restart of the Nest can fix minor software glitches.
- Cleaning: Dust can accumulate on the Nest’s sensors. Gently clean the screen and around the edges with a soft, dry cloth.
- Recalibration (if available): Some Nest models allow for temperature recalibration. Check your settings.
- Inspection: Regularly inspect the wiring connections and air filter.
- Maintenance: Schedule annual maintenance for your heating system to ensure it’s running efficiently.
When Replacement Might Be Necessary
If all troubleshooting steps fail, and Nest support confirms a hardware failure, replacement might be needed. The cost of a Nest thermostat can range from $200 to $300 USD, depending on the model. Common parts that fail include the internal battery, the display screen, or the communication module. However, replacing the entire unit should be considered a last resort after exhausting all other options.
Safety Warning
- Turn off the power to your heating system at the circuit breaker before working on any wiring.
- Avoid working on electrical components in wet or damp conditions.
- If you are not comfortable working with electrical wiring, contact a qualified electrician.
- Be careful when handling tools to avoid injury.
Tools You May Need
- Screwdriver (Phillips and flathead)
- Small flashlight
- Needle-nose pliers
- Multimeter (optional, for testing voltage)
- New air filter (if necessary)
FAQ
Here are some frequently asked questions:
-
Q: My Nest shows the correct temperature, but the house is freezing. What’s wrong?
A: Double-check that the thermostat is set to “Heat” and the target temperature is high enough. Also, verify that the furnace is actually turning on. -
Q: How do I know if my Nest battery is low?
A: A low battery icon will appear on the Nest display, or you’ll receive a notification in the Nest app. -
Q: My furnace turns on for a few minutes and then shuts off. What’s happening?
A: This could be due to a dirty air filter, a faulty flame sensor in the furnace, or an overheating issue. Check the air filter first. -
Q: Can I install the Nest thermostat myself?
A: Yes, Nest thermostats are designed for DIY installation. However, if you’re uncomfortable working with electrical wiring, it’s best to hire a professional.
Conclusion
Troubleshooting a Nest thermostat that isn’t heating can seem daunting, but by following these steps, you can often identify and resolve the issue yourself. Always prioritize safety, and don’t hesitate to consult the Nest support team or a qualified HVAC technician if you’re unsure about any step. With a little patience and effort, you can get your heating system back up and running efficiently, keeping your home comfortable throughout the colder months.
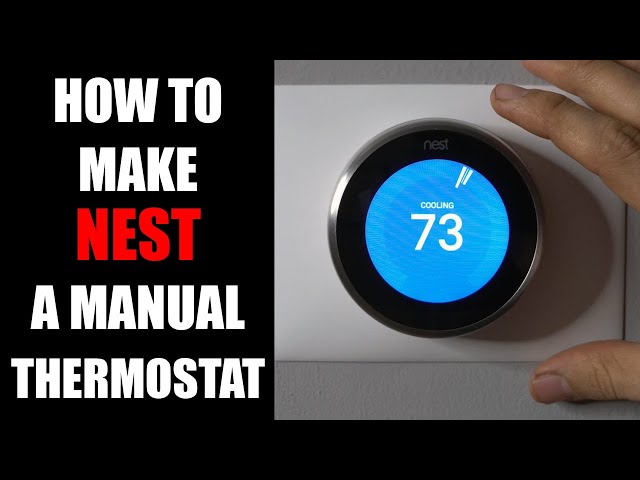
Youtube Video:
Quick Wiring Specifications & Terminal Guide
| Component / Circuit | Standard Wire Gauge | Recommended Protection |
|---|---|---|
| Control & Trigger Signals | 18 – 20 AWG | 5A – 7.5A Inline Fuse |
| Standard Auxiliary Load | 14 – 16 AWG | 15A – 20A Circuit Breaker |
| Main Power Feed / Supply | 10 – 12 AWG | 30A – 40A Heavy-Duty Relay |
Images References
Looking for more diagnostic guides? Explore our complete Air Conditioner Troubleshooting 5 section for step-by-step troubleshooting solutions.
