
Introduction
Is your Nest thermostat displaying a comfortable temperature, but your home feels like a sauna? This is a common issue where your Nest thermostat isn’t properly signaling your AC unit to cool. It’s frustrating, especially during hot weather, and can lead to discomfort and even higher energy bills if your system is running inefficiently. The sooner you address it, the better, to keep your home cool and prevent potential damage to your AC unit.
💡 Technical Key Takeaways:
- Core Focus: Diagnostic schematic and terminal connection layout for Nest Thermostat Ac Not Cooling.
- Target Scope: Field technicians, automotive DIYers, and residential/commercial electricians.
- Safety Rule: Always disconnect the primary power source/battery terminal and verify zero voltage with a multimeter before touching wires.
Common Causes of Nest Thermostat AC Not Cooling
Here are some of the most frequent reasons why your Nest thermostat might not be cooling your home:. For more related activities, check out our My Air Handler Is Frozen.
- Incorrect Wiring: A mistake during the initial installation or a loose wire can prevent proper communication between the thermostat and the AC unit.
- Thermostat Settings: The thermostat might be set to “Heat,” “Eco,” or a temperature higher than the current room temperature.
- Dead Batteries (Older Nest Models): Some older Nest models rely on batteries, which can drain and cause malfunctions.
- Wi-Fi Connectivity Issues: Your Nest needs a stable Wi-Fi connection to function correctly, especially for remote adjustments and updates.
- Air Filter Clogged: A dirty air filter restricts airflow, making it harder for your AC to cool effectively and sometimes triggering a safety shut-off.
- Breaker Tripped: The circuit breaker powering your AC unit might have tripped, cutting off power.
- Condensate Drain Clogged: A blocked condensate drain line can trigger a safety switch that prevents the AC from running.
- AC Unit Problems: The issue might not be the thermostat at all, but a problem with the AC unit itself, like a refrigerant leak or a faulty compressor.
Symptoms Checklist
Use this checklist to help pinpoint the problem:
- Nest thermostat displays the correct temperature, but the air blowing from the vents is warm.
- The AC unit is not turning on at all when the Nest is set to cool.
- The AC unit turns on, but only blows warm air.
- The Nest thermostat is displaying an error message related to cooling.
- The fan is running, but the compressor (the outdoor unit) isn’t turning on.
- Your energy bills are unexpectedly high, despite the lack of cooling.
How to Fix Nest Thermostat AC Not Cooling Step-by-Step Guide
- Verify Thermostat Settings: Ensure the thermostat is set to “Cool” mode and that the set temperature is lower than the current room temperature.
- Check the Air Filter: Replace the air filter in your furnace or air handler. A clean filter allows for better airflow.
- Check the Breaker: Locate the circuit breaker for your AC unit in your electrical panel. If it’s tripped (switched to the “off” position), flip it to “off” and then back to “on.”
- Restart Your Nest Thermostat: You can restart it from the thermostat itself through the settings menu or by holding down the thermostat until it restarts.
- Check the Wiring: Carefully inspect the wires connected to the Nest thermostat base. Make sure they are securely connected and in the correct terminals. Refer to the Nest installation guide if needed. If you’re not comfortable working with electrical wiring, skip this step and consult a professional.
- Verify Wi-Fi Connection: Ensure your Nest thermostat is connected to your Wi-Fi network. A poor connection can interfere with its operation.
- Check the Condensate Drain Line: Locate the condensate drain line (usually a PVC pipe near your indoor AC unit). Check for any clogs or blockages. You might be able to clear minor blockages with a wet/dry vacuum.
- Inspect the Outdoor Unit: Make sure the outdoor AC unit (condenser) is free of debris like leaves, grass, or branches. Clear away any obstructions that could be blocking airflow.
- Test the AC Unit Manually (If Safe): Some AC units have a manual test function. Consult your AC unit’s manual for instructions on how to activate it. This will help determine if the problem lies with the thermostat or the AC unit itself.
- Check for Error Codes on the Nest: The Nest might display error codes that can help diagnose the issue. Search online for the specific error code and troubleshooting steps.
- Update Nest Software: Make sure your Nest thermostat has the latest software updates installed. Outdated software can sometimes cause compatibility issues.
- Contact Nest Support: If none of the above steps work, contact Nest support for assistance. They may be able to diagnose the problem remotely or provide further troubleshooting steps.
Fix the Issue Without Buying Parts
Many AC problems are easy to resolve without buying new parts:
- Reset the Nest Thermostat: A simple reset can often resolve software glitches.
- Clean the Thermostat: Dust and debris can interfere with the thermostat’s sensors. Gently clean it with a soft, dry cloth.
- Recalibrate the Thermostat: Some Nest models allow you to recalibrate the temperature sensors. Check the settings menu.
- Inspect Air Ducts (Visually): Look for disconnected or damaged air ducts. Sealing any leaks you find can improve cooling efficiency.
- Regular Maintenance: Schedule annual AC maintenance to keep the system running smoothly and prevent future problems.
When Replacement Might Be Necessary
If all troubleshooting steps fail, the problem may lie with the Nest thermostat itself or with components in the AC unit. A faulty Nest (older models) might cost $200-$300 to replace. AC unit components such as a failed capacitor ($50-150) or compressor ($800-$2000 installed) might require professional repair. It’s best to get a professional diagnosis from an HVAC technician before replacing any major components.
Safety Warning
- Always turn off the power to your AC unit at the circuit breaker before working on any electrical components.
- Avoid touching any wires or components with wet hands.
- If you are not comfortable working with electrical wiring, consult a qualified electrician or HVAC technician.
- Be careful when working on ladders or in tight spaces.
- If you suspect a refrigerant leak, do not attempt to fix it yourself. Contact a qualified HVAC technician.
Tools You May Need
- Screwdrivers (Phillips and flathead)
- Pliers
- Wire Strippers
- Voltage Tester (optional, for advanced troubleshooting)
- Wet/Dry Vacuum
- Soft Cloth
FAQ
- Q: My Nest thermostat is showing a “delayed” message. What does that mean?A: This usually means the thermostat is waiting for a certain amount of time before turning on the AC to protect the compressor. Check the “Cooling Lockout” setting.
- Q: My Nest thermostat is constantly turning the AC on and off. Why?A: This could be due to a short-cycling issue, potentially caused by a dirty air filter, low refrigerant, or an oversized AC unit.
- Q: How do I reset my Nest thermostat to factory settings?A: The exact steps vary depending on your Nest model. Consult the Nest support website for specific instructions.
- Q: Is it normal for my Nest thermostat to feel warm to the touch?A: A slight warmth is normal, but if it feels excessively hot, it could indicate a problem with the internal components. Contact Nest support.
Conclusion
Troubleshooting your Nest thermostat’s cooling issues can seem daunting, but by following these steps, you can often resolve the problem yourself and restore cool comfort to your home. Don’t hesitate to try these fixes first. If you’re still struggling after these tips, calling a qualified HVAC technician will ensure the job gets done right and avoid potential damage or safety hazards.
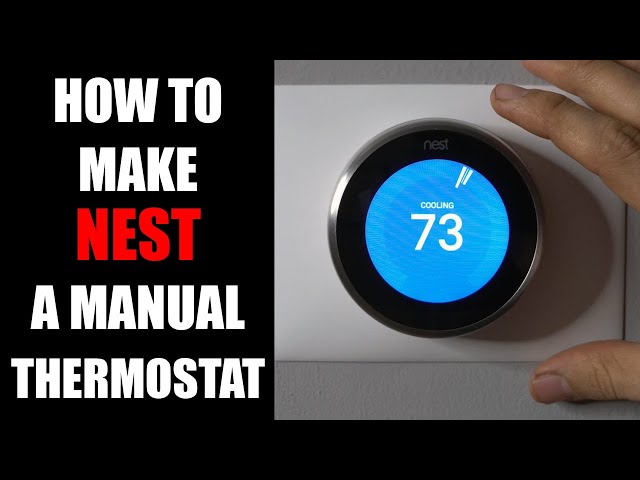
Youtube Video:
Quick Wiring Specifications & Terminal Guide
| Component / Circuit | Standard Wire Gauge | Recommended Protection |
|---|---|---|
| Control & Trigger Signals | 18 – 20 AWG | 5A – 7.5A Inline Fuse |
| Standard Auxiliary Load | 14 – 16 AWG | 15A – 20A Circuit Breaker |
| Main Power Feed / Supply | 10 – 12 AWG | 30A – 40A Heavy-Duty Relay |
Images References
Looking for more diagnostic guides? Explore our complete Air Conditioner Troubleshooting 5 section for step-by-step troubleshooting solutions.
