
Introduction
Discovering your window AC unit is dripping water inside your home can be alarming and frustrating. Besides the immediate mess and potential for water damage, it signals that something isn’t working correctly. This can happen during peak summer months when the unit is working hardest, or even after a period of inactivity. Addressing this issue quickly is crucial to prevent further damage to your home and to ensure your AC unit continues to function efficiently. Ignoring it could lead to mold growth, damaged floors or walls, and ultimately, a costly repair bill.
💡 Technical Key Takeaways:
- Core Focus: Diagnostic schematic and terminal connection layout for My Window Ac Is Dripping Water Inside.
- Target Scope: Field technicians, automotive DIYers, and residential/commercial electricians.
- Safety Rule: Always disconnect the primary power source/battery terminal and verify zero voltage with a multimeter before touching wires.
Common Causes of My Window AC Is Dripping Water Inside
Several factors can contribute to water dripping inside from your window AC unit:
- Clogged Drain Hole: This is the most common culprit. Dust, debris, and mold can block the drain hole that’s meant to remove condensation.
- Improper Installation Angle: Window AC units should be slightly tilted to the outside to allow water to drain properly. If it’s level or tilted inwards, water will accumulate inside.
- Dirty Air Filter: A clogged air filter restricts airflow, causing the evaporator coil to freeze. When the ice melts, it overflows the drain pan.
- Frozen Evaporator Coils: In addition to a dirty filter, low refrigerant levels or a malfunctioning fan can also cause the evaporator coils to freeze.
- Damaged Drain Pan: The drain pan collects condensation. If it’s cracked or damaged, water will leak.
- High Humidity: On extremely humid days, the AC unit may produce more condensation than it can efficiently drain, leading to some overflow.
- Bent or Damaged Fins: The fins around the evaporator coil help to cool the air. If bent or damaged, they can restrict airflow and cause ice buildup.
- Incorrect Unit Size: An oversized AC unit will cool the room too quickly without properly dehumidifying the air, causing excess condensation.
Symptoms Checklist
Confirm the problem with these indicators:
- Visible water dripping from the front or sides of the AC unit inside your room.
- Water stains or dampness around the AC unit on the wall or floor.
- A musty or moldy smell emanating from the AC unit.
- Ice buildup on the evaporator coils (visible if you can access them).
- The AC unit is cooling less efficiently than usual.
- Unusual noises coming from the AC unit, such as gurgling or dripping sounds.
How to Fix My Window AC Is Dripping Water Inside Step-by-Step Guide
Follow these steps to troubleshoot and fix the issue:
- Unplug the AC Unit: For safety, always disconnect the power before inspecting or working on the unit.
- Inspect the Installation Angle: Use a level to ensure the AC unit is slightly tilted outwards. If it’s not, adjust the installation brackets or shims to achieve the correct angle.
- Clean the Air Filter: Remove the air filter and wash it with mild soap and water. Allow it to dry completely before reinstalling. A clean filter is crucial for proper airflow.
- Locate the Drain Hole: This is usually a small opening on the outside of the unit. Refer to your AC unit’s manual for the exact location.
- Clear the Drain Hole: Use a straightened paper clip, pipe cleaner, or small wire to gently poke into the drain hole and dislodge any blockage.
- Flush the Drain Pan: Use a turkey baster or small syringe to flush the drain pan with a mixture of warm water and a small amount of bleach (about a tablespoon per cup of water) to kill mold and remove debris.
- Inspect the Drain Pan: Check the drain pan for cracks or damage. If it’s damaged, it may need to be replaced (although we’ll try to avoid replacement for now).
- Check for Frozen Coils: If you can access the evaporator coils (usually behind the air filter), inspect them for ice buildup. If present, allow the ice to melt completely before proceeding.
- Clean the Fins: Use a fin comb or a soft brush to gently straighten any bent fins around the evaporator coil. Be careful not to damage them further.
- Check the Fan: Ensure the fan is spinning freely. If it’s not, it might be obstructed or the motor might be failing.
- Run the AC on Fan-Only Mode: After cleaning and clearing obstructions, run the AC on fan-only mode for a few hours to help dry out any remaining moisture.
- Monitor for Leaks: After performing the above steps, plug the AC unit back in and monitor it closely for any signs of leaking.
- Repeat Cleaning: Sometimes, the drain hole can clog again quickly. Repeat the cleaning steps periodically, especially during periods of high humidity.
Fix the Issue Without Buying Parts
Here are some methods to try before considering part replacement:
- Reset the AC Unit: Unplug the AC unit for 15-20 minutes, then plug it back in. This can sometimes reset the internal components and resolve minor issues.
- Deep Cleaning: Thoroughly clean the entire AC unit, including the exterior, vents, and surrounding area. Dust and debris can contribute to airflow problems.
- Regular Maintenance: Make it a habit to clean the air filter every month and inspect the drain hole regularly to prevent clogs.
- Inspect the Window Seal: Make sure the window seal around the AC unit is tight and secure. Gaps can allow warm, humid air to enter, increasing condensation.
When Replacement Might Be Necessary
If you’ve tried all the troubleshooting steps and the AC unit continues to leak, replacement of certain parts or the entire unit might be necessary. A cracked drain pan (costing $20-$50) is a relatively easy fix, but a failing compressor or refrigerant leak usually warrants replacing the entire unit (ranging from $150 to $500+ depending on size and features). Parts commonly failing include the fan motor, compressor, or a significant refrigerant leak, which make the unit not worth repairing.
Safety Warning
Please be aware of the following safety measures:
- Always unplug the AC unit before performing any maintenance or repairs.
- Avoid working on the AC unit while it’s wet or if there’s standing water nearby.
- Be careful when handling sharp objects or tools.
- If you’re uncomfortable performing any of these steps, consult a qualified technician.
- Do not attempt to repair refrigerant leaks yourself. This requires specialized equipment and knowledge.
Tools You May Need
Here’s a simple list of tools that can assist in fixing your AC unit:
- Screwdriver (Phillips and flathead)
- Level
- Paper clip or pipe cleaner
- Turkey baster or syringe
- Fin comb or soft brush
- Mild soap and water
- Bleach
- Shop towel
FAQ
Here are some frequently asked questions regarding this issue:
- Q: Why is my AC dripping water only on humid days? A: High humidity means more moisture in the air, leading to increased condensation.
- Q: How often should I clean the air filter? A: Ideally, clean it every month, or more frequently if you have pets or allergies.
- Q: Can I use a vacuum cleaner to clean the drain hole? A: While you can try, it’s often not as effective as using a small, pointed object to dislodge debris.
- Q: What if the drain hole is completely blocked and I can’t clear it? A: Try using a wet/dry vacuum to suck out the blockage from the outside of the unit.
- Q: My AC is still dripping after cleaning. What should I do? A: Double-check the installation angle and make sure the drain hole is completely clear. If the problem persists, you might have a more serious issue.
- Q: Is it normal for some condensation to drip outside the unit? A: Yes, it’s normal for some condensation to drip from the outside of the unit, but water dripping inside is not normal and needs to be addressed.
Conclusion
Dealing with a dripping window AC unit can be a hassle, but by following these steps, you can often resolve the issue yourself. Remember to prioritize safety and take your time. Don’t hesitate to call a qualified technician if you’re uncomfortable with any of the steps or if the problem persists. A little DIY effort can save you money and keep your home cool and comfortable!
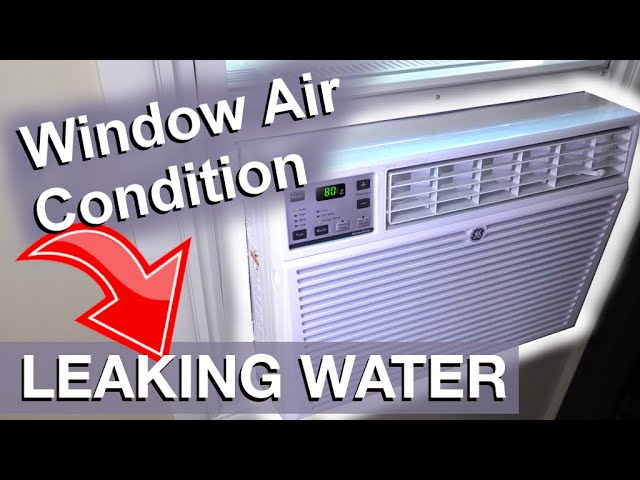
Youtube Video:
Quick Wiring Specifications & Terminal Guide
| Component / Circuit | Standard Wire Gauge | Recommended Protection |
|---|---|---|
| Control & Trigger Signals | 18 – 20 AWG | 5A – 7.5A Inline Fuse |
| Standard Auxiliary Load | 14 – 16 AWG | 15A – 20A Circuit Breaker |
| Main Power Feed / Supply | 10 – 12 AWG | 30A – 40A Heavy-Duty Relay |
Images References
Looking for more diagnostic guides? Explore our complete Air Conditioner Troubleshooting 5 section for step-by-step troubleshooting solutions.
