
Introduction
Is your LG ice maker stubbornly refusing to turn? A silent ice maker can be frustrating, especially when you’re expecting a refreshing glass of ice-cold lemonade. This guide will walk you through troubleshooting steps to get your ice maker back in action. Ignoring a non-turning ice maker can lead to wasted energy and potential food spoilage if the freezer temperature is affected, so let’s tackle this issue head-on!
💡 Technical Key Takeaways:
- Core Focus: Diagnostic schematic and terminal connection layout for Lg Ice Maker Not Turning.
- Target Scope: Field technicians, automotive DIYers, and residential/commercial electricians.
- Safety Rule: Always disconnect the primary power source/battery terminal and verify zero voltage with a multimeter before touching wires.
Common Causes of lg ice maker not turning
Here are some reasons why your LG ice maker might not be turning:
- Ice Buildup: The most common culprit! Ice can accumulate and physically block the ice maker from rotating.
- Frozen Water Line: If the water supply to the ice maker is frozen, it won’t be able to produce ice.
- Water Inlet Valve Problem: This valve controls the water flow. If it’s faulty, no water gets to the ice maker.
- Faulty Ice Maker Motor: The motor that turns the ice maker arm could be defective.
- Ice Level Sensor Malfunction: The sensor tells the ice maker when to stop. If it’s bad, it may shut down the ice maker prematurely.
- Dirty or Clogged Water Filter: A dirty filter restricts water flow, impacting ice production.
- Power Issues: A tripped breaker or a loose connection can prevent the ice maker from getting power.
- Freezer Temperature Too High: Ice makers need a cold enough environment (ideally around 0-5F or -18 to -15C) to function properly.
- Software Glitch: Sometimes, a simple reset can fix minor software glitches in the refrigerator’s control system.
- Damper Control Issue: If the damper controlling airflow between the fridge and freezer is stuck, the freezer may not be cold enough.
Symptoms Checklist
Check these indicators to help pinpoint the problem:
- Ice maker is completely silent.
- No ice is being produced.
- The ice maker arm or tray isn’t moving.
- You can hear the refrigerator running, but the ice maker remains inactive.
- Ice cubes are small or misshapen (this might indicate a water flow issue before it stops completely).
- There’s excessive ice buildup in the ice maker compartment.
- Error codes related to the ice maker appear on the refrigerator display.
How to Fix lg ice maker not turning Step-by-Step Guide
Follow these steps to troubleshoot your LG ice maker:
- Safety First: Unplug your refrigerator from the power outlet. This prevents any electrical shocks.
- Inspect for Ice Buildup: Open the freezer door and carefully examine the ice maker for any ice obstructions.
- Defrost the Ice Maker: Use a hairdryer (on a low setting) or a warm cloth to gently melt any ice buildup. Be careful not to melt any plastic parts.
- Check the Water Line: Locate the water line connected to the back of the refrigerator. Feel for any frozen sections.
- Thaw a Frozen Water Line: If frozen, use a hairdryer (low setting) or wrap the line with warm towels to thaw it.
- Replace the Water Filter: Locate your water filter (usually inside the refrigerator or at the bottom front). Replace it with a new filter.
- Check the Freezer Temperature: Ensure your freezer temperature is set between 0-5F (-18 to -15C). Adjust the temperature if needed.
- Inspect the Ice Maker Arm: Manually try to move the ice maker arm. If it’s stuck, there might still be ice or a mechanical problem.
- Power Cycle the Refrigerator: With the refrigerator unplugged, wait for 5-10 minutes. This allows the system to reset.
- Plug the Refrigerator Back In: Plug the refrigerator back into the power outlet.
- Listen for the Ice Maker: After plugging it in, listen to see if you hear the ice maker starting to cycle or fill with water. This can take several hours after plugging in.
- Check the Water Inlet Valve: (Advanced – proceed with caution). Locate the water inlet valve (usually behind the refrigerator). Ensure the tubing connected to the valve is not kinked. If you’re comfortable and have a multimeter, you can test if the valve is receiving power when the ice maker should be filling. Only do this if you are comfortable working with electricity
- Run a Forced Defrost Cycle: Some LG refrigerators have a diagnostic mode that includes a forced defrost cycle. Consult your owner’s manual for instructions (search for “Forced Defrost” or “Diagnostic Mode”). This can melt any hidden ice buildup.
Fix the Issue Without Buying Parts
Before considering replacements, try these free methods:
- Reset the Ice Maker: Some LG models have a reset button on the ice maker. Press and hold it for a few seconds.
- Thorough Cleaning: Clean the ice maker compartment regularly to prevent ice buildup and mold growth.
- Check Door Seals: Ensure the freezer door seals tightly to prevent warm air from entering, which can cause ice buildup.
- Regular Filter Replacement: Replace the water filter every 6 months to maintain optimal water flow and ice quality.
- Confirm Settings: Double check all setting (Vacation mode turns off the ice maker), temperature, ice plus function is activated.
When Replacement Might Be Necessary
If the troubleshooting steps above don’t resolve the issue, you might need to replace a part. Here are some common culprits and estimated costs (USD):
- Ice Maker Assembly: If the motor is faulty, consider replacing the entire ice maker assembly ($100 – $300).
- Water Inlet Valve: A faulty valve can prevent water from reaching the ice maker ($30 – $80).
- Ice Level Sensor: A malfunctioning sensor can disrupt the ice-making process ($20 – $50).
Safety Warning
- Always unplug the refrigerator before performing any repairs.
- Avoid using sharp objects to remove ice, as this can damage the ice maker.
- Be careful when using a hairdryer to melt ice, as excessive heat can damage plastic parts.
- If you’re uncomfortable working with electricity, consult a qualified appliance repair technician.
- Clean up any water spills to prevent slips and falls.
Tools You May Need
- Screwdriver (Phillips and flathead)
- Hairdryer
- Warm cloths
- New water filter
- Multimeter (optional, for advanced testing)
- Gloves
FAQ
Here are some frequently asked questions:
- Q: How long does it take for an ice maker to start making ice after being turned on? A: It usually takes 24-48 hours for the ice maker to start producing ice after being turned on.
- Q: Why is my ice maker making small or hollow ice cubes? A: This is usually due to low water pressure or a clogged water filter.
- Q: How do I clean my LG ice maker? A: Unplug the refrigerator, remove any ice, and wipe down the ice maker compartment with a mild soap and water solution. Rinse thoroughly.
- Q: What does the “Ice Plus” function do? A: The “Ice Plus” function temporarily lowers the freezer temperature to increase ice production.
- Q: Can I use tap water in my ice maker? A: It’s best to use filtered water to prevent mineral buildup and improve ice quality.
- Q: How often should I replace the water filter? A: Replace the water filter every 6 months.
Conclusion
Troubleshooting a non-turning LG ice maker can seem daunting, but with these steps, you can often resolve the issue yourself. Remember to start with the simple fixes, like checking for ice buildup and replacing the water filter. If you’ve exhausted all the DIY options and your ice maker still isn’t working, don’t hesitate to call a qualified appliance repair technician for professional assistance. Good luck, and enjoy your ice-cold drinks!
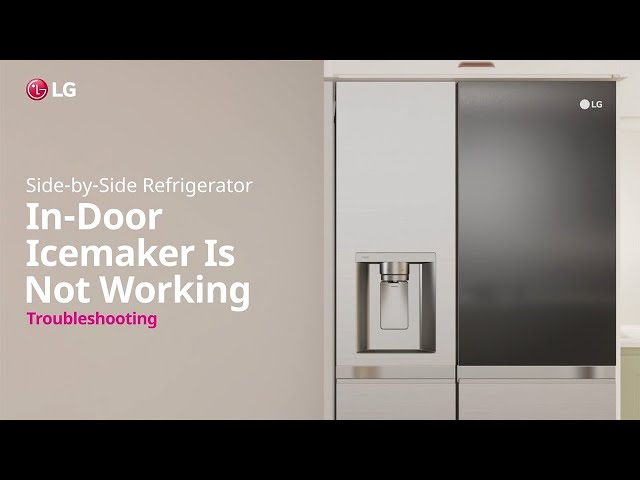
Youtube Video:
Quick Wiring Specifications & Terminal Guide
| Component / Circuit | Standard Wire Gauge | Recommended Protection |
|---|---|---|
| Control & Trigger Signals | 18 – 20 AWG | 5A – 7.5A Inline Fuse |
| Standard Auxiliary Load | 14 – 16 AWG | 15A – 20A Circuit Breaker |
| Main Power Feed / Supply | 10 – 12 AWG | 30A – 40A Heavy-Duty Relay |
Images References
Looking for more diagnostic guides? Explore our complete Refrigerator Problems 4 section for step-by-step troubleshooting solutions.
