
Introduction
A leak in your AC line, particularly the refrigerant line, is a serious issue that can quickly lead to your air conditioner blowing warm air. Refrigerant is the lifeblood of your AC system, responsible for absorbing heat from inside your home and releasing it outside. When a leak occurs, the refrigerant level drops, reducing your AC’s cooling capacity. You might notice your home becoming less comfortable, and your energy bills may rise as the AC struggles to maintain the desired temperature. Addressing a refrigerant leak promptly is crucial to prevent further damage to your AC system and costly repairs down the road. This guide will walk you through the common causes, symptoms, and troubleshooting steps you can take before calling a professional.
💡 Technical Key Takeaways:
- Core Focus: Diagnostic schematic and terminal connection layout for Leak In Ac Line.
- Target Scope: Field technicians, automotive DIYers, and residential/commercial electricians.
- Safety Rule: Always disconnect the primary power source/battery terminal and verify zero voltage with a multimeter before touching wires.
Common Causes of Leak in AC Line
Here are some typical reasons why you might have a refrigerant leak in your AC line:
- Corrosion: Over time, the copper lines can corrode, especially in coastal areas with salty air. This corrosion weakens the metal, leading to leaks.
- Vibrations: Constant vibrations from the AC unit can loosen connections and create cracks in the refrigerant lines.
- Formicary Corrosion: This type of corrosion, also called ant nest corrosion, happens when volatile organic compounds (VOCs) in your home react with the copper, creating tiny pinhole leaks.
- Physical Damage: Accidental damage from yard work, storms, or even animals can puncture or break the lines.
- Manufacturing Defects: Sometimes, leaks can originate from defects in the AC unit or the refrigerant lines themselves.
- Improper Installation: Incorrect installation of the AC unit, including over-tightened or poorly connected lines, can lead to leaks.
- Age of the System: As your AC system ages, the refrigerant lines become more susceptible to leaks due to wear and tear.
- Poor Maintenance: Lack of regular maintenance, such as cleaning the coils, can cause the system to work harder, increasing the stress on the lines.
Symptoms Checklist
Look for these signs to help you determine if you have a refrigerant leak:
- AC blowing warm air: This is the most common symptom.
- Higher energy bills: Your AC unit has to work harder to cool your home.
- Ice buildup on refrigerant lines: This is a sign of low refrigerant levels.
- Hissing or bubbling noise: You may hear a hissing sound coming from the AC unit, indicating leaking refrigerant.
- Oily residue near connections: Refrigerant leaks can leave behind an oily residue.
- Longer cooling cycles: The AC unit runs for extended periods to reach the desired temperature.
How to Fix Leak in AC Line Step-by-Step Guide
Important Safety Note: Refrigerant can be harmful if inhaled or if it comes into contact with your skin. If you suspect a large leak, evacuate the area and call a professional immediately. For more related activities, check out our Ac Running No Air Blowing.
- Turn off the AC unit: Shut off the power to your AC unit at the breaker box to prevent electrical shock.
- Inspect the refrigerant lines: Carefully examine the copper lines connecting the indoor and outdoor units. Look for any signs of damage, corrosion, or oily residue.
- Check the connections: Tighten any loose connections on the refrigerant lines. Use a wrench carefully, avoiding over-tightening.
- Look for ice buildup: Check the lines for ice buildup, especially near the outdoor unit’s connections. This can indicate a leak and low refrigerant.
- Listen for unusual noises: Pay attention to any hissing or bubbling sounds near the AC unit, which could indicate a refrigerant leak.
- Clean the coils: Dirty coils restrict airflow, causing the system to work harder and potentially leading to leaks. Clean the coils with a fin comb and a mild detergent solution.
- Check the drain line: A clogged drain line can cause water to back up and potentially corrode the refrigerant lines. Clear any clogs in the drain line.
- Monitor the performance: After performing these checks, turn the AC unit back on and monitor its performance. Check if it is cooling effectively and if the symptoms persist.
- Document your findings: Take pictures of any suspicious areas or damage you find. This can be helpful for a technician if you need to call one.
- Consider a professional leak test: If you suspect a leak but can’t find the source, a professional can perform a leak test using specialized equipment.
Fix the Issue Without Buying Parts
Before resorting to replacement parts, try these free or low-cost methods:
- Reset the system: Turn off the AC unit at the breaker for 30 minutes and then turn it back on. This can sometimes reset the system and improve its performance.
- Clean the area around the unit: Remove any debris, plants, or obstructions that might be restricting airflow around the outdoor unit.
- Improve ventilation: Ensure that vents inside your home are open and not blocked by furniture.
- Regular maintenance: Schedule annual AC maintenance to prevent future issues.
When Replacement Might Be Necessary
If you’ve tried the troubleshooting steps and the leak persists, or if the damage to the refrigerant lines is significant, replacement might be necessary. Replacing a refrigerant line can cost anywhere from $200 to $1000 depending on the extent of the damage and the location of the leak. Common parts that fail and may require replacement include the evaporator coil, condenser coil, and the refrigerant lines themselves.
Safety Warning
- Always disconnect power: Before inspecting or working on your AC unit, always disconnect the power at the breaker box.
- Avoid contact with refrigerant: Refrigerant can cause frostbite. If you come into contact with refrigerant, seek medical attention immediately.
- Work in a well-ventilated area: When working on your AC unit, ensure that the area is well-ventilated.
- Be cautious of electrical components: Avoid touching any electrical components inside the AC unit.
Tools You May Need
Here’s a list of basic tools you might find helpful for troubleshooting:
- Screwdrivers (Phillips and flathead)
- Wrench set
- Fin comb
- Multimeter (for checking electrical components)
- Flashlight
- Gloves
- Safety glasses
FAQ
Here are some frequently asked questions about AC refrigerant leaks:
-
Q: How often should I have my AC unit serviced?
A: It’s recommended to have your AC unit serviced annually. -
Q: Can I recharge the refrigerant myself?
A: Recharging refrigerant requires specialized tools and knowledge and is best left to a professional. -
Q: Is a refrigerant leak harmful to the environment?
A: Yes, refrigerant leaks can contribute to ozone depletion. -
Q: How long does refrigerant typically last?
A: Refrigerant should last the lifetime of the AC unit, unless there is a leak. -
Q: My AC is still cooling, but not as well as it used to. Could it be a small leak?
A: Yes, a slow leak can cause a gradual decline in cooling performance. -
Q: What can cause pinhole leaks in my AC lines?
A: Formicary corrosion can cause pinhole leaks in copper AC lines.
Conclusion
Troubleshooting an AC refrigerant leak can seem daunting, but by following these steps, you can identify potential problems and take steps to resolve them. Remember to prioritize safety and be cautious when working with electrical components and refrigerant. If you’re uncomfortable performing any of these tasks, or if the problem persists, don’t hesitate to call a qualified HVAC technician. Often, a simple repair can save you from more expensive damage down the road. Your comfort and the longevity of your AC system are worth the investment.
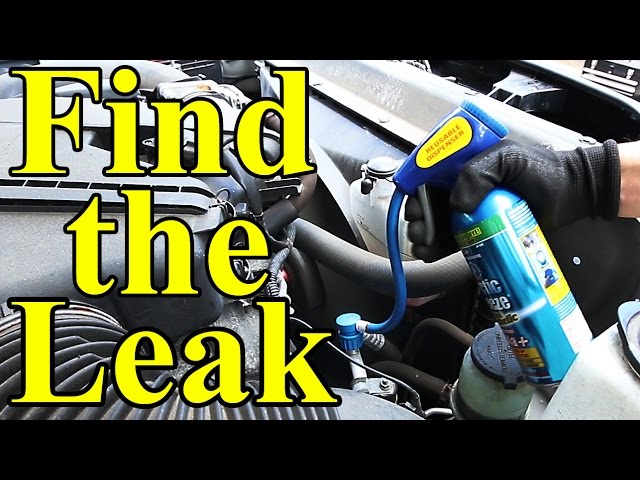
Youtube Video:
Quick Wiring Specifications & Terminal Guide
| Component / Circuit | Standard Wire Gauge | Recommended Protection |
|---|---|---|
| Control & Trigger Signals | 18 – 20 AWG | 5A – 7.5A Inline Fuse |
| Standard Auxiliary Load | 14 – 16 AWG | 15A – 20A Circuit Breaker |
| Main Power Feed / Supply | 10 – 12 AWG | 30A – 40A Heavy-Duty Relay |
Images References
Looking for more diagnostic guides? Explore our complete Air Conditioner Troubleshooting 2 section for step-by-step troubleshooting solutions.
