
Introduction
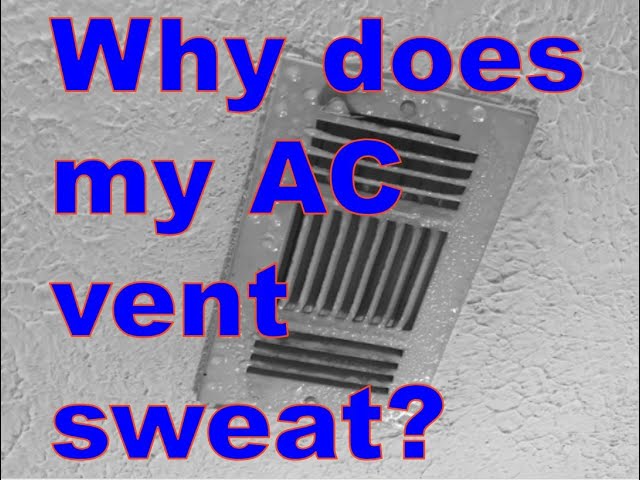
HVAC vents dripping water is a common problem, especially during hot, humid summer months. It happens when warm, moist air comes into contact with the cold surface of your air conditioning vents, causing condensation. Think of it like a cold glass of water on a warm day. This dripping can lead to water damage on your ceilings and walls, promote mold growth, and ultimately reduce the efficiency of your HVAC system. Addressing this issue promptly is crucial to prevent further damage and maintain a healthy home environment. Explore more in our Air Conditioner Troubleshooting 5 collection.
💡 Technical Key Takeaways:
- Core Focus: Diagnostic schematic and terminal connection layout for Hvac Vents Dripping Water.
- Target Scope: Field technicians, automotive DIYers, and residential/commercial electricians.
- Safety Rule: Always disconnect the primary power source/battery terminal and verify zero voltage with a multimeter before touching wires.
Common Causes of HVAC Vents Dripping Water
Several factors can contribute to HVAC vents dripping water:
- High Humidity: Excessive moisture in the air is the most common culprit. More moisture means more condensation.
- Low Refrigerant Levels: A low refrigerant charge causes the evaporator coil to become too cold, increasing condensation.
- Poor Insulation: Uninsulated or poorly insulated ductwork allows warm air to easily reach the cold surfaces, leading to condensation.
- Dirty Air Filter: A clogged air filter restricts airflow, causing the evaporator coil to overcool and produce more condensation.
- Blocked Drain Line: The drain line removes condensation from your HVAC system. A blockage can cause water to back up and drip from the vents.
- Leaky Ductwork: Air leaks in the ductwork can introduce warm, humid air into the system, resulting in condensation.
- Incorrect Thermostat Setting: Setting your thermostat too low can cause the system to overwork and overcool, creating more condensation.
- Oversized AC Unit: An AC unit that’s too large for your home can cool the air too quickly, leading to higher humidity and condensation.
Symptoms Checklist
Look for these signs to confirm if you have a problem with HVAC vents dripping water:
- Water droplets forming on or around your HVAC vents.
- Water stains on your ceiling or walls near the vents.
- A musty odor in the room, suggesting mold growth.
- Increased humidity levels inside your home.
- Your AC unit runs constantly but doesn’t seem to cool the house effectively.
- Visible ice forming on the AC unit’s coils (outdoor or indoor).
How to Fix HVAC Vents Dripping Water Step-by-Step Guide
Follow these steps to troubleshoot and fix your dripping HVAC vents:
- Check the Air Filter: Replace a dirty air filter with a new one. This improves airflow and reduces the chance of the evaporator coil overcooling.
- Inspect the Drain Line: Locate the drain line (usually a PVC pipe near your indoor AC unit) and check for clogs. You can try using a wet/dry vacuum to clear any obstructions.
- Adjust Your Thermostat: Raise the thermostat temperature by a few degrees. Avoid setting it too low, especially during periods of high humidity.
- Check for Leaky Ductwork: Inspect your ductwork for any visible leaks or damage. Seal any small leaks with duct tape. For larger leaks, consider hiring a professional.
- Improve Insulation: Make sure your ductwork, especially in unconditioned spaces like attics or crawl spaces, is properly insulated.
- Run a Dehumidifier: Use a dehumidifier to reduce humidity levels in your home, especially during hot, humid weather.
- Ensure Proper Ventilation: Make sure your home is properly ventilated to allow for air circulation and reduce moisture buildup. Use exhaust fans in bathrooms and kitchens.
- Inspect Condensate Pan: Check the condensate pan (located under the indoor AC unit) for rust or damage. If damaged, it may need to be replaced.
- Check Return Vents: Look for obstructions blocking the return vents. Furniture, rugs, or drapes can restrict airflow.
- Clear Debris Around Outdoor Unit: Ensure the outdoor AC unit is free from debris like leaves, grass, and branches. This ensures proper airflow.
- Check Your Home’s Insulation: Adequate wall and attic insulation can help maintain consistent temperatures and reduce humidity.
- Evaluate Landscaping: Trim back any excessive vegetation around your outdoor AC unit.
Fix the Issue Without Buying Parts
Before considering replacing parts, try these free fixes:
- Reset Your AC Unit: Turn off the AC unit at the breaker for a few minutes, then turn it back on. This can sometimes resolve minor issues.
- Cleaning: Regularly clean your vents and surrounding areas to prevent dust buildup.
- Inspect and Adjust Dampers: Check if your HVAC system has dampers to control airflow. Ensure they are properly adjusted for balanced air distribution.
- Maintenance Basics: Regularly inspect your AC unit for any signs of damage or wear and tear.
When Replacement Might Be Necessary
If the dripping persists after trying the above steps, you might need to consider replacement. A clogged or damaged evaporator coil (cost: $500-$1200) or a faulty condensate pump (cost: $100-$300) are common culprits. In severe cases, ductwork replacement (cost: $500 – $2000+) may be needed if it’s severely damaged or improperly sized. For more related activities, check out our My O General Ac Is Not Cooling.
Safety Warning
- Always turn off the power to your AC unit at the breaker before performing any maintenance.
- Avoid working on electrical components if you’re not comfortable doing so. Call a qualified technician.
- Be careful of wet floors around the AC unit to prevent slips and falls.
- Never attempt to repair or replace refrigerant lines. This requires specialized equipment and training.
Tools You May Need
Here are some tools that might be helpful:
- Screwdriver (Phillips and flathead)
- Wet/dry vacuum
- Duct tape
- Insulation
- New air filter
- Flashlight
FAQ
Here are some frequently asked questions about HVAC vents dripping water:
- Q: Why is my AC dripping even when it’s not that hot? A: High humidity can cause condensation even when the temperature isn’t extremely high.
- Q: How often should I change my air filter? A: At least every 1-3 months, or more often if you have pets or allergies.
- Q: Can I fix a refrigerant leak myself? A: No, refrigerant work requires specialized tools and licenses. Call a professional.
- Q: How can I prevent my vents from dripping in the future? A: Maintain your HVAC system regularly, control humidity levels, and ensure proper insulation.
Conclusion
Don’t let dripping HVAC vents dampen your comfort! By following this troubleshooting guide, you can often resolve the issue yourself and prevent further damage to your home. Remember to prioritize safety and don’t hesitate to call a qualified HVAC technician if you’re uncomfortable with any of the steps or if the problem persists. Discover more free resources across our collection library.
Youtube Video:
Quick Wiring Specifications & Terminal Guide
| Component / Circuit | Standard Wire Gauge | Recommended Protection |
|---|---|---|
| Control & Trigger Signals | 18 – 20 AWG | 5A – 7.5A Inline Fuse |
| Standard Auxiliary Load | 14 – 16 AWG | 15A – 20A Circuit Breaker |
| Main Power Feed / Supply | 10 – 12 AWG | 30A – 40A Heavy-Duty Relay |
