
Introduction
Is your GE refrigerator’s ice maker producing ice, but not actually dumping it into the bin? This is a common problem that can be frustrating, especially when you’re expecting a refreshing glass of ice-cold water. A non-dumping ice maker means no ice available, and if left unaddressed, it can potentially lead to more significant problems like ice buildup and overflowing water. Let’s get that ice flowing again!
💡 Technical Key Takeaways:
- Core Focus: Diagnostic schematic and terminal connection layout for Ge Refrigerator Ice Maker Not Dumping Ice.
- Target Scope: Field technicians, automotive DIYers, and residential/commercial electricians.
- Safety Rule: Always disconnect the primary power source/battery terminal and verify zero voltage with a multimeter before touching wires.
Common Causes of GE Refrigerator Ice Maker Not Dumping Ice
Here are some common reasons why your GE ice maker might not be dumping ice:
- Ice Jam: Ice cubes can get stuck, blocking the ejection mechanism.
- Frozen Ejector Blades: The blades that push the ice out may be frozen solid.
- Water Inlet Valve Issues: If the valve isn’t working correctly, it can overfill the ice maker, leading to a large block of ice.
- Low Freezer Temperature: If the freezer is too cold, the ice may freeze together, preventing the ejector from working.
- Ice Maker Motor Failure: The motor that drives the ice ejection mechanism might be broken.
- Faulty Ice Level Sensor: The sensor that tells the ice maker when the bin is full might be malfunctioning.
- Clogged Water Filter: A dirty filter restricts water flow, causing irregular ice formation.
- Defective Thermistor: This sensor regulates the temperature in the ice maker. If it’s broken, it can prevent ice from releasing.
- Power Outage: A recent power outage might have interrupted the ice-making cycle.
Symptoms Checklist
Check these indicators to accurately identify the issue:
- Ice maker is producing ice, but it remains in the mold.
- Ice maker is producing a large block of ice instead of individual cubes.
- You hear the ice maker motor running, but no ice is being ejected.
- No ice is being produced at all.
- Ice bin is empty despite the ice maker being on.
- Ice clumps together and freezes solid in the bin.
How to Fix GE Refrigerator Ice Maker Not Dumping Ice Step-by-Step Guide
Follow these steps to troubleshoot your ice maker:
- Turn off the Ice Maker: Locate the power switch on the ice maker (usually a wire bail or a button) and turn it off. This prevents further ice production while troubleshooting.
- Inspect for Ice Jams: Look inside the ice maker mold. Remove any visible ice jams or clumps blocking the ejector blades. You can use a plastic utensil (never metal) to gently dislodge the ice.
- Check the Freezer Temperature: Ensure your freezer is set to the recommended temperature (around 0F or -18C). Adjust the temperature if necessary.
- Manually Defrost the Ice Maker: If the ejector blades are frozen, unplug the refrigerator and let the ice maker defrost for a few hours. You can also use a hairdryer (on low heat) to gently melt the ice. Be careful not to overheat the plastic components.
- Check the Water Filter: A clogged water filter can affect ice production. Replace the water filter according to the manufacturer’s instructions (usually every 6 months).
- Clean the Ice Maker: Over time, mineral deposits can build up in the ice maker. Clean the ice maker with a solution of vinegar and water (1:1 ratio). Use a soft cloth to wipe down the mold and ejector blades.
- Test the Water Inlet Valve: Locate the water inlet valve (usually at the back of the refrigerator). Disconnect the water line and check for any blockages. You can also test the valve with a multimeter to see if it’s receiving power when the ice maker calls for water. (Testing for power requires intermediate knowledge and comfort working with electrical circuits)
- Inspect the Ice Level Sensor: Make sure the ice level sensor (usually a plastic arm or a light sensor) is not blocked or damaged. Clean the sensor if necessary.
- Reset the Ice Maker: Some GE refrigerators have a reset button on the ice maker. Press and hold the reset button for a few seconds to reset the ice maker cycle. (Consult your user manual for specific instructions). If no reset button exists, unplug the refrigerator for 5 minutes to reset the appliance.
- Observe the Ice Maker Cycle: After completing the steps above, turn the ice maker back on and observe its cycle. Listen for any unusual noises or movements. Allow a few hours for the ice maker to produce ice.
- Check for Proper Water Pressure: Ensure your home’s water pressure is adequate (usually between 40 and 120 psi). Low water pressure can affect ice production.
Fix the Issue Without Buying Parts
Often, you can resolve the “ge refrigerator ice maker not dumping ice” issue without replacing any parts. Try these free methods:. For more related activities, check out our Ge Gsl25jfpabs Not Cooling.
- Reset the Ice Maker: As mentioned above, resetting the ice maker can sometimes resolve minor glitches.
- Thorough Cleaning: Regularly cleaning the ice maker can prevent ice jams and mineral buildup.
- Proper Temperature Setting: Ensure your freezer is set to the correct temperature to prevent ice from freezing together.
- Regular Water Filter Replacement: Replacing the water filter every 6 months is crucial for maintaining optimal ice production.
- Visual Inspection: Regularly inspect the ice maker for any signs of damage or wear.
When Replacement Might Be Necessary
If you’ve tried all the troubleshooting steps and your ice maker still isn’t dumping ice, a replacement may be necessary. Parts that commonly fail include the ice maker motor (estimated cost: $50-$150), the water inlet valve (estimated cost: $30-$80), and the ice maker assembly (estimated cost: $100-$300). These prices are estimates and can vary depending on the model and retailer.
Safety Warning
- Always unplug the refrigerator before attempting any repairs.
- Avoid working on electrical components if you’re not comfortable doing so.
- Be careful when using tools to avoid injury.
- Clean up any spills immediately to prevent slips and falls.
- Never use metal objects to remove ice from the ice maker, as this can damage the components.
Tools You May Need
- Screwdriver (Phillips and flathead)
- Pliers
- Multimeter (optional, for testing electrical components)
- Plastic spatula or utensil
- Soft cloth or sponge
- Water filter wrench (if applicable)
FAQ
Here are some frequently asked questions about ice maker issues:
-
Q: Why is my ice maker making ice slowly?
A: This could be due to a clogged water filter, low water pressure, or a partially frozen water line. -
Q: How often should I replace my water filter?
A: Most manufacturers recommend replacing the water filter every 6 months. -
Q: Can I use tap water in my ice maker?
A: It’s best to use filtered water to prevent mineral buildup and ensure optimal ice quality. -
Q: What does it mean if my ice maker is making a buzzing sound?
A: A buzzing sound could indicate a problem with the ice maker motor or the water inlet valve.
Conclusion
Troubleshooting a “ge refrigerator ice maker not dumping ice” issue can seem daunting, but by following these steps, you can often resolve the problem yourself and save money on repair costs. If you’ve exhausted all troubleshooting options and are still experiencing problems, consider consulting a qualified appliance repair technician.
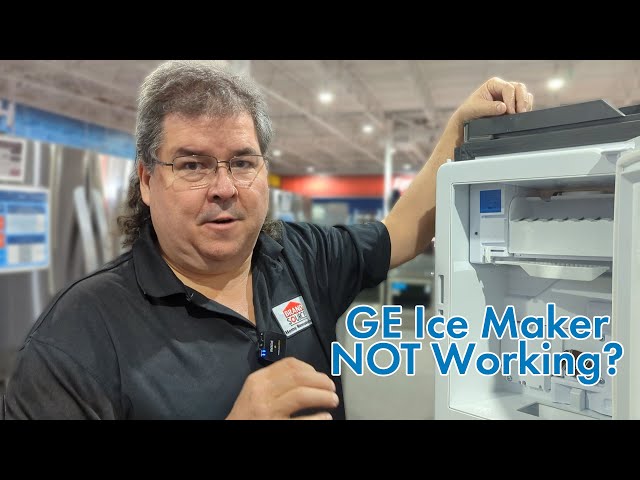
Youtube Video:
Quick Wiring Specifications & Terminal Guide
| Component / Circuit | Standard Wire Gauge | Recommended Protection |
|---|---|---|
| Control & Trigger Signals | 18 – 20 AWG | 5A – 7.5A Inline Fuse |
| Standard Auxiliary Load | 14 – 16 AWG | 15A – 20A Circuit Breaker |
| Main Power Feed / Supply | 10 – 12 AWG | 30A – 40A Heavy-Duty Relay |
Images References
Looking for more diagnostic guides? Explore our complete Refrigerator Problems 3 section for step-by-step troubleshooting solutions.
