
Introduction
A clicking noise coming from your GE refrigerator’s ice maker is a common problem that many homeowners experience. It usually indicates that something is preventing the ice maker from cycling properly. While it might not seem like a major issue initially, ignoring this clicking can lead to the ice maker completely failing, resulting in no ice production and potentially requiring expensive repairs. Addressing the issue promptly can often save you time, money, and the inconvenience of a non-functioning ice maker.
💡 Technical Key Takeaways:
- Core Focus: Diagnostic schematic and terminal connection layout for Ge Refrigerator Ice Maker Clicking Noise.
- Target Scope: Field technicians, automotive DIYers, and residential/commercial electricians.
- Safety Rule: Always disconnect the primary power source/battery terminal and verify zero voltage with a multimeter before touching wires.
Common Causes of GE Refrigerator Ice Maker Clicking Noise
Here are some of the most frequent reasons why your GE refrigerator ice maker might be clicking:
- Ice Buildup: Ice accumulation can obstruct the ice maker’s moving parts, preventing it from ejecting ice correctly.
- Water Line Issues: A frozen or kinked water line can restrict water flow to the ice maker.
- Faulty Water Inlet Valve: This valve controls the flow of water to the ice maker. If it’s malfunctioning, it might cause clicking.
- Stuck Ejector Arm: The arm that pushes the ice out can get stuck, causing the motor to strain and click.
- Broken Ice Maker Module: The module contains the motor and gears that drive the ice-making process.
- Clogged Filter: A dirty water filter can reduce water pressure and lead to ice maker problems.
- Low Freezer Temperature: If the freezer isn’t cold enough, the ice maker might struggle to freeze the water properly.
- Loose Wiring: Loose connections to the ice maker components can cause electrical issues and clicking sounds.
- Ice Jam: Formed ice chunks in the ejection area preventing the ice ejection.
Symptoms Checklist
Check if you’re experiencing any of these symptoms in addition to the clicking noise:
- No ice production
- Small or misshapen ice cubes
- Ice cubes stuck together
- Water leaking from the ice maker
- The ice maker arm is frozen or stuck
- The clicking noise occurs repeatedly
- Water dispenser not working
How to Fix GE Refrigerator Ice Maker Clicking Noise Step-by-Step Guide
Follow these steps to troubleshoot and fix the clicking noise:
- Unplug the Refrigerator: For safety, always unplug the refrigerator before working on any of its components.
- Locate the Ice Maker: It’s usually in the freezer compartment, on the upper left side.
- Inspect for Ice Buildup: Look for any visible ice accumulation around the ice maker.
- Thaw Ice Buildup: Use a hairdryer (on low setting) or a warm cloth to gently melt any ice. Avoid using sharp objects.
- Check the Water Line: Ensure the water line connected to the refrigerator is not kinked or frozen.
- Test the Water Inlet Valve: Carefully detach the water line and check for water flow when the ice maker calls for water. (You might need to manually trigger the ice maker cycle).
- Inspect the Ejector Arm: Make sure the arm moves freely. If it’s stuck, gently try to dislodge it.
- Check the Water Filter: Replace the water filter if it’s been more than six months or if it appears dirty.
- Adjust Freezer Temperature: Ensure the freezer temperature is set between 0F and 5F (-18C and -15C).
- Manually Cycle the Ice Maker: Some GE ice makers have a test button underneath. Press and hold it to manually start a cycle. Observe if the clicking persists.
- Inspect Wiring Connections: Check for any loose or damaged wires connected to the ice maker.
- Clean Ice Bin Area: Ice spills and small food particles sometimes block the ice ejection.
- Inspect the Ice Thickness Sensor: Some models have sensors to detect when the bin is full. Make sure its path is clear.
- Plug the Refrigerator Back In: After completing the checks and fixes, plug the refrigerator back in.
- Monitor Ice Production: Allow 24 hours for the ice maker to resume normal ice production.
Fix the Issue Without Buying Parts
Here are some free solutions you can try:
- Reset the Ice Maker: Unplugging the refrigerator for a few minutes can sometimes reset the ice maker.
- Deep Cleaning: Thoroughly cleaning the ice maker and surrounding area can remove obstructions and improve performance.
- Manual Defrost: Defrosting the freezer can melt any hidden ice buildup.
- Regular Inspection: Periodically check the ice maker for ice buildup and clean it as needed.
When Replacement Might Be Necessary
If the clicking persists after trying all the troubleshooting steps, a component might need replacing. The ice maker module or water inlet valve are the most common culprits. Replacement parts can range from $50 to $200 USD, depending on the part and model of your refrigerator. Consider calling a qualified appliance repair technician for diagnosis and part replacement.
Safety Warning
- Always unplug the refrigerator before working on any electrical components.
- Avoid using sharp objects to remove ice, as this can damage the ice maker.
- Be careful when handling electrical connections.
- Dry your hands thoroughly before touching any electrical parts.
- If you are uncomfortable with any of these steps, consult a qualified appliance repair technician.
Tools You May Need
- Screwdriver (Phillips head and flathead)
- Hairdryer
- Warm cloth
- Pliers
- Multimeter (optional, for testing electrical components)
FAQ
Here are some frequently asked questions about ice maker clicking noises:
- Q: How long should it take for the ice maker to start making ice after I fix the clicking? A: It usually takes around 24 hours for the ice maker to start producing ice after it has been repaired and reset.
- Q: Can a dirty water filter cause the ice maker to click? A: Yes, a clogged filter restricts water flow and can cause the ice maker to malfunction and click.
- Q: Is it safe to use a hairdryer to melt ice buildup? A: Yes, but use it on a low setting and keep it moving to avoid overheating any components.
- Q: What should I do if I can’t find the test button on my ice maker? A: Consult your refrigerator’s owner’s manual for the location of the test button, or search online for your specific model.
- Q: How often should I replace the water filter? A: Replace the water filter every six months, or more often if you have hard water.
Conclusion
A clicking ice maker can be annoying, but by following these steps, you should be able to identify and resolve the issue yourself. Start with the simplest solutions, like thawing ice buildup and replacing the water filter. If the clicking persists, don’t hesitate to call a qualified technician for help. Often, you can solve this common issue without needing to hire an expensive repair service. Good luck!
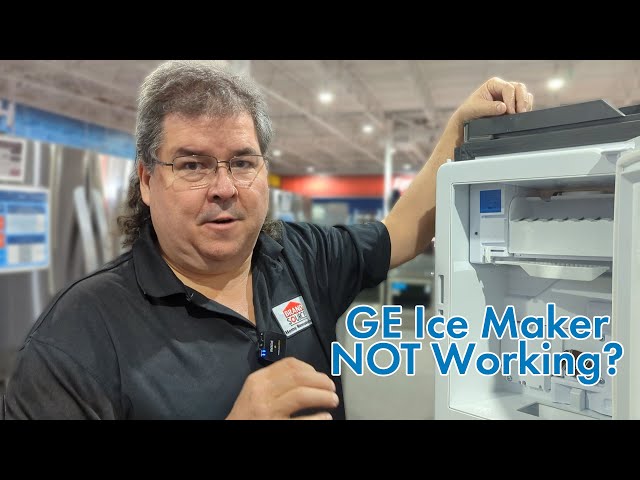
Youtube Video:
Quick Wiring Specifications & Terminal Guide
| Component / Circuit | Standard Wire Gauge | Recommended Protection |
|---|---|---|
| Control & Trigger Signals | 18 – 20 AWG | 5A – 7.5A Inline Fuse |
| Standard Auxiliary Load | 14 – 16 AWG | 15A – 20A Circuit Breaker |
| Main Power Feed / Supply | 10 – 12 AWG | 30A – 40A Heavy-Duty Relay |
Images References
Looking for more diagnostic guides? Explore our complete Refrigerator Problems 3 section for step-by-step troubleshooting solutions.
