
Introduction
Is your GE Adora refrigerator ice maker refusing to cooperate? A non-functioning ice maker can be a real inconvenience, especially during warm weather. This guide will walk you through the most common causes and provide simple, step-by-step troubleshooting instructions to get your ice maker back up and running. Addressing the issue promptly prevents further problems, like food spoilage due to temperature fluctuations from repeatedly opening the freezer to check the ice maker.
💡 Technical Key Takeaways:
- Core Focus: Diagnostic schematic and terminal connection layout for Ge Adora Fridge Ice Maker Not Working.
- Target Scope: Field technicians, automotive DIYers, and residential/commercial electricians.
- Safety Rule: Always disconnect the primary power source/battery terminal and verify zero voltage with a multimeter before touching wires.
Common Causes of GE Adora Fridge Ice Maker Not Working
Here are some of the most frequent reasons your GE Adora ice maker might be on strike:
- Freezer Temperature Too High: The freezer needs to be cold enough (ideally around 0-5F) for the ice maker to function.
- Water Supply Issues: A kinked, frozen, or disconnected water line can prevent water from reaching the ice maker.
- Clogged Water Filter: A dirty water filter restricts water flow, hindering ice production.
- Ice Maker Jam: Ice cubes can sometimes get stuck, preventing the ice maker from cycling.
- Ice Maker is Turned Off: Someone might have accidentally turned the ice maker off.
- Faulty Water Inlet Valve: This valve controls the flow of water to the ice maker. If it’s defective, no water will get through.
- Defective Ice Maker Module: The ice maker module controls the entire ice-making process. A malfunction here can halt production.
- Frozen Fill Tube: The tube that delivers water to the ice maker can freeze up.
- Low Water Pressure: Insufficient water pressure to the refrigerator can affect the ice maker.
Symptoms Checklist
Use this checklist to help diagnose the problem:
- No ice production at all.
- Ice cubes are small or misshapen.
- Ice maker is making a humming sound but no ice.
- Ice maker is overflowing with water.
- The ice maker is full of ice, but the ice isn’t dispensing.
- Water is leaking from the ice maker area.
How to Fix GE Adora Fridge Ice Maker Not Working Step-by-Step Guide
- Check the Freezer Temperature: Use a thermometer to ensure the freezer temperature is between 0-5F (-18 to -15C). Adjust the freezer settings if necessary.
- Inspect the Water Line: Look for any kinks, bends, or damage to the water line behind the refrigerator. Straighten any kinks and replace the line if damaged.
- Check the Water Supply Valve: Ensure the water supply valve behind the fridge is fully open.
- Replace the Water Filter: Locate the water filter (usually inside the refrigerator or at the bottom front) and replace it with a new one. Consult your refrigerator’s manual for the correct filter type.
- Manually Check the Ice Maker: Open the freezer and visually inspect the ice maker. Look for any ice jams or obstructions.
- Defrost the Ice Maker (If Applicable): If you suspect a frozen fill tube, try defrosting the ice maker. You can do this by unplugging the refrigerator for a few hours or using a hairdryer on a low setting to gently thaw the area around the ice maker fill tube.
- Listen for the Water Inlet Valve: When the ice maker is supposed to be filling, listen for a buzzing sound from the water inlet valve at the back of the fridge. No sound indicates it’s not getting power or is faulty.
- Check the Ice Maker On/Off Switch: Make sure the ice maker is turned on. The switch is usually located on the ice maker itself or on the control panel.
- Reset the Ice Maker: Many GE Adora models have a reset button on the ice maker. Press and hold it for a few seconds to reset the unit.
- Inspect the Fill Tube: The fill tube delivers water to the ice maker. Look for any signs of ice buildup or blockage. You might need to carefully remove any ice with a small tool.
- Check Water Pressure: Low household water pressure can affect ice maker function. Ensure adequate pressure.
- Test the Ice Maker Thermostat: If you’re comfortable using a multimeter, you can test the thermostat to ensure it’s functioning correctly. (This step may require more technical knowledge.)
Fix the Issue Without Buying Parts
Before resorting to replacing parts, try these free solutions:
- Reset the Ice Maker: As mentioned earlier, use the reset button (if available) to attempt a reset.
- Thorough Cleaning: Clean the ice maker and surrounding area with a mild solution of baking soda and water. Remove any ice buildup or debris.
- Temperature Recalibration: Ensure the freezer and refrigerator temperatures are properly calibrated according to the manufacturer’s instructions.
- Routine Inspection: Regularly inspect the water line, water filter, and ice maker for any signs of damage or blockage.
- Proper Maintenance: Replace the water filter every 6 months (or as recommended by the manufacturer) to maintain optimal water flow.
When Replacement Might Be Necessary
If you’ve tried all the troubleshooting steps and the ice maker still isn’t working, a replacement part might be necessary. Common parts that fail include the water inlet valve, the ice maker module, and the ice maker thermostat. Replacement costs can range from $50 to $200+ USD, depending on the part and model. Consider calling a qualified appliance repair technician for assistance before replacing parts.
Safety Warning
- Always unplug the refrigerator before performing any troubleshooting or repairs.
- Avoid working on electrical components if you’re not comfortable or experienced.
- Be careful when handling water lines and ensure the area is dry to prevent electrical shock.
- Never use excessive force when removing ice or cleaning components.
Tools You May Need
- Screwdrivers (Phillips and flathead)
- Adjustable wrench
- Pliers
- Thermometer
- Multimeter (optional, for advanced testing)
- Towel or sponge
FAQ
Here are some frequently asked questions:
-
Q: How often should I change my water filter?
A: Typically, every 6 months, but check your refrigerator’s manual for specific recommendations. -
Q: Why is my ice maker making small or hollow ice cubes?
A: This is often due to low water pressure or a clogged water filter. -
Q: How do I reset my GE Adora ice maker?
A: Locate the reset button (usually on the ice maker itself) and press and hold it for a few seconds. -
Q: My ice maker is overflowing. What could be the cause?
A: This could be due to a faulty water inlet valve or a malfunctioning ice maker module.
Conclusion
Troubleshooting a GE Adora ice maker can seem daunting, but with a systematic approach, you can often resolve the issue yourself. By following these steps, you can save money and time. However, if you’re uncomfortable with any of these procedures, don’t hesitate to contact a qualified appliance repair technician. They have the expertise to diagnose and fix more complex problems.
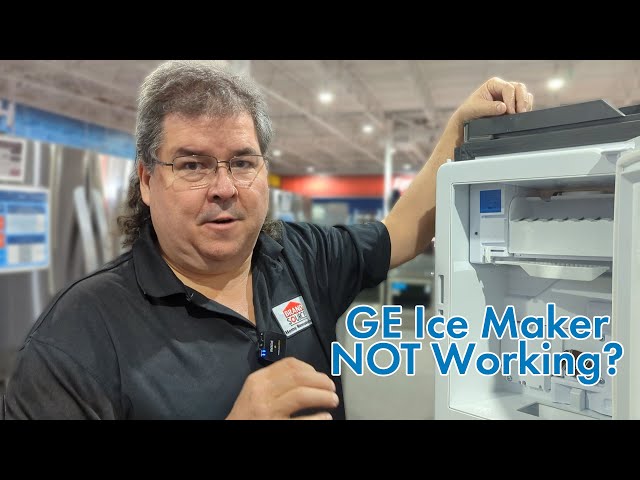
Youtube Video:
Quick Wiring Specifications & Terminal Guide
| Component / Circuit | Standard Wire Gauge | Recommended Protection |
|---|---|---|
| Control & Trigger Signals | 18 – 20 AWG | 5A – 7.5A Inline Fuse |
| Standard Auxiliary Load | 14 – 16 AWG | 15A – 20A Circuit Breaker |
| Main Power Feed / Supply | 10 – 12 AWG | 30A – 40A Heavy-Duty Relay |
Images References
Looking for more diagnostic guides? Explore our complete Refrigerator Problems 3 section for step-by-step troubleshooting solutions.
