
Introduction
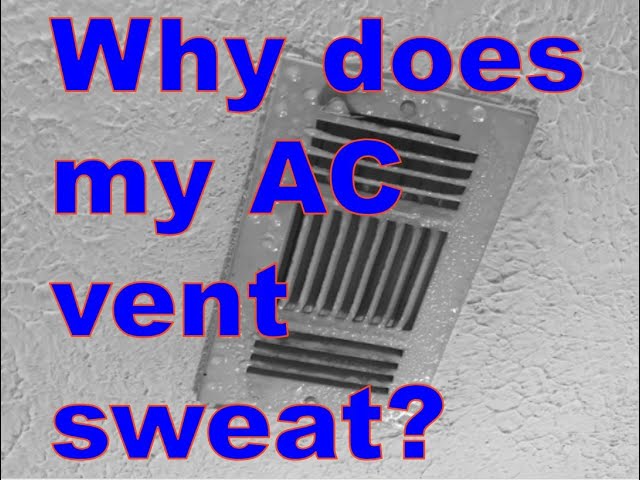
Discovering a wet spot on your ceiling around your air conditioning vent is never a pleasant surprise. This moisture could be condensation, a leak, or even a more serious issue. Ignoring it can lead to mold growth, damaged drywall, and potentially expensive repairs. This guide will walk you through the common causes of a wet ceiling around your AC vent and provide simple steps to troubleshoot and address the problem. It’s essential to act quickly to prevent further damage to your home.
💡 Technical Key Takeaways:
- Core Focus: Diagnostic schematic and terminal connection layout for Ceiling Wet Around Ac Vent.
- Target Scope: Field technicians, automotive DIYers, and residential/commercial electricians.
- Safety Rule: Always disconnect the primary power source/battery terminal and verify zero voltage with a multimeter before touching wires.
Common Causes of Ceiling Wet Around AC Vent
Here are several common reasons why your ceiling might be wet near an AC vent:
- Condensation: Warm, humid air coming into contact with the cold surface of the vent or ductwork can cause condensation, similar to a cold glass on a hot day.
- Poor Insulation: If the ductwork above the ceiling isn’t properly insulated, it can become very cold, leading to significant condensation.
- Air Leaks: Gaps or cracks in the ductwork allow warm, moist air to enter, increasing condensation.
- Clogged Condensate Drain Line: The AC unit has a drain line that removes condensation. If this line is clogged, water can back up and leak into the ductwork or ceiling.
- Leaking Ductwork: Older ductwork can develop leaks at the seams or joints, allowing condensation or water to drip onto the ceiling.
- High Humidity: Extremely humid conditions inside your home can exacerbate condensation issues.
- Dirty Air Filter: A dirty air filter restricts airflow, causing the AC unit to overwork and potentially leading to increased condensation.
- Improperly Sealed Vent: If the AC vent isn’t properly sealed to the ceiling, warm, humid air can seep in and condense around the edges.
- Refrigerant Leak (Less Common): While rare, a refrigerant leak can cause the evaporator coil to ice up, leading to melting ice and water damage.
Symptoms Checklist
Here are some indicators that can help you pinpoint the issue:
- Water stains on the ceiling around the AC vent
- Dripping water from the vent
- Mold growth or a musty odor near the vent
- Visible condensation on the vent itself
- Increased humidity inside your home
- AC unit running constantly
- Uneven cooling throughout the house
How to Fix Ceiling Wet Around AC Vent Step-by-Step Guide
Follow these steps to troubleshoot and potentially fix the problem:
- Turn off the AC: Before you begin, switch off your air conditioner at the thermostat to prevent further condensation or damage.
- Inspect the Vent: Carefully examine the area around the vent for any obvious cracks or gaps.
- Check the Air Filter: Remove and inspect your AC unit’s air filter. If it’s dirty, replace it with a clean one. A dirty filter restricts airflow and can worsen condensation.
- Feel for Air Leaks: With the AC off, hold your hand near the edges of the vent. Can you feel any air leaking out? This indicates a poor seal.
- Clean the Vent: Wipe down the vent with a dry cloth to remove any existing condensation.
- Check for Insulation: If possible, peek into the ceiling cavity (after switching off any electrical power) to check the insulation around the ductwork. Is it wet, damaged, or missing?
- Inspect the Condensate Drain Line (AC Unit Location): Locate the condensate drain line near your AC unit (usually a PVC pipe). Check for any clogs or blockages. You can try using a wet/dry vacuum to clear the line.
- Clear Drain Line (Pour Vinegar): Pour a cup of white vinegar down the condensate drain line. This helps to dissolve any algae or mold buildup that may be causing a blockage. Wait about 30 minutes, then flush with water.
- Seal the Vent: Use caulk or weather stripping to seal any gaps around the vent to prevent warm, moist air from entering.
- Run a Dehumidifier: Use a dehumidifier in the room to reduce the overall humidity level.
- Monitor the Situation: After completing these steps, turn the AC back on and monitor the vent for any signs of continued wetness.
- Check Attic Insulation: Check to see if insulation above duct work is adequately insulated.
- Inspect Ductwork Joints: If possible, inspect your ductwork, especially joints or sections close to the vent.
Fix the Issue Without Buying Parts
Here are some ways to address the issue without immediately purchasing new components:
- Reset the AC: Try turning off the AC at the breaker for 30 minutes, then turning it back on. This can sometimes resolve minor issues.
- Regular Cleaning: Regularly clean your AC vents and replace the air filter to maintain proper airflow and prevent condensation.
- Proper Ventilation: Ensure your home is properly ventilated, especially in bathrooms and kitchens, to reduce humidity.
- Inspection Tips: Periodically inspect your AC vents and surrounding areas for any signs of moisture or leaks.
- Basic Maintenance: Schedule annual AC maintenance to ensure the unit is running efficiently and to catch potential problems early.
When Replacement Might Be Necessary
If the problem persists after trying the above steps, a replacement might be necessary. Here are some scenarios:. For more related activities, check out our Car Fan Not Blowing.
- Extensive Ductwork Damage: If the ductwork is severely damaged or corroded, replacing it may be the only solution. Expect to pay $200 to $500 per section for ductwork replacement.
- Coil Damage: When your HVAC coil have damage, consider replacement. Expect to pay $500 to $1000 per coil replacement.
- Condensate Pump Failure: If the condensate pump is failing (some AC systems have them), it needs to be replaced. These pumps cost roughly $50 – $150.
Safety Warning
Please take these precautions when troubleshooting:
- Turn off the power: Always turn off the AC unit at the breaker before inspecting or working on any electrical components.
- Avoid wet floors: Be careful of slippery floors if water has leaked onto them.
- Wear gloves: Wear gloves to protect your hands from dirt and debris.
- Call a professional: If you’re uncomfortable working with electricity or HVAC systems, consult a qualified technician.
Tools You May Need
Here are some simple tools that might be helpful:
- Screwdriver (Phillips and flathead)
- Caulk or weather stripping
- Dry cloth
- Wet/dry vacuum
- White vinegar
- Flashlight
FAQ
Here are some frequently asked questions:
- Why is my AC vent dripping water even when the AC is off? This could be due to residual condensation or a slow leak in the ductwork.
- How do I know if the condensation drain line is clogged? If water is overflowing near the AC unit or if the drain pan is full, the line is likely clogged.
- Is mold around the AC vent dangerous? Yes, mold can cause respiratory problems and other health issues. It’s important to address mold growth promptly.
- Can I fix a refrigerant leak myself? No, refrigerant leaks should only be repaired by a licensed HVAC technician.
Conclusion
Finding a wet spot around your AC vent can be concerning, but by following these steps, you can often diagnose and address the issue yourself. Remember to prioritize safety and take your time. If you’ve tried these solutions and the problem persists, don’t hesitate to call a qualified HVAC technician for professional assistance. Addressing the issue promptly can prevent further damage and ensure your AC system is running efficiently.
Youtube Video:
Quick Wiring Specifications & Terminal Guide
| Component / Circuit | Standard Wire Gauge | Recommended Protection |
|---|---|---|
| Control & Trigger Signals | 18 – 20 AWG | 5A – 7.5A Inline Fuse |
| Standard Auxiliary Load | 14 – 16 AWG | 15A – 20A Circuit Breaker |
| Main Power Feed / Supply | 10 – 12 AWG | 30A – 40A Heavy-Duty Relay |
Images References
Looking for more diagnostic guides? Explore our complete Air Conditioner Troubleshooting 4 section for step-by-step troubleshooting solutions.
