
Introduction
Discovering water leaking from your air cooler can be a frustrating experience. Not only does it create a mess, but it can also indicate a larger problem with your appliance’s functionality. This guide is designed to help homeowners like you quickly identify the source of the leak and walk you through simple troubleshooting steps to fix it. Water leaks can damage flooring, create a safety hazard, and prevent your cooler from working efficiently, so it’s important to address them promptly. This guide will give you the knowledge and confidence to tackle these issues yourself, saving you time and money.
💡 Technical Key Takeaways:
- Core Focus: Diagnostic schematic and terminal connection layout for Air Cooler Water Leaking.
- Target Scope: Field technicians, automotive DIYers, and residential/commercial electricians.
- Safety Rule: Always disconnect the primary power source/battery terminal and verify zero voltage with a multimeter before touching wires.
Common Causes of air cooler water leaking
Here are some of the most common reasons why your air cooler might be leaking:
- Overfilled Water Tank: Adding too much water can cause overflow.
- Cracked Water Tank: Physical damage to the tank itself.
- Loose Drain Plug: The plug at the bottom may not be secured tightly.
- Damaged Water Pump: The pump might be leaking internally.
- Clogged Water Filter: A blocked filter can cause water to back up.
- Worn-Out Water Distribution System: The system that distributes water over the cooling pads might be cracked or disconnected.
- Uneven Surface: If the cooler isn’t level, water can spill over the edges.
- Old or Damaged Cooling Pads: Overly saturated or deteriorating pads can leak.
- Internal Condensation Build-up: Excessive condensation may overwhelm the drainage system.
Symptoms Checklist
Check the following to accurately identify the leaking issue:
- Puddles forming around the base of the cooler.
- Water dripping from the front, back, or sides.
- Visible cracks or damage on the water tank.
- Water stains on the floor or nearby walls.
- The cooler makes gurgling noises or runs louder than usual.
- Reduced cooling efficiency.
- Water accumulating on the internal components.
How to Fix air cooler water leaking Step-by-Step Guide
Follow these steps to troubleshoot and fix the leak:
- Unplug the Air Cooler: Safety first! Always disconnect the power before inspecting.
- Check the Water Level: Make sure the tank isn’t overfilled. Reduce the water level to the recommended mark.
- Inspect the Water Tank: Look for any visible cracks or damage. If you find cracks, try patching with waterproof tape (temporary solution).
- Examine the Drain Plug: Ensure the drain plug at the bottom is tightly closed. If it’s loose, tighten it. If the rubber seal is worn, try replacing it with a rubber washer of similar size.
- Clean the Water Filter: Remove the water filter and clean it thoroughly with water to remove any debris. A clogged filter restricts water flow.
- Inspect the Water Pump: Check the pump for leaks. Ensure all connections are secure.
- Check the Water Distribution System: Inspect the pipes or trays that distribute water over the cooling pads. Ensure they’re properly connected and not cracked.
- Level the Air Cooler: Place a level on top of the cooler. Adjust the position using shims or pieces of cardboard until it’s perfectly level.
- Examine the Cooling Pads: Check the condition of the cooling pads. If they’re old, overly saturated, or deteriorating, let them dry completely in the sun. Consider flipping them over for more even wear.
- Clean the Cooler’s Interior: Remove any scale buildup or debris inside the cooler. Scale can cause blockages.
- Run the Cooler Briefly: After each check, run the cooler for a short period to see if the leak has stopped.
- Check for Condensation: If you notice excessive condensation, ensure the cooler is adequately ventilated.
- Tighten All Connections: Go through all the hoses and connections inside the cooler and ensure everything is tightly connected.
Fix the Issue Without Buying Parts
Here are some methods to try before considering replacement parts:
- Reset the Cooler: Unplug the cooler for an hour to reset the system.
- Thorough Cleaning: Regularly clean the water tank and cooling pads to prevent blockages.
- Recalibration (if applicable): Some coolers have calibration settings. Consult the manual for recalibration instructions.
- Routine Inspection: Regularly inspect the cooler for signs of wear and tear.
- Proper Maintenance: Always empty and dry the cooler when not in use to prevent mold and mildew.
When Replacement Might Be Necessary
If the leak persists after trying the above steps, you might need to replace certain parts. A cracked water tank (estimated cost: $20-$50), a damaged water pump ($15-$40), or severely deteriorated cooling pads ($10-$30 per set) are common reasons for replacement. Consider buying replacement parts online or from a local appliance store. For more related activities, check out our Ac Unit Has Water Around It.
Safety Warning
- Always unplug the air cooler before performing any maintenance or repairs.
- Avoid contact with water near electrical components.
- Clean up any spilled water immediately to prevent slips and falls.
- Do not operate the cooler if you suspect electrical damage.
Tools You May Need
- Screwdriver (Phillips and flathead)
- Adjustable wrench
- Waterproof tape
- Clean cloths or towels
- Small brush for cleaning
- Level
FAQ
Here are some frequently asked questions about air cooler leaks:
-
Q: Why is my air cooler leaking even when it’s not full?
A: This could be due to a cracked tank, loose drain plug, or damaged pump. Inspect these parts carefully. -
Q: How often should I clean my air cooler?
A: It’s recommended to clean your cooler at least once a month during regular use. -
Q: Can I use tap water in my air cooler?
A: Tap water is generally safe, but using distilled water can help prevent mineral buildup and prolong the life of your cooler. -
Q: What if my air cooler is still leaking after trying all these steps?
A: If the leak persists, it’s best to consult a qualified appliance repair technician.
Conclusion
Fixing a leaking air cooler might seem daunting, but by following these steps, you can often solve the problem yourself. Remember to prioritize safety and take your time. Before calling a technician, try these troubleshooting steps to save time and money. With a little patience and effort, you can get your air cooler back in working order and enjoy a cool, comfortable environment.
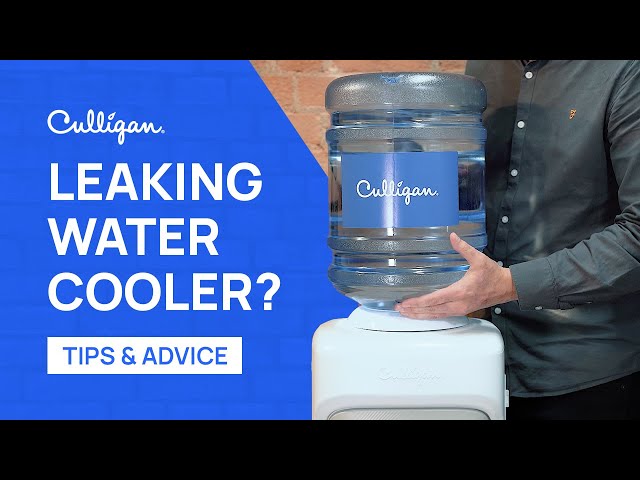
Youtube Video:
Quick Wiring Specifications & Terminal Guide
| Component / Circuit | Standard Wire Gauge | Recommended Protection |
|---|---|---|
| Control & Trigger Signals | 18 – 20 AWG | 5A – 7.5A Inline Fuse |
| Standard Auxiliary Load | 14 – 16 AWG | 15A – 20A Circuit Breaker |
| Main Power Feed / Supply | 10 – 12 AWG | 30A – 40A Heavy-Duty Relay |
Images References
Looking for more diagnostic guides? Explore our complete Air Conditioner Troubleshooting 3 section for step-by-step troubleshooting solutions.
