Introduction
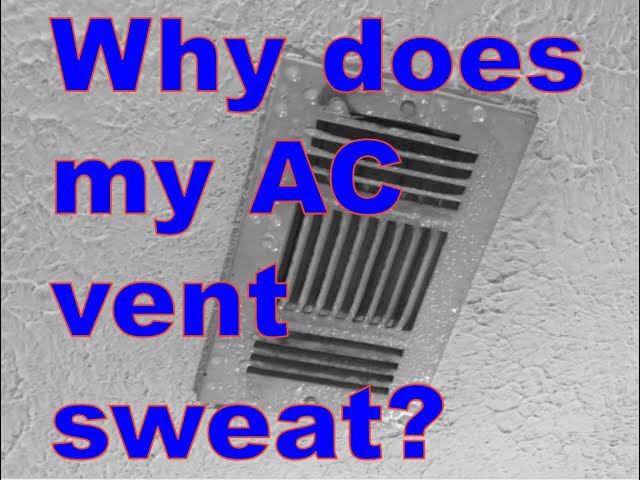
Finding water dripping from your AC return vent can be alarming and indicates a problem within your air conditioning system. The “AC return” is where air is pulled back into the unit to be cooled. If you see water, it means condensation is forming where it shouldn’t. This isn’t just a messy problem; it can lead to mold growth, damage to your walls and ceiling, and reduced efficiency of your AC. Addressing this issue quickly is important to prevent further damage and keep your home healthy and comfortable.
Common Causes of AC Return Dripping Water
Here are some common reasons why your AC return might be dripping water:
- Clogged Air Filter: A dirty filter restricts airflow, causing the evaporator coil to get too cold and freeze up. When the ice melts, it drips.
- Frozen Evaporator Coil: This is the most common cause. Restricted airflow, low refrigerant, or a malfunctioning blower motor can cause the coil to freeze.
- Low Refrigerant: If your refrigerant levels are low due to a leak, the evaporator coil will get extremely cold and freeze, leading to dripping as it thaws.
- Blocked Drain Line: The condensate drain line removes water that collects during normal operation. If it’s clogged, water can back up and drip from the return vent.
- Damaged or Disconnected Ductwork: Leaks in the ductwork, especially near the return vent, can cause condensation if humid air comes into contact with the cold duct surface.
- Poor Insulation: Insufficient insulation around the ductwork, particularly in unconditioned spaces like attics or crawl spaces, can lead to condensation.
- High Humidity Levels: Extremely humid conditions can overwhelm your AC system, causing excessive condensation.
- Improperly Sized AC System: If your AC unit is too large for your home, it may cycle on and off too frequently, which doesn’t allow it to properly dehumidify the air.
Symptoms Checklist
Check for these symptoms to accurately identify the problem:
- Water dripping from the AC return vent.
- Visible ice buildup on the AC unit or copper lines.
- Musty or moldy smell near the AC unit or return vent.
- AC not cooling as effectively as usual.
- Higher than normal humidity inside your home.
- Water stains on the ceiling or walls near the return vent.
- The AC unit is cycling on and off frequently.
How to Fix AC Return Dripping Water Step-by-Step Guide
Follow these steps to troubleshoot the issue:
- Turn off your AC: Immediately turn off your AC system at the thermostat to allow any ice buildup to thaw.
- Locate the AC Return Vent: Identify the vent where the water is dripping. It’s usually a large vent on a wall or ceiling.
- Check the Air Filter: Remove the air filter from its slot near the return vent or in the AC unit itself. Is it dirty? If so, replace it with a new one of the correct size and type.
- Allow Ice to Thaw Completely: Let the AC system sit turned off for several hours (4-6 hours is best) to ensure all ice has melted from the evaporator coil. You can also use a fan to speed up the process.
- Locate the Condensate Drain Line: Find the PVC pipe (usually white or gray) that drains water away from your AC unit. It typically exits the unit near the outside condenser.
- Check for Clogs in the Drain Line: Carefully inspect the end of the drain line for any visible blockage. You can try using a wet/dry vacuum to suck out any debris from the drain line.
- Flush the Drain Line: Pour a cup of distilled vinegar down the drain line to help dissolve any algae or mold buildup. Let it sit for about 30 minutes, then flush with water.
- Inspect the Ductwork: Check the ductwork near the return vent for any obvious signs of damage or disconnection. Look for gaps, tears, or loose connections.
- Seal Any Ductwork Leaks: If you find any leaks in the ductwork, seal them with aluminum foil tape.
- Clean the Area Around the Return Vent: Remove any mold or mildew growth around the return vent with a mold-killing cleaner.
- Restart Your AC: After allowing the system to thaw and addressing any potential issues, turn your AC back on.
- Monitor the Return Vent: Keep an eye on the return vent for any signs of continued dripping.
- Check the Temperature Drop: Use a thermometer to check the temperature of the air coming out of your vents. It should be about 15-20 degrees cooler than the air going into the return vent. If it’s not, the system may still have problems.
Fix the Issue Without Buying Parts
Many times, you can resolve the issue without buying any parts:
- Reset Your AC System: Sometimes, simply turning off your AC at the breaker for a few minutes can reset it and resolve minor issues.
- Clean Around the Outdoor Unit: Ensure the outdoor unit is free of debris like leaves, grass clippings, and branches, which can restrict airflow.
- Schedule Regular Maintenance: Regular AC maintenance, including filter changes and professional cleaning, can prevent many of these issues from occurring in the first place.
- Inspect For Obvious Damage: Visually inspect the visible components for broken pieces or wear and tear.
When Replacement Might Be Necessary
In some cases, replacement of parts might be needed:
- Evaporator Coil: If the evaporator coil is severely damaged or corroded, it may need to be replaced. Expect costs from $800 to $2500.
- Blower Motor: A malfunctioning blower motor can cause the coil to freeze. Replacement can range from $300 to $800.
- Refrigerant Leak Repair: If you have a refrigerant leak, a professional will need to locate and repair the leak, then recharge the system. Leak repair can cost $200 to $800, plus the cost of refrigerant.
Safety Warning
Keep these safety precautions in mind:
- Always turn off the power to your AC unit at the breaker before performing any maintenance or repairs.
- Be careful when working with electrical components. If you’re not comfortable, call a professional.
- Avoid standing in water while working with electrical appliances.
- If you suspect a refrigerant leak, do not attempt to repair it yourself. Contact a qualified HVAC technician.
Tools You May Need
Here’s a list of tools that might come in handy:
- Screwdrivers (Phillips and flathead)
- Wet/Dry Vacuum
- Aluminum Foil Tape
- Mold-Killing Cleaner
- Distilled Vinegar
- Thermometer
- Air Filter (replacement)
FAQ
Here are some frequently asked questions:
- Q: How often should I change my air filter? A: Typically, every 1-3 months, depending on the type of filter and how often you use your AC.
- Q: Why is my AC freezing up even with a clean filter? A: It could be due to low refrigerant, a malfunctioning blower motor, or a blocked drain line.
- Q: Can I add refrigerant to my AC system myself? A: No, refrigerant handling requires special training and equipment. Contact a qualified HVAC technician.
- Q: How do I know if I have a refrigerant leak? A: Signs include poor cooling performance, ice buildup on the unit, and a hissing sound near the AC unit.
Conclusion
Finding water dripping from your AC return vent can be concerning, but by following these troubleshooting steps, you can often identify and resolve the issue yourself. Start with the simple solutions like checking and replacing the air filter and clearing the drain line. If the problem persists after trying these steps, it’s best to call a qualified HVAC technician for further diagnosis and repair. Addressing this problem promptly will help prevent further damage and keep your home comfortable and healthy.
Youtube Video:
Looking for more useful options?
Check out recommended resources that others find helpful.