Introduction
Finding water pooling under your Whirlpool refrigerator can be alarming. A refrigerator leaking underneath isn’t just messy; it can potentially damage your floors and indicate a larger problem with your appliance. This guide will walk you through the most common causes of these leaks and provide simple, step-by-step instructions to help you diagnose and potentially fix the issue yourself. Acting quickly can prevent further damage and save you from costly repairs.
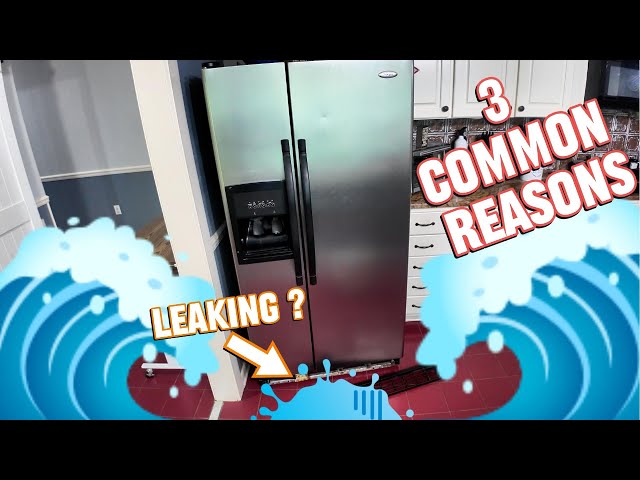
Common Causes of Whirlpool Refrigerator Leaking Underneath
Here are some of the most common culprits behind a leaky Whirlpool refrigerator:
- Clogged Defrost Drain: This is the most frequent cause. Ice buildup can block the drain, causing water to overflow and leak.
- Frozen Water Line: If your refrigerator has an ice maker or water dispenser, a frozen or partially blocked water line can lead to leaks.
- Loose Water Line Connections: Check the connections at the back of the refrigerator and at the water valve for any leaks.
- Cracked or Damaged Water Filter Housing: A faulty water filter housing can leak, especially after a filter change.
- Defective Water Inlet Valve: This valve controls the flow of water to the ice maker and dispenser. If it malfunctions, it can leak.
- Damaged Drain Pan: The drain pan collects water from the defrost cycle. If it’s cracked or overflowing, it will leak.
- Door Seal Issues: If the door isn’t sealing properly, condensation can form and eventually drip down.
- High Humidity: Excessively humid environments can lead to condensation buildup inside the refrigerator, which can eventually drip and pool underneath.
Symptoms Checklist
Check if any of these describe your situation:
- Water pooling under the refrigerator, especially towards the front.
- Ice buildup in the freezer, particularly around the drain.
- Water dripping from the freezer compartment.
- Reduced water pressure at the dispenser (if equipped).
- Visible leaks from the water filter housing or water line connections.
- Unusual noises coming from the refrigerator (e.g., gurgling).
How to Fix Whirlpool Refrigerator Leaking Underneath Step-by-Step Guide
Before you start, always unplug your refrigerator from the power outlet for safety.
- Locate the Defrost Drain: It’s usually located on the back wall of the freezer compartment, near the bottom. You may need to remove shelves or drawers.
- Clear the Defrost Drain: Use a turkey baster filled with hot water to flush out the drain. You can also use a long, flexible object like a pipe cleaner or a thin wire to carefully dislodge any clogs.
- Check the Drain Pan: The drain pan is usually located at the bottom of the refrigerator, behind the kickplate. Remove the kickplate and inspect the pan for cracks or overflowing.
- Empty the Drain Pan: If the pan is full, carefully remove it and empty the water. Clean the pan thoroughly before replacing it.
- Inspect Water Line Connections: Check all water line connections, especially at the back of the refrigerator and near the water valve. Tighten any loose connections.
- Check the Water Filter Housing: If you recently replaced the water filter, make sure the housing is properly sealed. Look for any cracks or damage.
- Thaw a Frozen Water Line (If Applicable): If you suspect a frozen water line, unplug the refrigerator and let it thaw naturally for several hours. You can also use a hairdryer (on a low setting) to gently warm the water line.
- Clean the Door Seals: Wipe down the door seals with a damp cloth to remove any dirt or debris that could be preventing a proper seal.
- Check the Refrigerator Level: Ensure the refrigerator is level. An unlevel refrigerator can cause water to collect in unexpected places. Use a level tool to check and adjust the leveling feet accordingly.
- Monitor the Refrigerator: After completing these steps, plug the refrigerator back in and monitor it for a few days to see if the leak has stopped.
- Check Humidity Levels: If you live in a humid climate, consider using a dehumidifier near the refrigerator to reduce condensation.
Fix the Issue Without Buying Parts
Many refrigerator leaks can be resolved without purchasing new parts:
- Reset: Sometimes, simply unplugging the refrigerator for 30 minutes and then plugging it back in can reset the system and resolve minor issues.
- Cleaning: Regularly cleaning the interior of your refrigerator and freezer can prevent ice buildup and drain clogs.
- Inspection Tips: Regularly inspect the drain pan and water line connections for any signs of leaks or damage.
- Maintenance Basics: Schedule routine cleaning and defrosting of your refrigerator to prevent future problems.
When Replacement Might Be Necessary
If the leak persists after trying these troubleshooting steps, or if you notice significant damage to components like the water inlet valve or drain pan, replacement might be necessary. The following parts commonly fail:
- Water Inlet Valve: $30 – $80
- Drain Pan: $20 – $50
- Water Filter Housing: $25 – $60
Consider consulting with a qualified appliance repair technician before replacing any parts. They can accurately diagnose the problem and recommend the best course of action.
Safety Warning
- Always unplug the refrigerator from the power outlet before performing any maintenance or repairs.
- Be careful when working with water near electrical components.
- Wipe up any spills immediately to prevent slips and falls.
- If you are uncomfortable performing any of these steps, contact a qualified appliance repair technician.
Tools You May Need
- Screwdriver (Phillips and flathead)
- Turkey baster
- Pipe cleaner or thin wire
- Adjustable wrench
- Level
- Flashlight
FAQ
Q: Why is my Whirlpool refrigerator leaking after I changed the water filter?A: Ensure the filter is properly installed and the housing is securely tightened. Check for any cracks or damage to the housing.
Q: How often should I clean the defrost drain?A: Ideally, clean the defrost drain every 6 months, or more frequently if you notice ice buildup.
Q: My refrigerator is still leaking even after clearing the defrost drain. What else could it be?A: Check the water line connections, water filter housing, and drain pan for any leaks or damage.
Q: Can a faulty door seal cause a leak?A: Yes, a damaged or improperly sealed door can lead to condensation, which can eventually drip and cause a leak.
Conclusion
Troubleshooting a leaking Whirlpool refrigerator can seem daunting, but by following these steps, you can often identify and resolve the issue yourself. Remember to prioritize safety and take your time. If you’ve tried these steps and the leak persists, don’t hesitate to call a qualified appliance repair technician for assistance. You’ve got this!
Youtube Video:
Looking for more useful options?
Check out recommended resources that others find helpful.