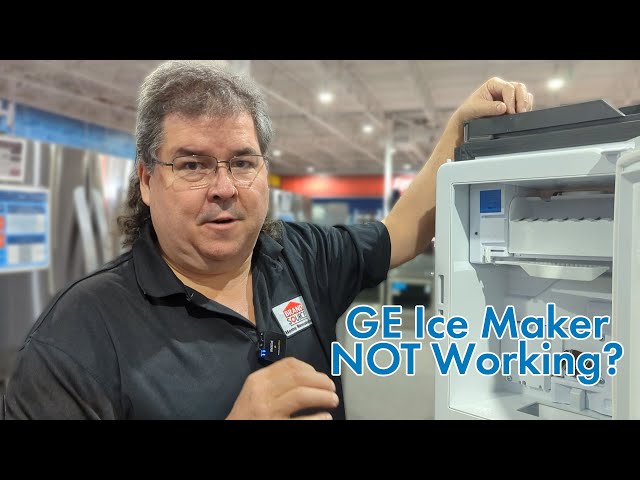
Introduction
Nothing’s more frustrating than reaching for ice on a hot day only to find an empty icemaker. If your GE refrigerator icemaker isn’t making ice, it’s a common problem with several potential causes. This can be particularly inconvenient during parties, holidays, or simply when you need a refreshing drink. Don’t panic! Often, the solution is simple and doesn’t require expensive repairs. Let’s troubleshoot the issue before calling a technician.
Common Causes of GE Refrigerator Icemaker Not Making Ice
Here are some of the most frequent reasons why your GE icemaker might be on strike:
- Icemaker is Turned Off: Seems obvious, but sometimes it’s accidentally switched off.
- Water Line is Frozen: A frozen water line restricts water flow to the icemaker.
- Low Water Pressure: Insufficient water pressure prevents the icemaker from filling properly.
- Clogged Water Filter: A dirty filter restricts water flow and can cause ice production to stop.
- Kinked or Damaged Water Line: A kink or damage can block the water supply to the icemaker.
- Faulty Water Inlet Valve: This valve controls the water flow into the icemaker; if it fails, no water will reach it.
- Icemaker Arm Stuck: The arm that senses ice level may be stuck in the “up” position, signaling the icemaker to stop producing ice.
- Defective Icemaker Module: The icemaker module is the brain of the icemaker. If it fails, the entire unit might stop working.
- Freezer Temperature Too High: If the freezer isn’t cold enough (typically below 10F or -12C), the icemaker won’t function properly.
- Ice Jam: Ice can sometimes become jammed in the icemaker, preventing new ice from being produced.
Symptoms Checklist
Use this checklist to narrow down the possible causes:
- No ice production at all.
- Icemaker is making small or crescent-shaped ice cubes.
- Icemaker is making slushy or watery ice.
- Icemaker is making ice slowly.
- Water dispenser is also not working.
- Unusual noises coming from the icemaker area.
- Water leaking around the refrigerator.
- Freezer temperature is fluctuating.
How to Fix GE Refrigerator Icemaker Not Making Ice Step-by-Step Guide
Follow these steps to troubleshoot your icemaker:
- Check the Icemaker Switch: Ensure the icemaker is turned “on.” It’s usually a switch or a lever located on the icemaker itself.
- Verify Freezer Temperature: Use a thermometer to confirm the freezer temperature is below 10F (-12C). Adjust the temperature setting if needed and allow time for the freezer to cool down.
- Inspect the Icemaker Arm: Make sure the feeler arm (the wire arm that signals when the ice bin is full) is not stuck in the “up” position. Gently move it down.
- Check the Water Supply: Ensure the refrigerator is properly connected to the water supply.
- Examine the Water Line: Look for any kinks or bends in the water line behind the refrigerator. Straighten any kinks.
- Check Water Pressure: If possible, test the water pressure to your refrigerator. Low pressure can cause issues. You can test this by disconnecting the water line and seeing if water comes out with good pressure when you momentarily turn on the supply.
- Replace the Water Filter: A clogged water filter is a common culprit. Locate the water filter (usually inside the refrigerator or at the base), and replace it with a new one. Consult your refrigerator’s manual for the correct filter type.
- Thaw a Frozen Water Line: If you suspect a frozen water line, unplug the refrigerator. Locate the water line (usually behind the fridge) and use a hair dryer on a low setting to gently thaw the line. Avoid using high heat, which can damage the line. You can also leave the fridge unplugged for several hours to allow it to thaw naturally.
- Check for Ice Jam: Remove the ice bin and inspect the icemaker for any ice jams. Use a plastic utensil (not metal, which can damage the icemaker) to gently remove any obstructions.
- Reset the Icemaker: Some GE icemakers have a reset button. Consult your refrigerator’s manual to locate the reset button and press it. If there’s no reset button, you can try unplugging the refrigerator for 5-10 minutes to reset the icemaker.
- Clean the Icemaker: Over time, mineral deposits can build up in the icemaker. Remove the ice bin and use a damp cloth to clean the inside of the icemaker. You can also use a mild solution of vinegar and water to dissolve mineral deposits.
- Check the Water Inlet Valve: This is a more advanced step. Locate the water inlet valve (usually behind the refrigerator near the water line connection). Check for continuity with a multimeter (if you are comfortable using one) or listen for a humming sound when the icemaker is cycling. If it’s not functioning correctly, it may need to be replaced. (Proceed with caution here; if unsure, consult a professional.)
Fix the Issue Without Buying Parts
Before resorting to replacement parts, try these free methods:
- Resetting the Icemaker: As mentioned before, either use the reset button or unplug the fridge for 5-10 minutes.
- Cleaning: Regularly clean the icemaker and ice bin to prevent build-up.
- Recalibration (if applicable): Some models allow for icemaker recalibration through the control panel. Consult your manual.
- Inspection: Regularly inspect the water line for kinks or damage.
- Maintenance: Replace the water filter every 6 months to maintain proper water flow.
When Replacement Might Be Necessary
If you’ve tried all the troubleshooting steps and your icemaker is still not working, a replacement may be necessary. Common parts that fail include the icemaker module and the water inlet valve.The cost of replacing the icemaker module can range from $100 to $300, while the water inlet valve typically costs between $50 and $150. If you’re not comfortable with electrical repairs, it’s best to consult a qualified appliance repair technician.
Safety Warning
- Always unplug the refrigerator before performing any troubleshooting or repairs.
- Avoid working on electrical components with wet hands or on a wet floor.
- If you’re not comfortable with electrical repairs, consult a qualified appliance repair technician.
- When using a hair dryer to thaw a frozen water line, use a low setting and keep the hair dryer moving to avoid damaging the line.
Tools You May Need
- Screwdriver (Phillips and flathead)
- Adjustable wrench
- Thermometer
- Multimeter (optional, for testing electrical components)
- Hair dryer (for thawing frozen water lines)
- Plastic utensil (for removing ice jams)
- New water filter
FAQ
Here are some frequently asked questions about GE icemakers:
-
Q: How long does it take for a new icemaker to start making ice?
A: It can take up to 24 hours for a new icemaker to start producing ice. -
Q: Why is my icemaker making small ice cubes?
A: Small ice cubes are often caused by low water pressure or a clogged water filter. -
Q: My icemaker is making ice, but it tastes bad. What should I do?
A: Replace the water filter. Bad-tasting ice is often a sign that the filter needs to be changed. -
Q: How often should I clean my icemaker?
A: You should clean your icemaker every 6 months to prevent mineral buildup. -
Q: Why is my icemaker overflowing?
A: This can be due to a faulty water inlet valve or an improperly positioned fill tube.
Conclusion
Troubleshooting a GE refrigerator icemaker that’s not making ice can seem daunting, but by following these steps, you can often resolve the issue yourself. Remember to start with the simplest solutions, like checking the power switch and water filter, before moving on to more complex repairs. Don’t hesitate to call a qualified technician if you’re uncomfortable with any of the steps or if the problem persists. A little DIY effort can save you time and money, getting you back to enjoying those refreshing ice-cold drinks!
Youtube Video:
Looking for more useful options?
Check out recommended resources that others find helpful.