
Introduction
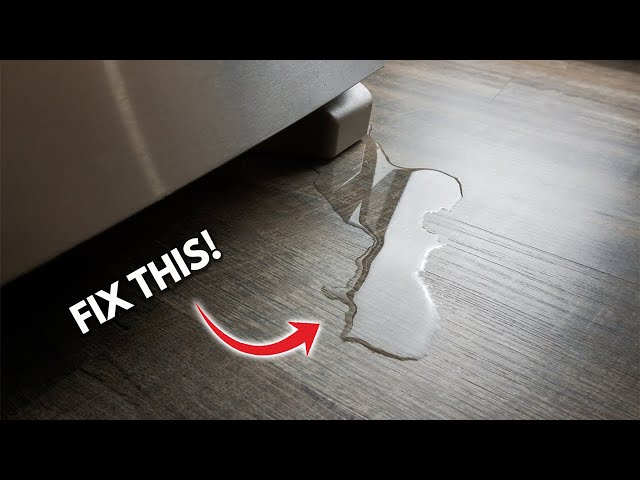
Finding water pooling around your refrigerator is never a welcome sight. A refrigerator leak not only makes a mess, but it can also damage your flooring and even lead to mold growth. Its a problem that needs to be addressed quickly to prevent further issues. This guide will walk you through the common causes of refrigerator leaks and provide step-by-step instructions on how to troubleshoot and hopefully repair the leak yourself. Don’t panic, many leaks are due to simple issues you can easily resolve!. Explore more in our Refrigerator Problems 1 collection.
💡 Technical Key Takeaways:
- Core Focus: Diagnostic schematic and terminal connection layout for Refrigerator Leak Repair.
- Target Scope: Field technicians, automotive DIYers, and residential/commercial electricians.
- Safety Rule: Always disconnect the primary power source/battery terminal and verify zero voltage with a multimeter before touching wires.
Common Causes of Refrigerator Leaks
Here are some of the most frequent culprits behind refrigerator leaks:
- Clogged Defrost Drain: This is the most common cause. The defrost drain carries water from the defrost cycle to a pan under the fridge where it evaporates. When clogged, water overflows.
- Frozen Water Line: If your refrigerator has a water dispenser or ice maker, the water line can freeze, causing it to crack and leak when it thaws.
- Loose Water Line Connection: Similar to a frozen line, a loose connection where the water line connects to the fridge can cause leaks.
- Cracked or Damaged Water Filter Housing: If you have a water filter, the housing can crack over time, resulting in leaks.
- Leaking Water Filter: The filter itself might be damaged or not properly installed, causing water to drip.
- Cracked Drain Pan: The drain pan under the refrigerator can crack or break, leading to water leaks.
- Door Seal Issues: A damaged or improperly sealed door allows warm air to enter, causing excessive condensation that can lead to leaks.
- High Humidity: While not a direct cause, high humidity can increase condensation inside the refrigerator, overwhelming the drain system.
- Overfilled Ice Maker: Occasionally, the ice maker might overfill, causing water to spill and potentially leak.
Symptoms Checklist
Check for these signs to confirm a refrigerator leak:
- Water pooling on the floor near the front or back of the refrigerator.
- Water stains or dampness on the floor under or around the refrigerator.
- Ice buildup in the freezer or refrigerator compartment.
- Unusual sounds, such as dripping or gurgling, coming from the refrigerator.
- Visible moisture or condensation inside the refrigerator, especially on the back wall.
How to Fix Refrigerator Leak Repair Step-by-Step Guide
Follow these steps to troubleshoot and fix your refrigerator leak:
- Unplug the Refrigerator: For safety, always disconnect the refrigerator from the power outlet before beginning any repairs.
- Locate the Defrost Drain: Open your freezer and look for a small hole, usually located at the back wall, often behind a panel. This is the defrost drain.
- Flush the Defrost Drain: Use a turkey baster or a syringe to flush warm water down the drain. You can also use a flexible wire or pipe cleaner to gently clear any blockage. Repeat until the water drains freely.
- Check the Drain Pan: Locate the drain pan under the refrigerator (usually accessible from the front or back). Carefully pull it out and inspect it for cracks or damage. Empty the pan and clean it thoroughly.
- Inspect the Water Line: If you have a water dispenser or ice maker, check the water line connection to the refrigerator for any signs of leaks. Tighten any loose connections.
- Examine the Water Filter Housing: If your refrigerator has a water filter, inspect the filter housing for cracks or damage. Make sure the filter is properly installed and tightened.
- Clean the Door Seals: Clean the refrigerator door seals with warm soapy water and a soft cloth. Ensure they are free from dirt, debris, and mold, which can compromise the seal.
- Adjust the Temperature: Make sure your refrigerator and freezer are set to the correct temperatures. The refrigerator should be around 37-40F (3-4C), and the freezer should be around 0F (-18C).
- Level the Refrigerator: Use a level to check if your refrigerator is properly leveled. Adjust the leveling feet at the bottom to ensure its stable and level. This helps with proper drainage.
- Monitor for 24 Hours: Plug the refrigerator back in and monitor it for at least 24 hours to see if the leak has been resolved.
Fix the Issue Without Buying Parts
Before you rush to buy replacement parts, try these free solutions:
- Reset the Refrigerator: Sometimes, a simple reset can resolve minor issues. Unplug the refrigerator for 10-15 minutes and then plug it back in.
- Clean the Interior: Regularly cleaning the inside of your refrigerator can prevent condensation buildup. Wipe down surfaces with a clean, damp cloth.
- Adjust Settings: Double-check your refrigerator’s settings to ensure they are appropriate for the ambient temperature and humidity.
- Inspect Regularly: Make it a habit to regularly inspect your refrigerator for any signs of leaks, ice buildup, or other problems.
When Replacement Might Be Necessary
In some cases, a part replacement might be unavoidable. Here are some situations and estimated costs (USD):
- Cracked Drain Pan: Replacement cost: $20 – $50
- Damaged Water Filter Housing: Replacement cost: $30 – $75
- Leaking Water Line: Replacement cost: $10 – $30
Remember to always consult your refrigerator’s model number when ordering replacement parts to ensure compatibility.
Safety Warning
- Always unplug the refrigerator before performing any repairs.
- Avoid standing water near electrical outlets to prevent electric shock.
- Be careful when handling tools to avoid injury.
- If you are not comfortable performing the repairs yourself, consult a qualified appliance repair technician.
Tools You May Need
Here’s a list of tools that may be helpful for refrigerator leak repair:
- Screwdrivers (Phillips and flathead)
- Adjustable wrench
- Pliers
- Turkey baster or syringe
- Flexible wire or pipe cleaner
- Warm water
- Clean cloth or sponge
- Level
FAQ
Here are some frequently asked questions about refrigerator leaks:
- Q: Why is my refrigerator leaking after defrosting? A: This usually indicates a clogged defrost drain. Follow the steps to clear the drain.
- Q: How often should I clean my refrigerator’s drain pan? A: Ideally, clean the drain pan every 6 months to prevent mold and bacteria buildup.
- Q: Is a small amount of condensation inside the refrigerator normal? A: Yes, but excessive condensation could indicate a door seal issue or temperature setting problem.
- Q: Can I use bleach to clean the defrost drain? A: It’s best to avoid using bleach, as it can damage the drain components. Warm water or a mild vinegar solution is safer.
Conclusion
Repairing a refrigerator leak can seem daunting, but with a little patience and this guide, you can often resolve the issue yourself. Remember to follow the steps carefully and prioritize safety. If you’ve tried these solutions and the leak persists, it might be time to call a qualified appliance repair technician. Don’t hesitate to seek professional help to avoid further damage. Good luck!. For more related activities, check out our Fridge Water Line Leaking In Wall.
Youtube Video:
Quick Wiring Specifications & Terminal Guide
| Component / Circuit | Standard Wire Gauge | Recommended Protection |
|---|---|---|
| Control & Trigger Signals | 18 – 20 AWG | 5A – 7.5A Inline Fuse |
| Standard Auxiliary Load | 14 – 16 AWG | 15A – 20A Circuit Breaker |
| Main Power Feed / Supply | 10 – 12 AWG | 30A – 40A Heavy-Duty Relay |
