
Introduction
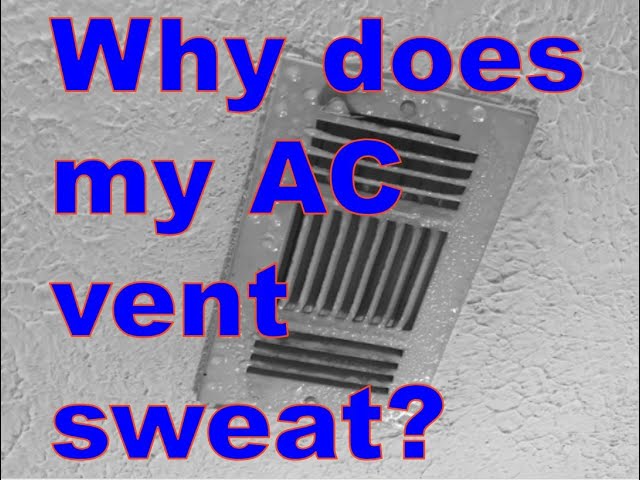
Finding water dripping from your AC vents during the summer months can be a frustrating and concerning problem. It indicates that something isn’t functioning correctly within your air conditioning system. Ignoring this issue can lead to water damage on your ceilings and walls, encourage mold growth, and reduce the efficiency of your AC. Addressing the problem quickly can save you money and prevent further damage to your home.
💡 Technical Key Takeaways:
- Core Focus: Diagnostic schematic and terminal connection layout for Ac Vent Dripping Water In Summer.
- Target Scope: Field technicians, automotive DIYers, and residential/commercial electricians.
- Safety Rule: Always disconnect the primary power source/battery terminal and verify zero voltage with a multimeter before touching wires.
Common Causes of AC Vent Dripping Water in Summer
Here are some of the most common reasons why your AC vents might be dripping water:
- Condensation Overload: The most frequent cause is simply excessive condensation. Warm, humid air coming into contact with the cold vent surfaces creates water.
- Clogged Air Filter: A dirty filter restricts airflow, causing the evaporator coil to overcool and freeze up, eventually melting and dripping.
- Frozen Evaporator Coil: Restricted airflow or low refrigerant can cause the coil to freeze, leading to water as it thaws.
- Blocked Drain Line: The condensate drain line removes water from the system. If it’s blocked, water can back up and drip from the vents.
- Low Refrigerant Levels: Insufficient refrigerant makes the evaporator coil too cold, increasing the likelihood of freezing.
- Leaky Ductwork: Gaps or holes in your ductwork allow warm, humid air to enter, leading to condensation.
- Poor Insulation: Inadequate insulation around your ductwork can also cause condensation.
- Improper Installation: If the AC system wasn’t installed correctly, it might not drain properly.
Symptoms Checklist
Here are some symptoms that indicate you might have an AC vent dripping water problem:
- Water droplets forming on and dripping from the AC vents.
- Visible water stains on the ceiling or walls near the vents.
- A musty or moldy odor coming from the vents.
- The AC unit not cooling as effectively as usual.
- Ice forming on the outdoor AC unit or on the copper lines leading to it.
- Increased humidity levels in your home.
How to Fix AC Vent Dripping Water in Summer Step-by-Step Guide
Follow these steps to troubleshoot and potentially fix the issue:
- Turn Off Your AC: This prevents further condensation and potential damage.
- Inspect the Air Filter: Locate your air filter (usually in the return air vent or near the indoor unit). If it’s dirty, replace it with a new one.
- Check for Ice on the Evaporator Coil: Access the evaporator coil (usually inside the indoor unit consult your owner’s manual). If it’s covered in ice, let it thaw completely. This might take several hours. You can speed up the process with a hairdryer on a low, cool setting, but be careful not to damage anything.
- Locate the Condensate Drain Line: This is usually a PVC pipe that exits the indoor unit and drains outside or into a floor drain.
- Check for Clogs in the Drain Line: Use a wet/dry vacuum to suck out any debris from the drain line. Attach the hose to the end of the pipe outside and create a tight seal with a rag. You can also try using a stiff wire to dislodge any clogs.
- Pour a Cup of Vinegar into the Drain Line: Vinegar can help dissolve any remaining algae or mold in the drain line. Let it sit for about 30 minutes, then flush with water.
- Inspect Ductwork for Leaks: Look for any gaps or holes in your ductwork, especially near the vents. Seal any leaks you find with duct tape (not regular tape). For more permanent solutions, use mastic sealant.
- Check Ductwork Insulation: Ensure your ductwork is properly insulated, especially in unconditioned spaces like attics. Add more insulation if necessary.
- Run the AC Fan Only: After thawing the evaporator coil and clearing the drain line, run the AC fan only for a few hours to dry everything out.
- Turn the AC Back On: Monitor the vents for any further dripping.
- Monitor the General Performance: If the issue returns immediately, the refrigerant level may need inspected by a qualified technician.
Fix the Issue Without Buying Parts
Before resorting to buying new parts, try these free methods:
- Reset Your AC: Turn off the AC unit at the breaker for about 30 minutes, then turn it back on. This can sometimes reset the system and clear minor issues.
- Cleaning: Regularly clean the area around the outdoor unit to ensure proper airflow. Remove any leaves, debris, or overgrown vegetation.
- Inspection Tips: Regularly inspect your AC system for any signs of damage or wear and tear. Catching problems early can prevent them from escalating.
- Maintenance Basics: Schedule annual AC maintenance with a qualified technician to ensure your system is running efficiently.
When Replacement Might Be Necessary
While we’ve focused on fixes you can do yourself, sometimes replacement is necessary. For example, if the evaporator coil is severely damaged or leaking, it may need to be replaced. Similarly, if you have a refrigerant leak, you might need to replace a section of the refrigerant line. The cost to replace an evaporator coil can range from $800 to $2000, while refrigerant leak repairs can cost between $200 and $1000, depending on the severity and location of the leak. Common parts that fail include the evaporator coil, compressor, and fan motor. For more related activities, check out our Ac Line Is Frozen.
Safety Warning
Keep these safety precautions in mind while working on your AC:
- Turn off the power to the AC unit at the breaker before performing any maintenance or repairs.
- Avoid working on wet floors to prevent electric shock.
- Be careful when handling sharp objects or tools.
- If you are not comfortable working on electrical components, call a qualified HVAC technician.
Tools You May Need
Here are some tools that might be helpful for troubleshooting your AC:
- Screwdriver (Phillips and flathead)
- Wet/dry vacuum
- Duct tape or mastic sealant
- Stiff wire or pipe cleaner
- Air filter
- Flashlight
FAQ
Here are some frequently asked questions about AC vent dripping water:
-
Q: Why is my AC vent dripping water only when it’s really hot outside?
A: This is likely due to increased humidity and condensation. The warmer the air, the more moisture it holds, increasing the likelihood of condensation on the cold vents. -
Q: How often should I change my air filter?
A: It depends on the filter type and usage, but generally, you should change your air filter every 1-3 months. -
Q: Can I use bleach to clean the condensate drain line?
A: While bleach can kill mold and algae, it can also damage some AC components. Vinegar is a safer and more effective option. -
Q: Is dripping from AC vents dangerous?
A: Ignoring dripping from the AC vents can lead to significant problems, including costly water damage and hazardous mold growth. It should be resolved quickly.
Conclusion
Dealing with AC vent dripping water in the summer can be a nuisance, but by following this guide, you can often diagnose and fix the problem yourself. Remember to prioritize safety and take your time. If you’ve tried these steps and the problem persists, don’t hesitate to call a qualified HVAC technician for professional assistance. Addressing the issue promptly will help keep your home cool, dry, and comfortable all summer long.
Youtube Video:
Quick Wiring Specifications & Terminal Guide
| Component / Circuit | Standard Wire Gauge | Recommended Protection |
|---|---|---|
| Control & Trigger Signals | 18 – 20 AWG | 5A – 7.5A Inline Fuse |
| Standard Auxiliary Load | 14 – 16 AWG | 15A – 20A Circuit Breaker |
| Main Power Feed / Supply | 10 – 12 AWG | 30A – 40A Heavy-Duty Relay |
Images References
Looking for more diagnostic guides? Explore our complete Air Conditioner Troubleshooting 1 section for step-by-step troubleshooting solutions.
