
Introduction
Is your home feeling stuffy because the HVAC blower isn’t turning on? This can be frustrating, especially during hot summer days or freezing winter nights. The HVAC blower is the fan that circulates air throughout your home, delivering cooled or heated air from your furnace or air conditioner. When it fails, you’re left with uncomfortable temperatures and potentially higher energy bills as your system struggles to compensate. Addressing this issue promptly can prevent further damage and ensure your home remains comfortable. Explore more in our Air Conditioner Troubleshooting 4 collection.
💡 Technical Key Takeaways:
- Core Focus: Diagnostic schematic and terminal connection layout for Hvac Blower Not Coming On.
- Target Scope: Field technicians, automotive DIYers, and residential/commercial electricians.
- Safety Rule: Always disconnect the primary power source/battery terminal and verify zero voltage with a multimeter before touching wires.
Common Causes of HVAC Blower Not Coming On
Several factors can cause your HVAC blower to stop working. Here are some of the most common culprits:. For more related activities, check out our Car Fan Not Blowing.
- Tripped Circuit Breaker: An overloaded circuit can trip the breaker, cutting power to the blower motor.
- Blown Fuse: A fuse in the control panel protects the blower motor. If it’s blown, the motor won’t receive power.
- Thermostat Issues: A faulty thermostat might not be signaling the blower to turn on.
- Dirty Air Filter: A clogged air filter restricts airflow, causing the blower motor to overheat and potentially shut down.
- Faulty Blower Motor: The blower motor itself could be defective, preventing it from starting.
- Capacitor Failure: The capacitor helps start and run the blower motor. A failing capacitor can prevent the motor from starting.
- Wiring Problems: Loose or damaged wiring can disrupt the power supply to the blower motor.
- Frozen Evaporator Coil: In air conditioning mode, a frozen evaporator coil restricts airflow and can prevent the blower from running.
- Blocked Vent/Duct: Objects blocking airflow in vents and ducts.
Symptoms Checklist
Here’s a checklist to help you pinpoint the issue:
- No air is coming from the vents when the thermostat is set to “cool” or “heat.”
- You hear the furnace or air conditioner turn on, but the blower doesn’t start.
- The thermostat display is blank or unresponsive.
- You smell burning coming from the vents or the HVAC unit itself.
- The circuit breaker for the HVAC system keeps tripping.
- You see ice forming on the air conditioner’s evaporator coil (the part inside the indoor unit).
How to Fix HVAC Blower Not Coming On Step-by-Step Guide
Follow these steps to troubleshoot the problem:
- Turn Off the Power: Locate the circuit breaker for your HVAC system in your electrical panel and switch it to the “off” position. This is crucial for your safety.
- Check the Thermostat: Make sure the thermostat is set to “cool” or “heat” (depending on your needs) and that the temperature is set lower or higher than the current room temperature. Ensure the thermostat has batteries and the batteries are good.
- Inspect the Air Filter: Remove the air filter and check for dirt and debris. A clogged filter restricts airflow and can cause the blower motor to overheat. Replace the filter if it’s dirty.
- Check the Circuit Breaker: Go back to your electrical panel and check if the circuit breaker for the HVAC system has tripped. If it has, flip it to the “off” position, wait a few seconds, and then flip it back to the “on” position.
- Inspect the Fuses: Locate the control panel on your furnace or air handler. Inside, you’ll find fuses. Use a multimeter (if you have one) to check if any of the fuses are blown. If so, replace them with fuses of the same amperage.
- Check for Obstructions: Make sure that none of the vents are blocked by furniture, rugs or other objects.
- Inspect Wiring (Visually): Check if any of the wires connected to your blower motor or control panel are loose or damaged. If you spot any, gently tighten or replace them (after turning off the power, of course!).
- Look for Ice on the Evaporator Coil: If you’re using your air conditioner, check for ice forming on the evaporator coil. If you see ice, turn off the system and let the ice melt completely before restarting. This could indicate a refrigerant leak or airflow problem.
- Reset the System: Some HVAC systems have a reset button on the control panel. Press it to reset the system and see if that solves the problem.
- Check the Blower Motor Capacitor: The capacitor is a cylindrical component usually located near the blower motor. While checking it requires electrical testing which may need a professional, a visually bulged or leaking capacitor needs to be replaced immediately.
- Turn the Power Back On: After completing the checks, turn the circuit breaker back on.
- Test the System: Set the thermostat to “cool” or “heat” and see if the blower motor starts.
Fix the Issue Without Buying Parts
Before you rush to buy new parts, try these free methods:
- Resetting the System: Many HVAC systems have a reset button. Locate and press it to potentially clear minor glitches.
- Cleaning: Regularly cleaning the area around your outdoor unit and ensuring proper airflow can prevent issues.
- Inspection: Periodically inspect your system for loose wires, debris, and any signs of damage. Early detection can prevent major problems.
- Basic Maintenance: Routine filter changes (every 1-3 months) are crucial. Also, keep the area around your outdoor unit clear of vegetation.
When Replacement Might Be Necessary
If you’ve tried all the troubleshooting steps and your HVAC blower still isn’t working, replacement of certain parts might be needed. Here are a few potential scenarios:. Discover more free resources across our collection library.
- Blower Motor: If the motor is completely dead or making unusual noises, it likely needs to be replaced. Expect to pay $200-$600 for a new blower motor, plus installation costs.
- Capacitor: A failed capacitor is a common issue. Replacements usually range from $50-$200.
- Control Board: If the control board is damaged, it might need replacing. This is a more expensive repair, ranging from $300-$800.
Safety Warning
- Always turn off the power to your HVAC system at the circuit breaker before performing any troubleshooting steps.
- Avoid touching any electrical components with wet hands.
- If you’re uncomfortable working with electricity, call a qualified HVAC technician.
- Be careful when handling tools around the HVAC system.
Tools You May Need
- Screwdriver (Phillips and flathead)
- Multimeter (for testing fuses and voltage)
- Wrench set
- Wire strippers
- Work gloves
- Flashlight or work light
FAQ
Here are some frequently asked questions:
-
Q: Why is my blower motor running constantly?
A: This could be due to a thermostat setting, a faulty limit switch, or a problem with the control board. -
Q: How often should I change my air filter?
A: At least every 1-3 months, or more often if you have pets or allergies. -
Q: What does it mean if my blower motor is making a loud noise?
A: This could indicate a problem with the motor bearings, a loose blower wheel, or debris in the blower housing. -
Q: My blower runs in heat mode, but not in cool mode. What is the problem?
A: The reversing valve, thermostat, or wiring can be faulty. Requires testing by qualified technician.
Conclusion
Troubleshooting an HVAC blower that won’t turn on can seem daunting, but by following these steps, you can often identify and fix the problem yourself. Remember to prioritize safety and always turn off the power before working on your system. If you’re uncomfortable with any of these steps, or if the problem persists, don’t hesitate to call a qualified HVAC technician. They have the expertise and tools to diagnose and repair complex issues, ensuring your home stays comfortable year-round.
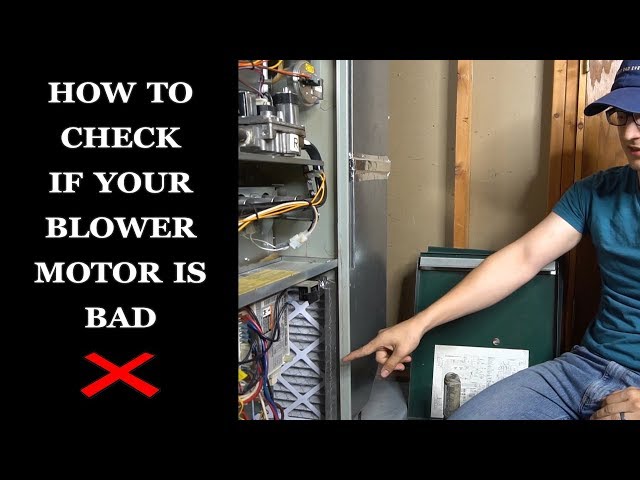
Youtube Video:
Quick Wiring Specifications & Terminal Guide
| Component / Circuit | Standard Wire Gauge | Recommended Protection |
|---|---|---|
| Control & Trigger Signals | 18 – 20 AWG | 5A – 7.5A Inline Fuse |
| Standard Auxiliary Load | 14 – 16 AWG | 15A – 20A Circuit Breaker |
| Main Power Feed / Supply | 10 – 12 AWG | 30A – 40A Heavy-Duty Relay |
