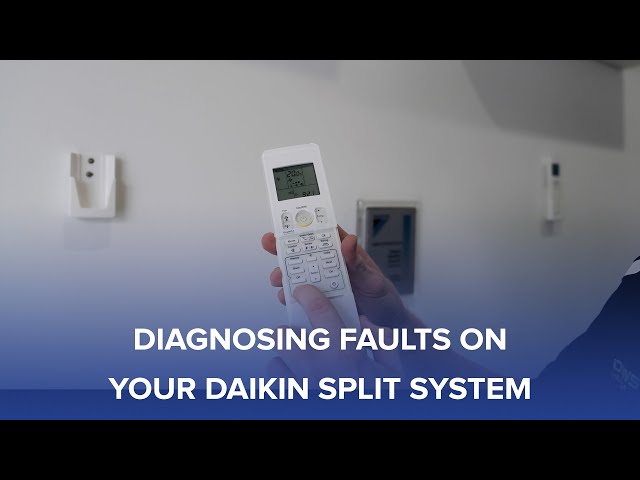
Introduction
Is your Daikin inverter AC blowing warm air instead of cool? This is a common problem that can be frustrating, especially during hot weather. A malfunctioning AC can make your home uncomfortable and lead to increased energy bills. This guide will help you troubleshoot the issue, identify potential causes, and try simple fixes before calling a professional. Getting your AC working efficiently again is our priority.
Common Causes of Daikin Inverter AC Not Cooling
Here are some common reasons why your Daikin inverter AC might not be cooling:
- Dirty Air Filter: A clogged filter restricts airflow, reducing cooling efficiency.
- Dirty Condenser Coils: Dust and debris on the outdoor unit’s coils hinder heat release.
- Frozen Evaporator Coils: Restricted airflow or low refrigerant can cause ice to form on the indoor unit’s coils.
- Refrigerant Leak: Low refrigerant levels reduce the AC’s ability to cool effectively.
- Faulty Capacitor: A weak or failing capacitor can prevent the compressor or fan motor from running properly.
- Blocked Condensate Drain Line: A clogged drain line can trigger safety switches that shut down the cooling process.
- Thermostat Issues: Incorrect thermostat settings or a malfunctioning thermostat can prevent the AC from cooling.
- Compressor Problems: The compressor is the heart of the AC system; if it fails, cooling will be affected.
- Fan Motor Problems: If the fan in either the indoor or outdoor unit isn’t working, cooling efficiency decreases.
Symptoms Checklist
Check these symptoms to help pinpoint the problem:
- AC unit is running, but blowing warm air.
- The outdoor unit (condenser) is not running.
- Ice buildup on the indoor unit (evaporator).
- Unusual noises coming from the AC unit.
- AC cycles on and off frequently (short cycling).
- Higher than usual energy bills.
- Water leaks around the indoor unit.
How to Fix Daikin Inverter AC Not Cooling Step-by-Step Guide
Follow these steps to troubleshoot your Daikin AC:
- Check the Thermostat: Ensure the thermostat is set to “Cool” mode and the temperature is lower than the current room temperature.
- Inspect the Air Filter: Locate the air filter (usually in the indoor unit or behind a return vent). If it’s dirty, replace it with a new one.
- Reset the AC: Turn off the AC unit at the thermostat and the circuit breaker. Wait for 30 minutes, then turn the breaker back on and reset the thermostat.
- Inspect the Outdoor Unit: Check the outdoor unit (condenser) for any visible debris or obstructions.
- Clean the Condenser Coils: Use a garden hose with a gentle spray nozzle to clean the condenser coils from the outside in. Be careful not to bend the fins.
- Check for Ice Buildup: If you see ice on the indoor unit, turn off the AC and run only the fan to melt the ice. This could take several hours.
- Check the Condensate Drain Line: Locate the condensate drain line (usually a PVC pipe near the indoor unit). Check for clogs and clear them with a wet/dry vacuum.
- Listen for Unusual Noises: Pay attention to any unusual noises coming from the indoor or outdoor unit. Grinding, squealing, or rattling sounds could indicate a mechanical problem.
- Check the Circuit Breaker: Ensure the circuit breaker for the AC unit hasn’t tripped. If it has, reset it, but if it trips again immediately, call an electrician.
- Inspect the Fan: Make sure the fan blades on both the indoor and outdoor units are clean and free from obstructions. Manually try spinning the fan to ensure it turns freely. Do this when the unit is off.
- Check for Leaks Look for signs of refrigerant leaks around the copper lines connected to the indoor and outdoor units.
Fix the Issue Without Buying Parts
Before buying any parts, try these free solutions:
- Regularly Clean the Air Filter: Clean or replace the air filter every 1-3 months.
- Clean the Condenser Coils Annually: Wash the outdoor unit coils with a garden hose at least once a year.
- Clear the Condensate Drain Regularly: Pour a cup of bleach or vinegar down the drain line every few months to prevent clogs.
- Ensure Proper Airflow: Keep furniture and curtains away from vents to maximize airflow.
When Replacement Might Be Necessary
If the above steps don’t resolve the issue, component failure might be present. Here are scenarios where replacement becomes plausible. A faulty compressor requires professional intervention and is usually expensive (estimated $800 – $2000, including labor). Refrigerant leaks, if severe and unrepairable, can also warrant replacement (refrigerant recharge costs $150 – $500, while a new AC can cost $3000 – $7000, depending on the model). Capacitors also fail often ($50 – $200 installed). Always get a professional diagnosis.
Safety Warning
- Always turn off the AC unit at the circuit breaker before performing any maintenance or repairs.
- Avoid touching any electrical components or wiring with wet hands.
- If you’re not comfortable working with electricity, call a qualified HVAC technician.
- Never attempt to repair a refrigerant leak yourself. Refrigerant is a hazardous substance and should only be handled by trained professionals.
Tools You May Need
- Screwdriver (Phillips and flathead)
- Garden hose with spray nozzle
- Wet/dry vacuum
- Air filter
- Fin comb (for straightening condenser fins, optional)
FAQ
Here are some frequently asked questions:
-
Q: My AC is blowing warm air, but the fan is running. What could be the problem?
A: This could indicate a dirty air filter, frozen evaporator coils, or a refrigerant leak. -
Q: How often should I replace my AC’s air filter?
A: Typically, every 1-3 months, depending on usage and air quality. -
Q: Can I add refrigerant to my AC myself?
A: No. Refrigerant should only be handled by a licensed HVAC technician due to environmental and safety concerns. -
Q: What does it mean if my AC is short cycling?
A: Short cycling (turning on and off frequently) can be caused by a dirty air filter, low refrigerant, or a faulty compressor.
Conclusion
Troubleshooting your Daikin inverter AC can seem daunting, but by following these steps, you can often identify and resolve common issues yourself. Remember to prioritize safety and take your time. If you’ve tried these solutions and your AC still isn’t cooling properly, don’t hesitate to call a qualified HVAC technician for professional assistance. Getting a professional opinion early might save time and money in the long run.
Youtube Video:
Looking for more useful options?
Check out recommended resources that others find helpful.